

You have an Enquiry with the provisional status of Date-on-Hold. Once you have agreed on event packages and associated costs with your customer, you can now Pre-Confirm the event. At this stage you will confirm included guest numbers (the number of guests included in the package, not the final guest count), assign drink and food packages, and create the Terms and Conditions. Here is the workflow to convert a Date-on-Hold Enquiry to a Pre-Confirmed Event.
If you cannot see this section or get permission denied messages with any of the actions, please contact your Company Admin in order to get the required permissions.
Video Tutorial
How to Change a Date on Hold Enquiry to a Pre Confirmed Event
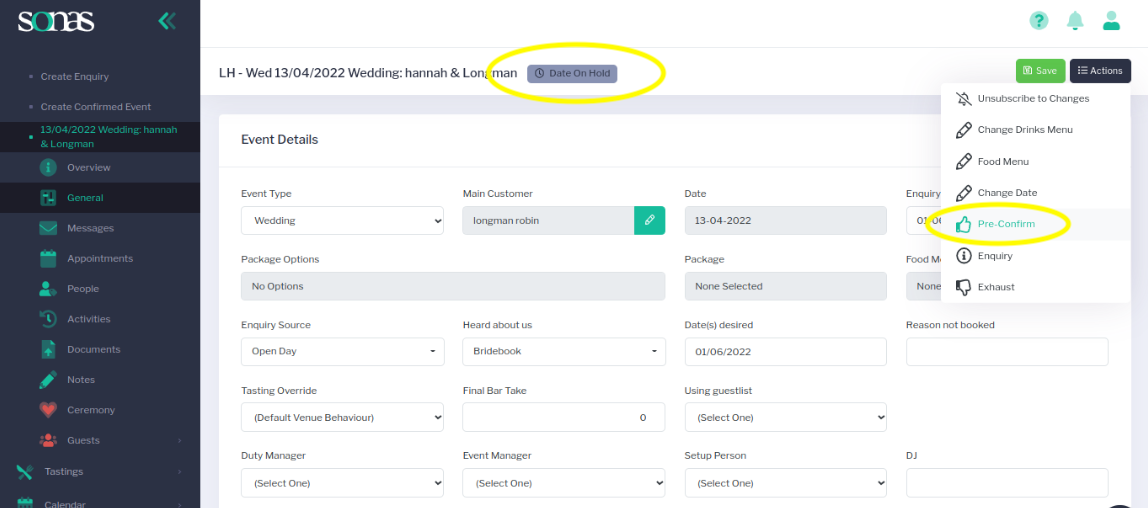
- Navigate to the Date on Hold's General section. Event > General
- Click the Actions menu in the top right hand corner and select Pre-Confirm.
- This will bring up a new window consisting of a 4-step process to make the status change. You must work through and confirm the General Information, Price Breakdown, Terms & Conditions, and the final Review to change the status. Please note: this process does not save mid-workflow, you must fully complete.

- Complete the General Information page to include:
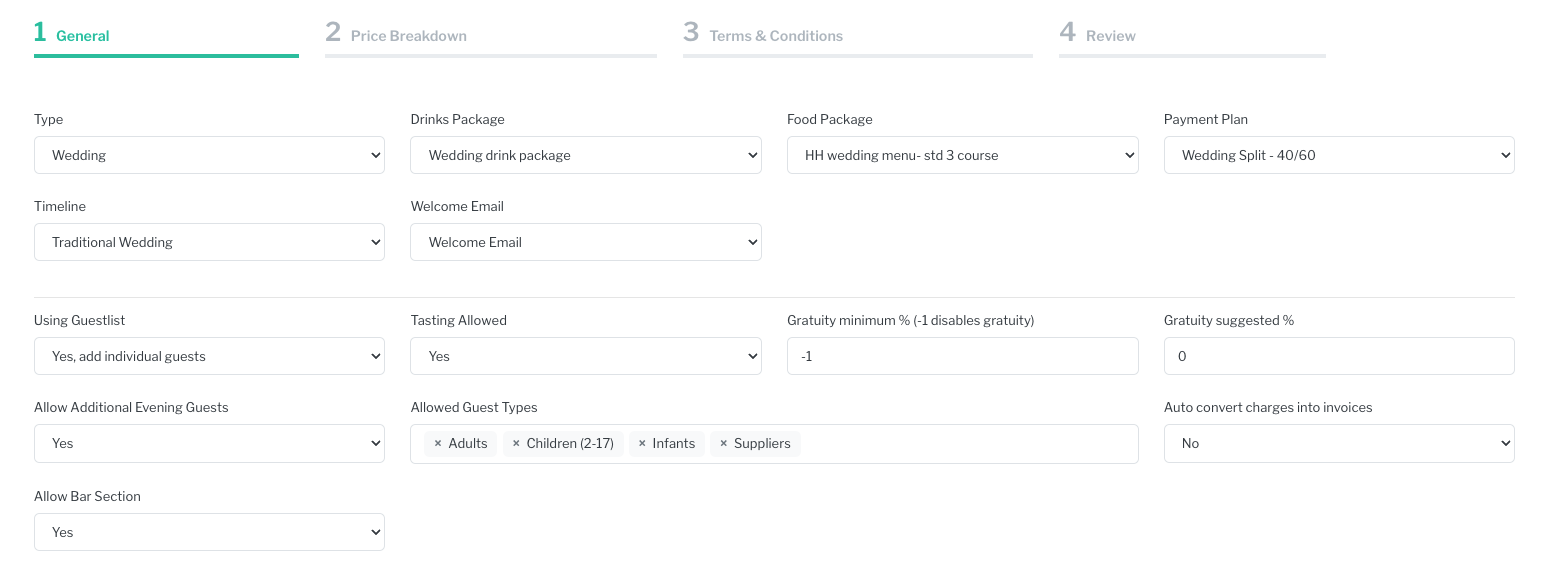
- Payment Plan- as per the preferred payment schedule for your venue set up in Payment Plans
- Welcome Email- to send to the customer confirming their booking. The welcome emails are set up in your Templates menu for the venue, Email Templates
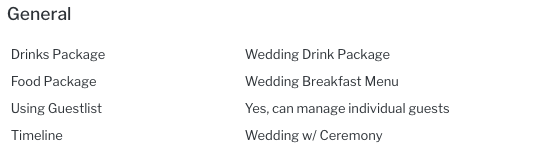
- Drinks Package- optionally choose from the drop down menu of drinks packages, Drink Pricelists.
- Food Package- optionally choose from the drop down menu of food packages set up for food, Product Menus.
- Default Timeline- optionally choose from drop down menu of default timelines, Default Timelines.
- Using Guestlist- Yes or No. If No, your customer provides the confirmed guest numbers without any guest details. Yes gives you and your customer access to enter a full guest list to manage food choices and seating arrangements at a later stage.
- Allowed Guest Types- You can change here if you are not following the event type defaults. Guest information required in the pre-confirmation process will adjust accordingly.
- Auto convert charges into invoices- Optionally set up charges to be converted to an unpaid invoice a set number of days before or after (in case on non payment) the due date. This may be particularly helpful for corporate customers who require an Invoice for payment, or for Xero users who want unpaid charges converted to invoices so they sync with Xero.
- Allow Bar Section- turn the bar section on or off for this specific event.
- Enter your estimated guest numbers. At this phase this is an estimation and is not reflected in the package price. These numbers will be pulled through for your approximate cost in the T&Cs, if you are using the approximate cost tokens.
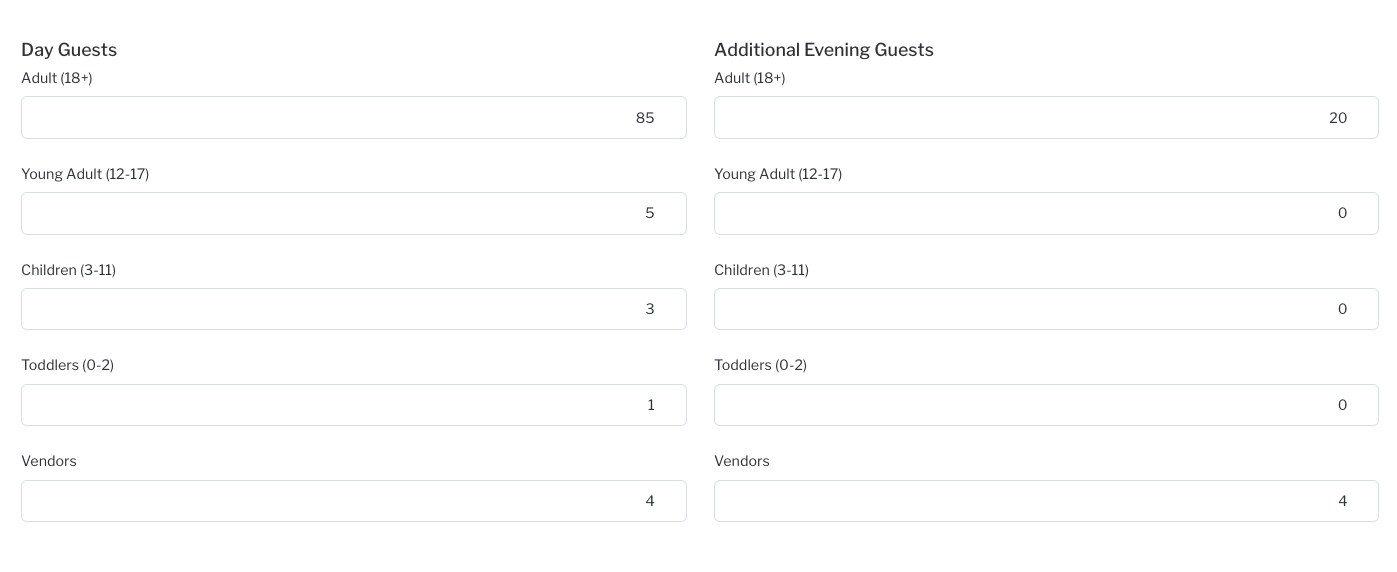
- Click Next.
- Complete the Price Breakdown page, filling out each of the empty fields. These are the number of guests included in the package. Any additional guest will generate a charge at the Extra Guest Price. Each of the boxes in this section must have a number inputted to move to the next step. If no children or Infants are included, for example, you must still input 0.
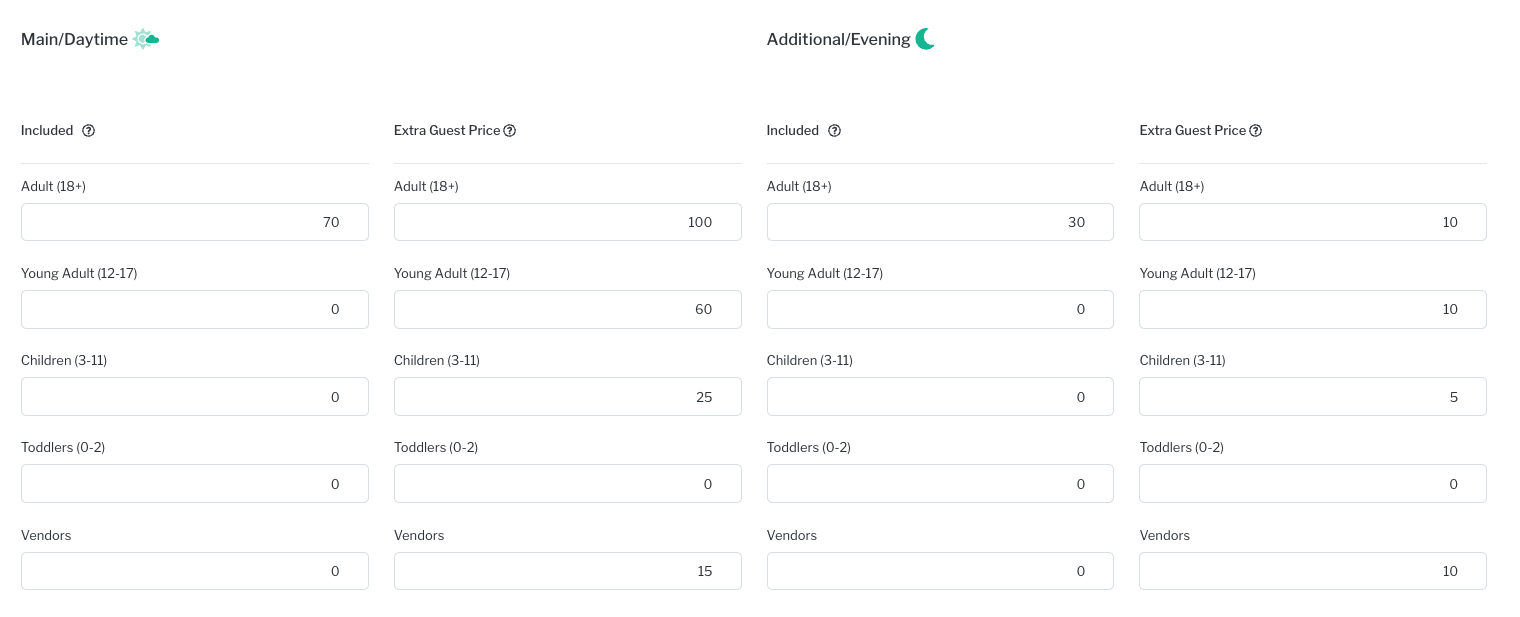
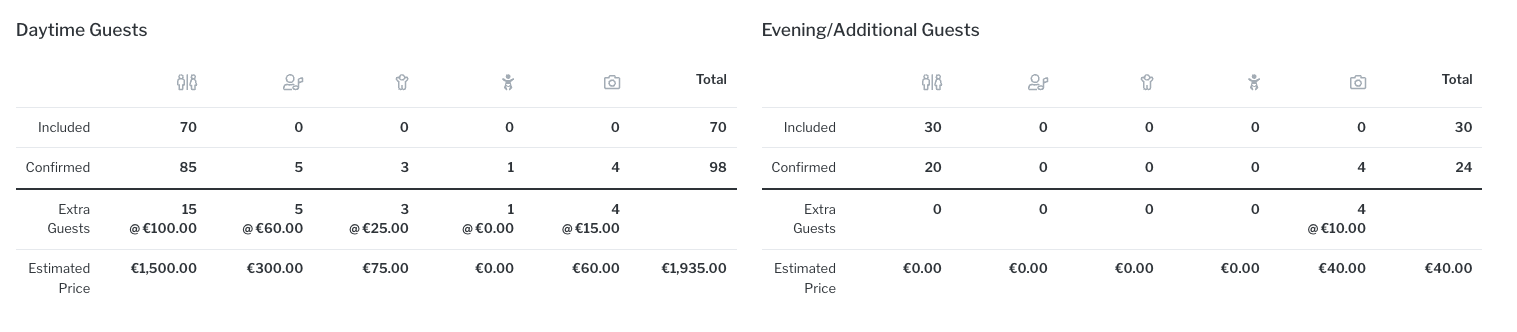
- Fill out the Included Guests section for both the daytime and evening guests included in the package.
- Complete the Extra Guest Price for the daytime and evening guests. The price listed here will be charged for each guest beyond the included number.
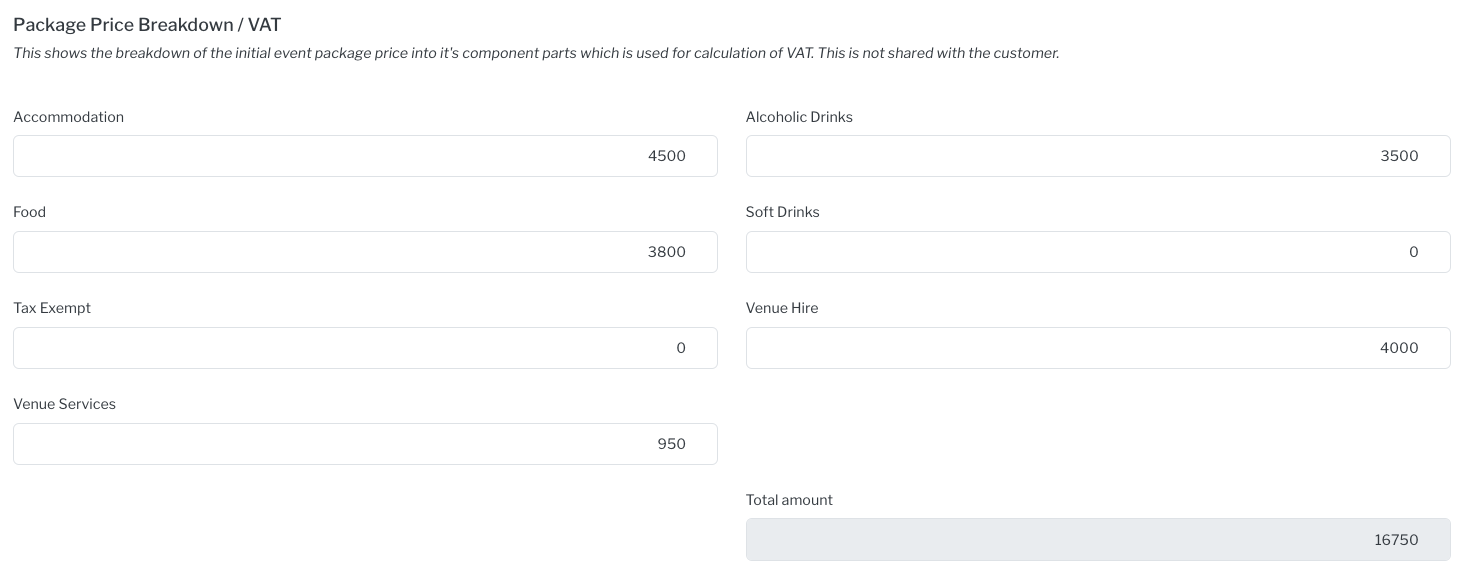
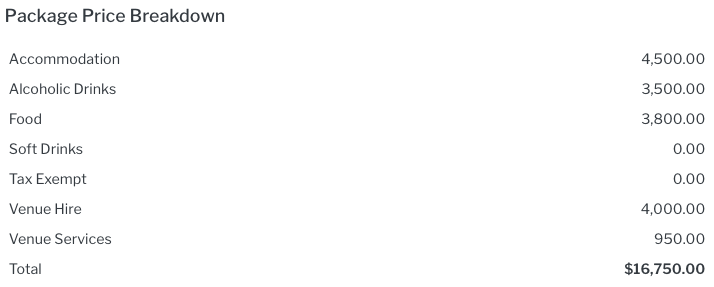
- Complete the Package Price Breakdown to provide your venue with a breakdown of the component parts of the package price for the event. This is for internal reporting purposes and for the calculation of VAT (as provided in the Venue Invoicing section). The package price breakdown includes six default categories: Food, Soft Drinks, Venue Hire, Gratuity, Alcoholic Drinks, Services, and Tax Exempt. You can create any custom categories for your Company. The total amount combined here will provide you with the final figure for the base package for this event. This is the amount the payment plan will be based on.
- Click Next.
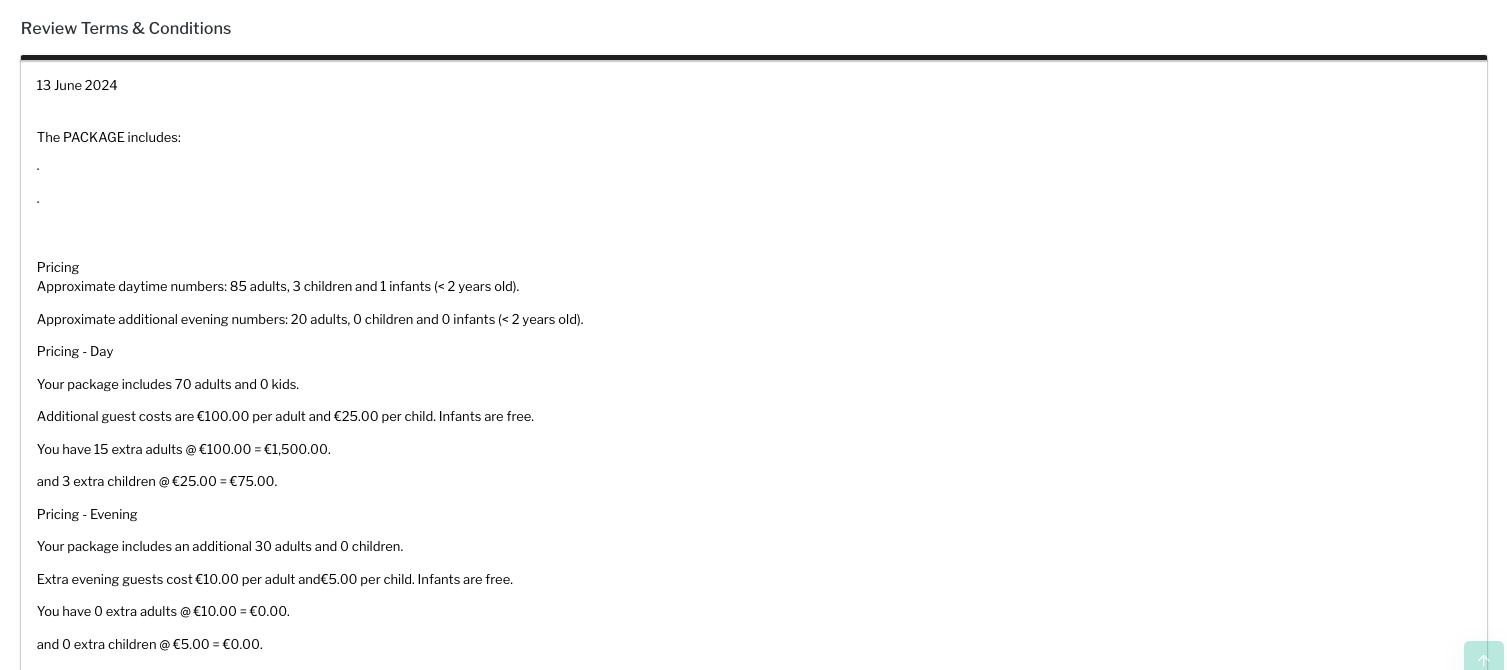
- Complete the Terms and Conditions by selecting the T&C template to apply to this event.
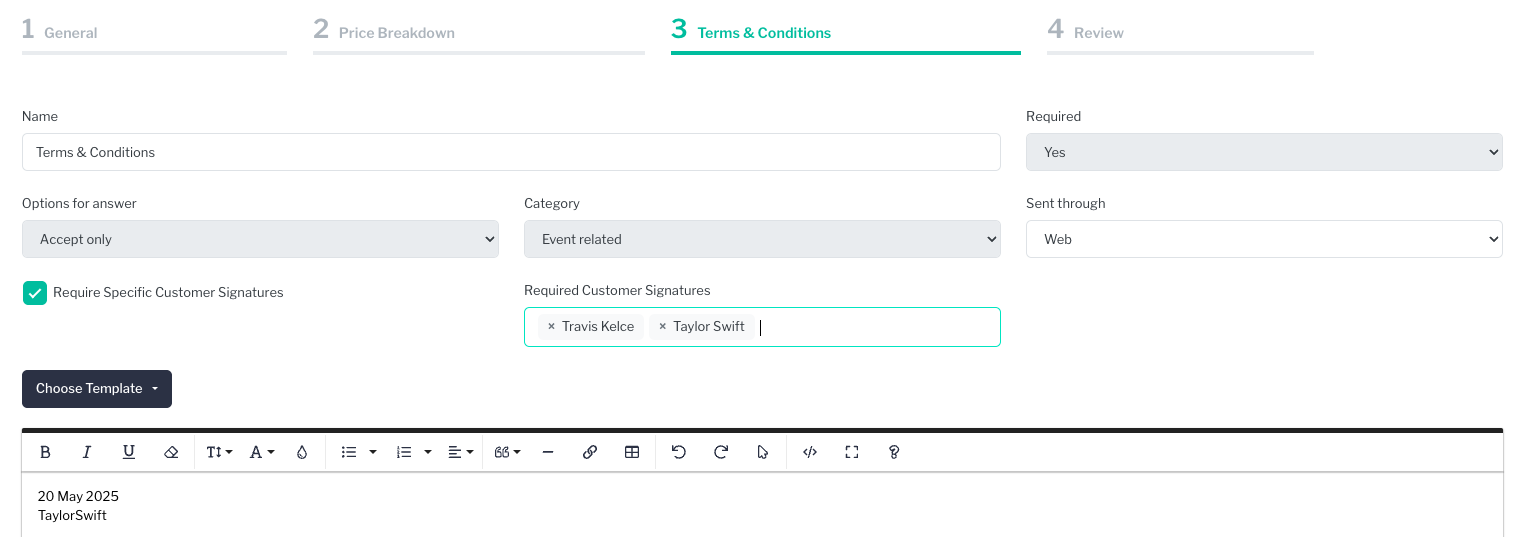
- If you want to require acceptance by a specific customer or multiple customers, check the box. Then select which customer(s) are required to accept the T&Cs. Please note that the partners must be added to the people section to appear here.
- Make any required edits or additions.
- Click Next.
- REVIEW. This is your last chance to review everything before submission.
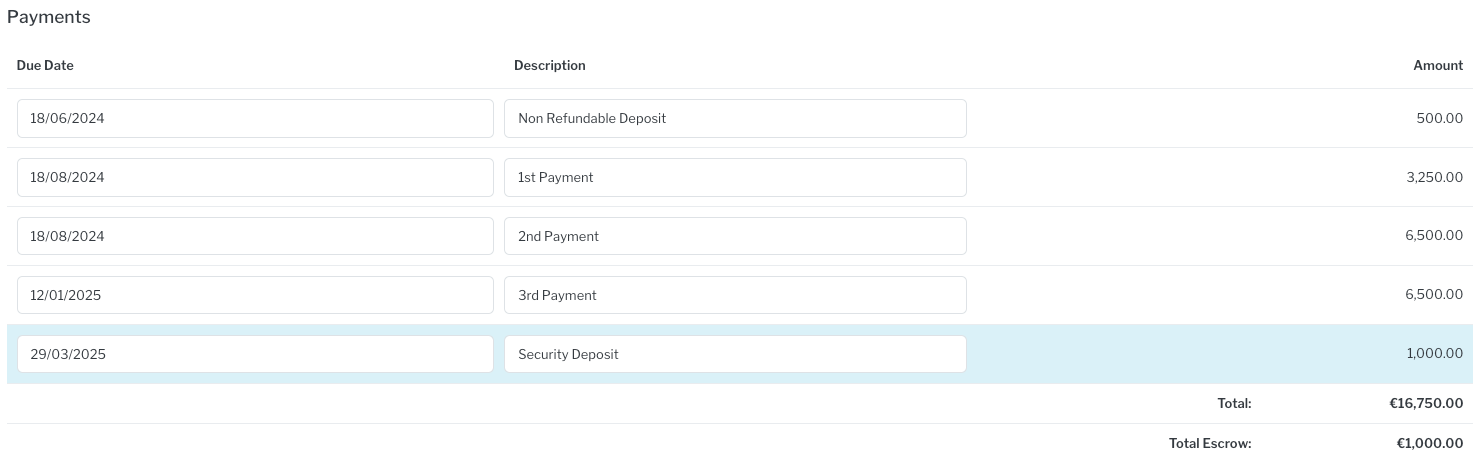
- Payments, you can edit due dates and descriptions, if needed.
- General
- Package Price Breakdown
- Access

- Guests
- Terms & Conditions
- Payments, you can edit due dates and descriptions, if needed.
- Click Submit at the bottom right hand corner of the screen.
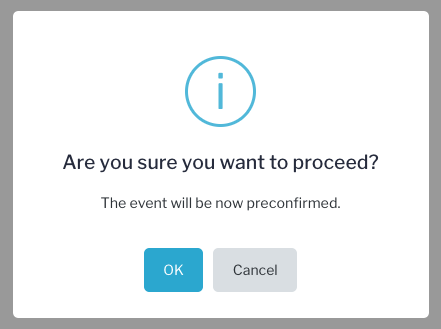
- There is a pop up to confirm that you want to proceed. Pre-confirmation will send the customer a link to login to Sonas, to confirm the Terms and Conditions and pay the booking deposit. Click OK to change the wedding’s status to pre-confirmed or Cancel to return to the review pages and make any necessary changes.
- You will see that the status at the top of the screen next to the wedding date and customer’s names has now changed to Confirmed-Pending (in orange).

- The next step is to Confirm the event once the contract is accepted and the booking deposit has been paid. See Confirming an Event.
Related Articles
Putting an Event on Date on Hold