

When you have changed the wedding status to pre-confirmed (and the customer has an email with access to their Sonas portal) you must wait for them to accept your terms and conditions. Once they have accepted these you can change the status of the wedding from pre-confirmed to confirmed and the joint planning of the event in Sonas can begin.
Confirming an event from the pre-confirmed status
Step-by-step guide:
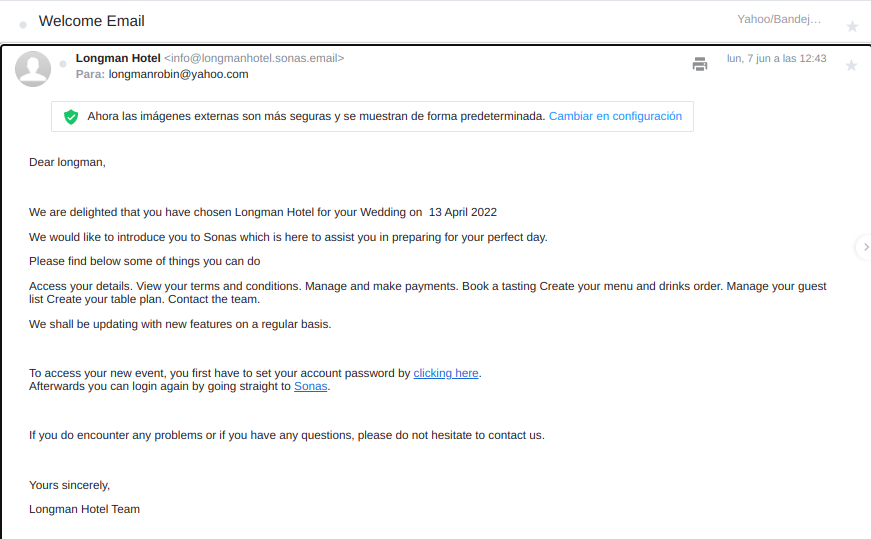
- The email received by the customer will be based on the template welcome email set up in your Templates menu in the sub menu for your venue. The default email template looks like this:
- Once they have followed the link in the welcome email to create their Sonas password, they can log into Sonas in the same way the venue does at https://app.sonas.co
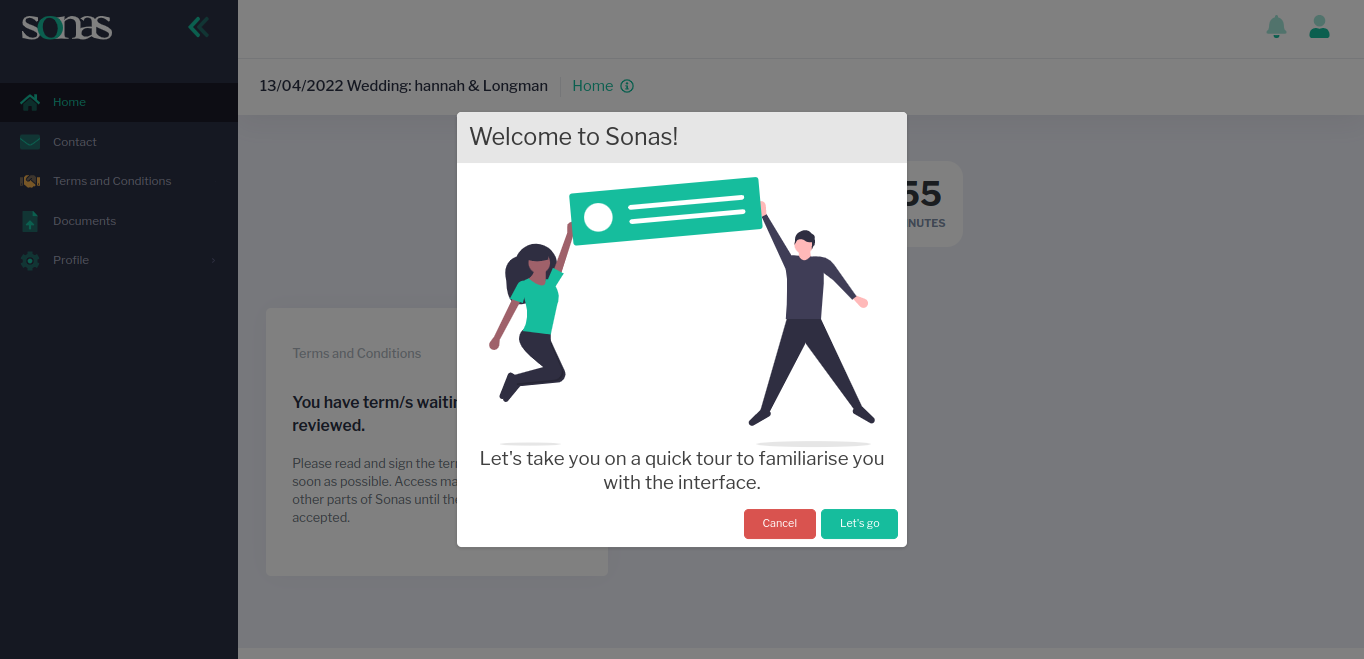
- Upon logging in, your customers will get a welcome message giving them a brief explanation of how everything works. This includes the notification bell in the top right hand corner (exactly the same as your venue’s Sonas) and the main dashboard. This has a countdown to their wedding date and an alert that the terms and conditions sent by your venue need to be reviewed.
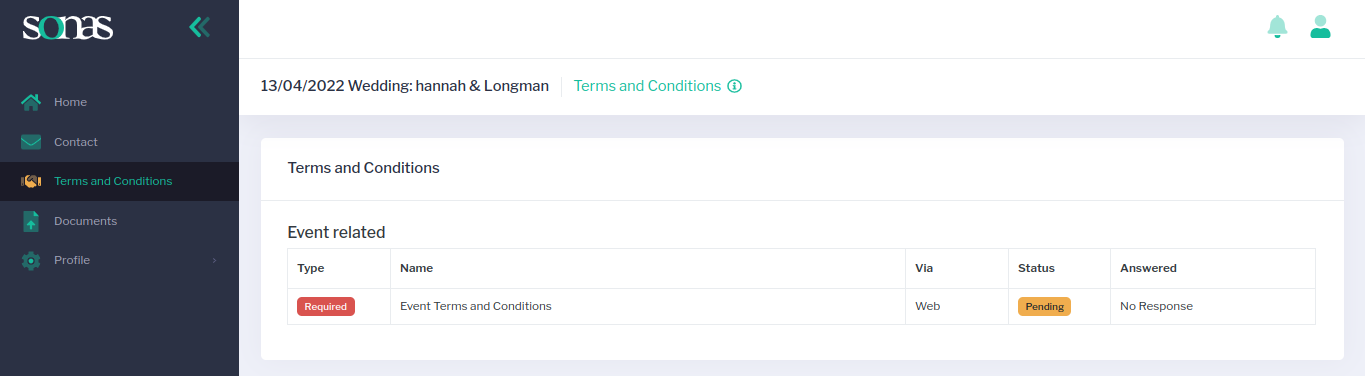
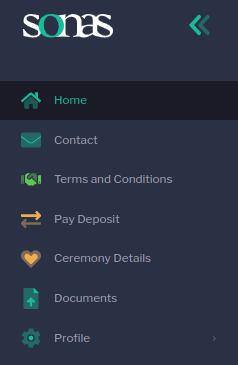
- Until the customers have reviewed the terms, they cannot proceed with the next stages of the wedding planning. When they click on the Terms and Conditions menu they will be taken to a screen to action them with a response.
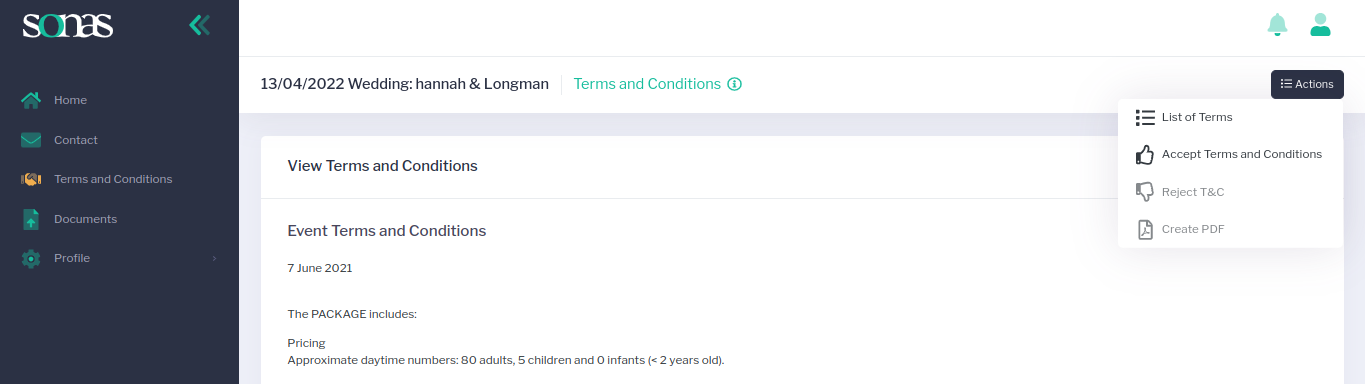
- Once they are happy with the agreed terms, they will need to click on the Actions menu in the top right hand corner to send their response. As it is a required agreement in order to proceed with the event, the only option available to them in the menu is to Accept Terms and Conditions.
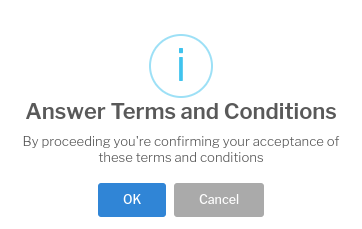
- The customer will get one last warning screen to ensure that they are happy to agree to the terms.
- Once they press OK to confirm, the icon for the Terms and Conditions in the left hand side menu will change from amber coloured (meaning pending confirmation) to green (meaning confirmed).
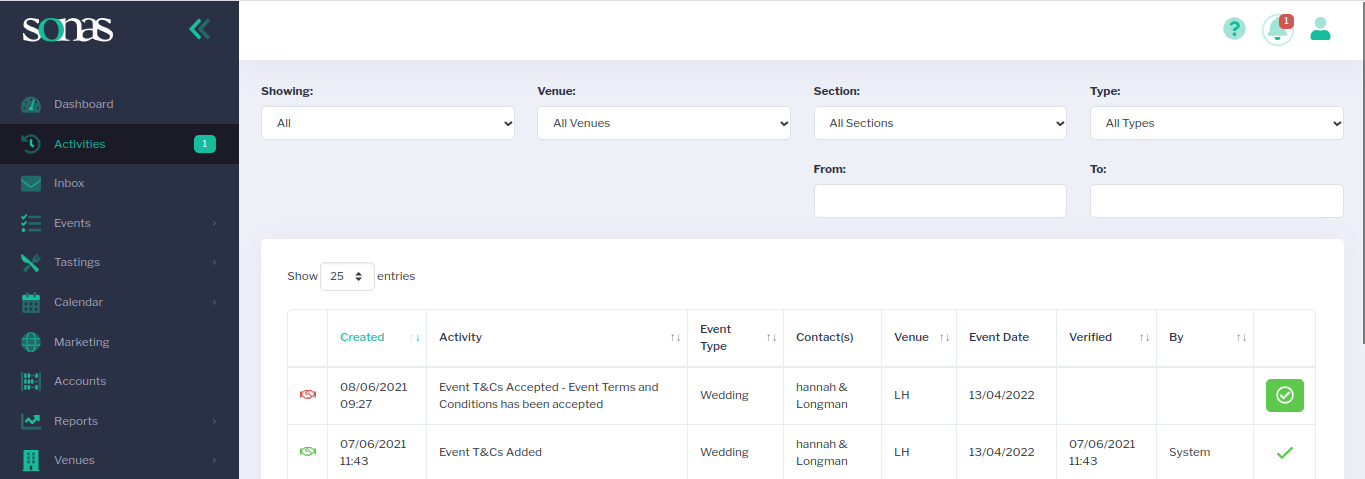
- Meanwhile your venue will receive a notification (top right hand corner) and an alert in your Activities menu that the terms and conditions have been accepted. Depending on the settings of your initial setup, this may need to be verified manually by clicking on the green tick in the circle next to the activity outlining the change.
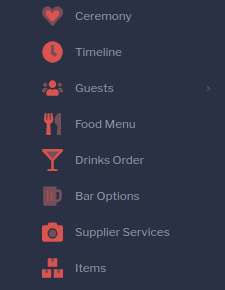
- Once this is verified, the full sub-menu of sections for the wedding planning will open up. The sections will all be red in colour (meaning action required). These include:
The final step is to change the status of the wedding from Pre-Confirmed to Confirmed. This will allow the customer access to the above menu and start to plan the wedding in unison with the venue.
Click on the General section of your customer’s event sub menu.
Click the Actions menu in the top right hand corner and then Confirm.
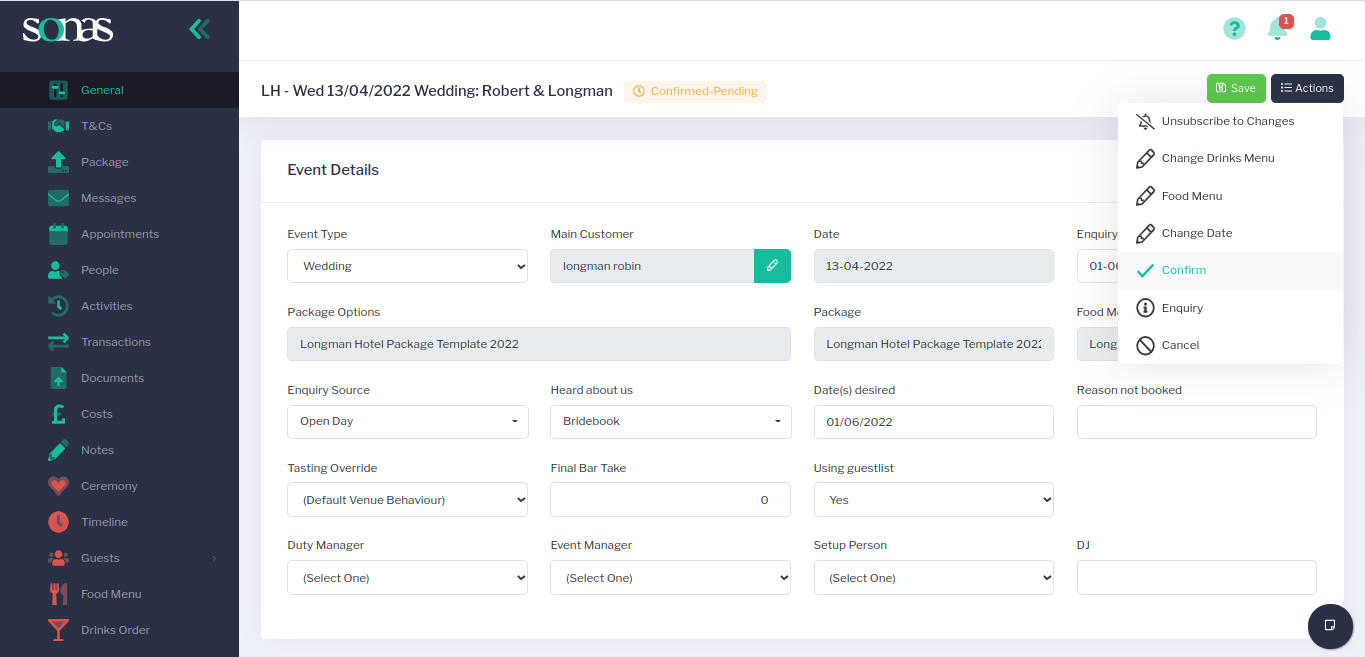
One final alert will pop up asking if you wish to Confirm the Event?

The wedding is now confirmed and you will see that the status at the top of the screen next to the wedding date and customer’s names has now changed to Confirmed.
Your customer will now have full access to all of the wedding planning sections in their Sonas portal.