

Once you have inputted the dishes available at your venue in the Product section, you can now build the complete menus that are on offer at your events. You can build as many different menus as required for your venues, outlining the different catering packages on offer for each stage of the wedding. The menu templates provided here will feed in directly to the menu choices chosen by your customers (and their guests) when they plan their event with you.
Video Tutorial for MENU BASICS (see bottom for deep dive videos)
Step-by-step guide:
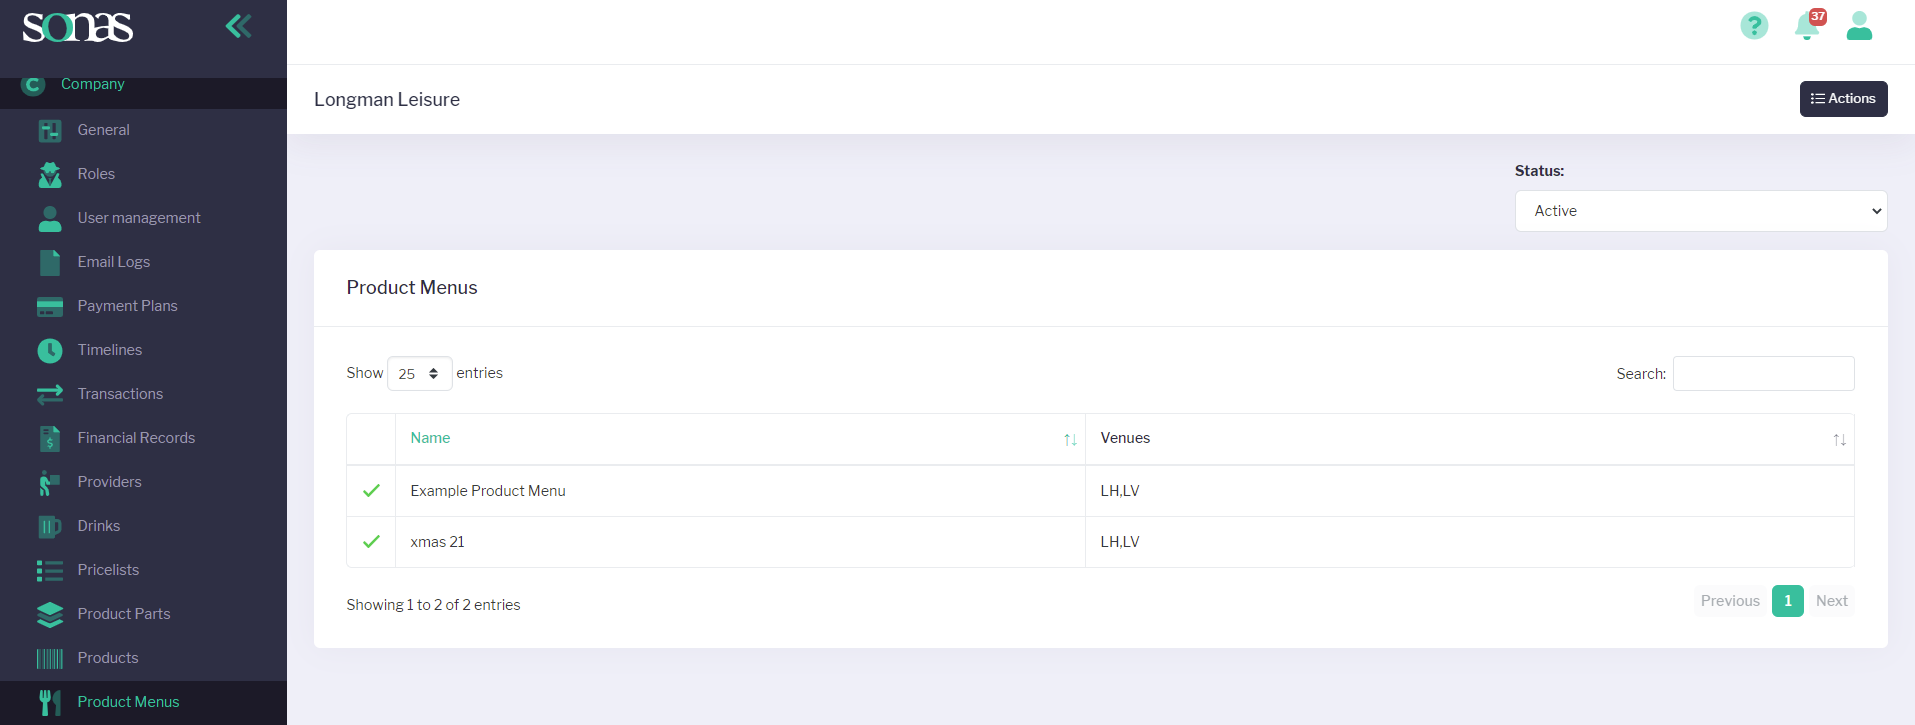
Near the bottom of the main Sonas menu, click on Company to bring up a sub menu.
In the sub menu, click on Product Menus. You will find one listing set up already in this section called Example Product Menu. This template can be amended to match the menu offering for each of your venue’s events or you can add in your own product menu template from scratch. N.B. We suggest that you use the example template as a base to change your templates.
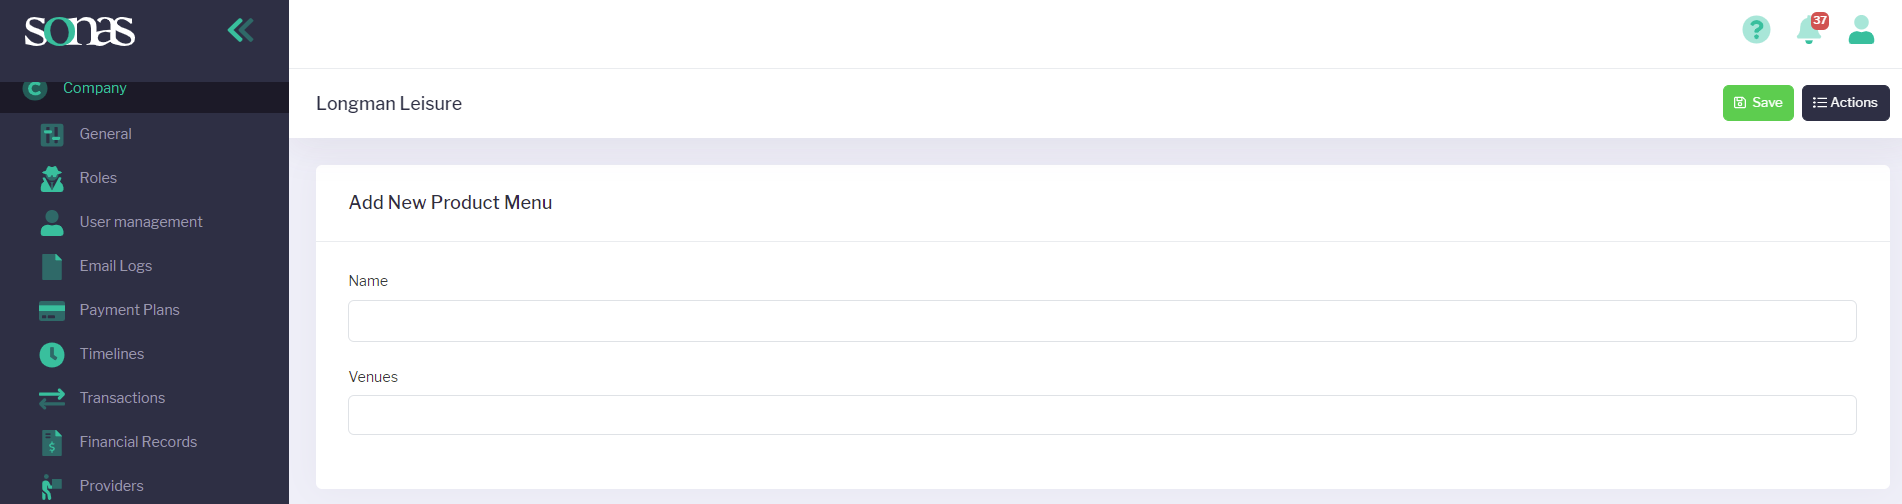
To add a new product menu for your company from scratch, click the Actions menu in the top right hand corner and then + Add New Product Menu.
Complete the information required under the Add New Product menu. These include:
Name (e.g. Fully catered 3 course meal)
Venue (you can specify this package for one or multiple venues within your company)
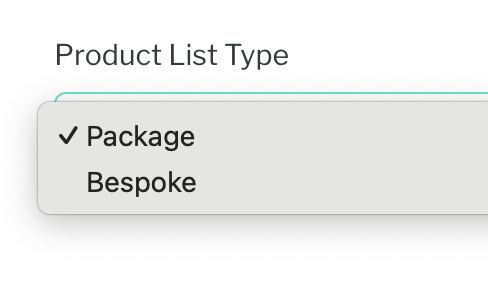
Select the menu type:
Package, if the menu is a per person cost, with supplemental charges for premium products or upgrades
Bespoke, if the menu is al la carte, each selection having its own individual cost.
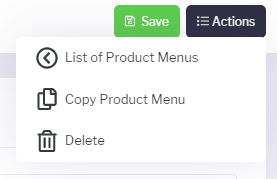
The next page will be called Product Menu Details which is where you will build the specifics of the menu from scratch. Note: It is often easier to copy the template of an existing menu to give you a quicker startup with pre populated headings. You do this by clicking on the Copy Product Menu as listed in the Actions within the menu you wish to copy, example menu will always be present upon your initial setup.
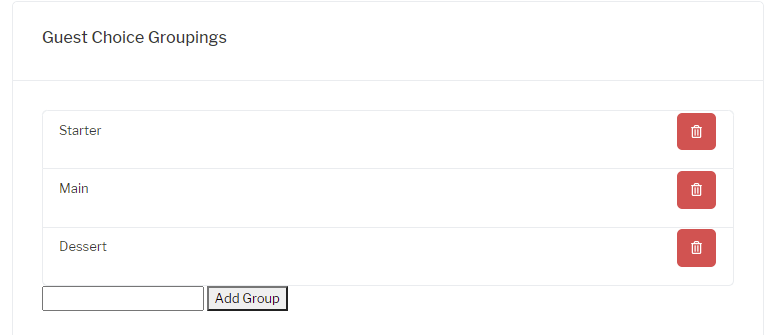
On the right hand side you will see the heading of Guest Choice Groupings, where the default options listed are Starter, Main and Dessert. These groups are the ones that your guests will be able to choose from when selecting their menu (not including the specific options that your couple can choose in addition to these courses e.g. sides/salads etc that will be generic for all of the guest’s meals). More courses can be added by typing the name of the new option in the blank box and clicking Add Group. These choices can also be deleted using the red bin icon at any time.
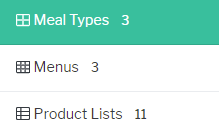
There are 3 categories listed on the left hand side of the page: Meal Types, Menus and Product Lists. Meal Types refer to the different catering stages at the wedding (e.g. wedding breakfast) from which you can choose your Menus (e.g. BBQ menu, 3 course wedding breakfast). Within the Menus are the Product Lists (the meal options that relate to that group e.g. leek and potato soup, ham hock terrine). Each of the 3 categories must be completed in turn to form a full menu for your clients to choose from. To start with you must confirm your Meal Types.
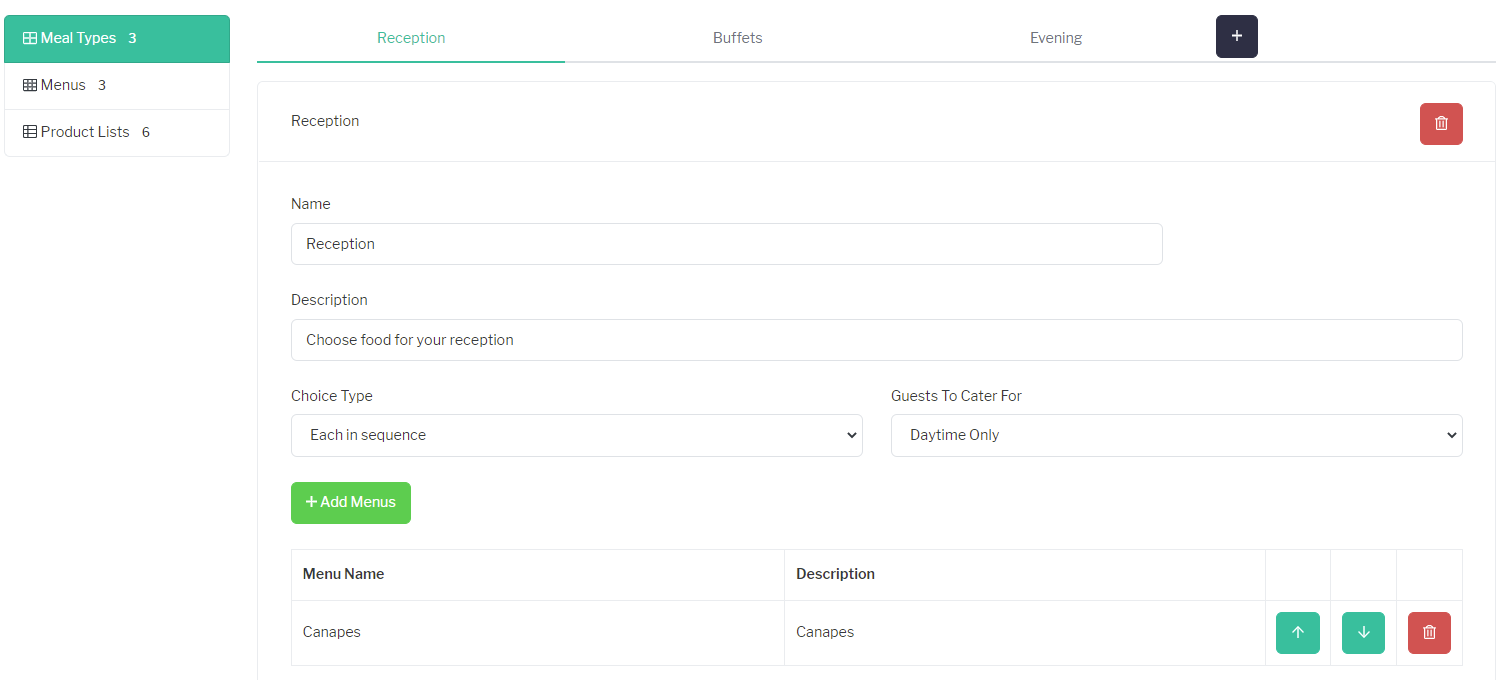
Meal Types relate to the different catering stages of each wedding event. The example template lists the Reception, Wedding Breakfast and Evening as the primary catering categories. You can amend the names and descriptions of each of these as necessary or add in additional stages by clicking on the + next to the section headings. For example your venue may also add in breakfast as a meal type if that is included, or change the heading wedding breakfast if you only provide buffet options.

Each of the Meal Types now require a specific group name allocated to each menu option. The default options already allocated to these catering sections are are:
Reception - Canapes (example group)
Wedding Breakfast - Wedding Breakfast (example group)
Evening - Evening (example group)
To add or change the groups, click on + Add Groups to increase the categories from the default options.
Once you have set up the main catering sections associated with each wedding, you can move onto Menus to allocate which product groupings are associated with each stage of the wedding catering. Note: You will need to return to the Meal Type section once you have added in any new Menus to ensure they are included within the correct meal. Always go back and review this at the end of the next stage to ensure that your menus don't go unallocated.
Each of the Menus will have default categories allocated to them. For example, in the wedding breakfast group there are 9 different product lists associated with that menu. These include: starter, main, dessert, side, potato side, child starter, child main and child dessert. Note: If you are outlining an extensive buffet menu you may wish to have very different product groups in here. They could be the varying types of “sharing platter” you offer such as meat, cheese boards, Mediterranean selection etc. Another way to set up the different buffets available would be to have a standard buffet menu and a separate premium buffet menu for upgrades such as more expensive or extra choices. The Product Lists are then the dishes available to choose from for that particular buffet or platter option (see point 16 below).
As per the earlier sections, you must work your way through the main headings (canapes, wedding breakfast and evening) to make your product group choices for each one.
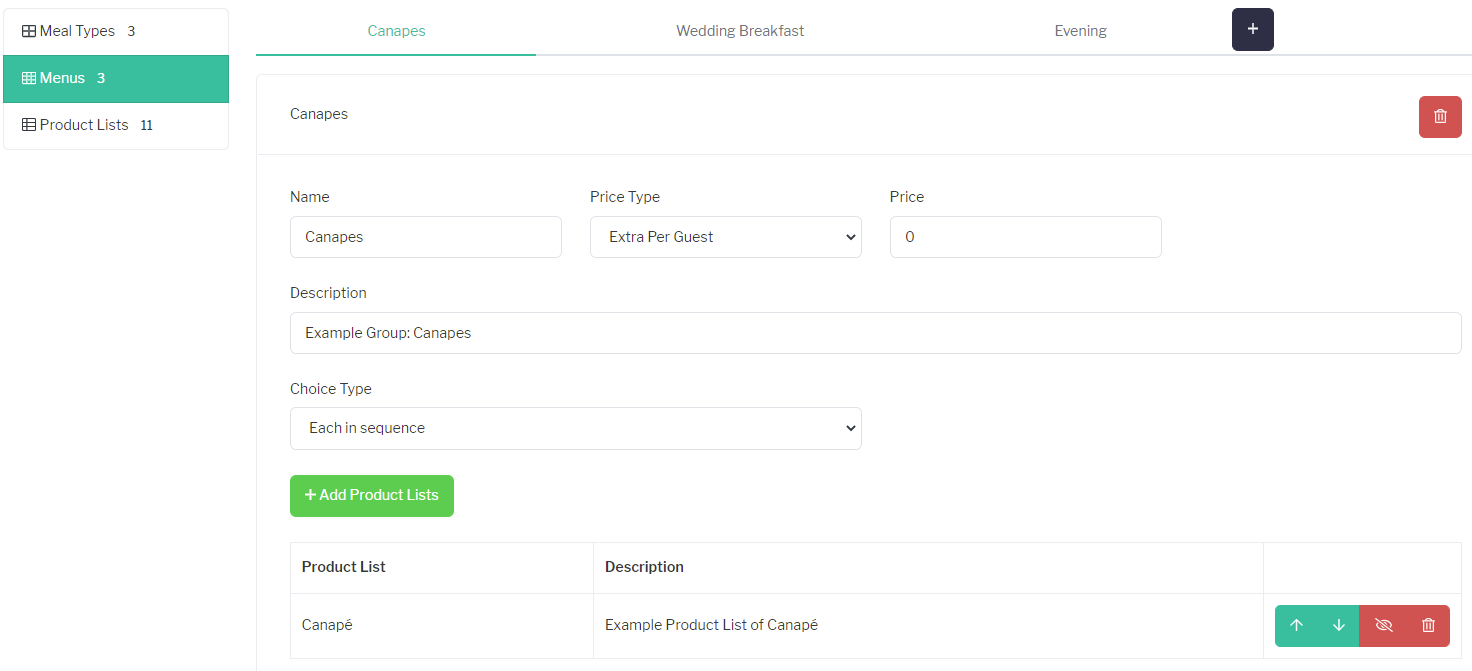
Alongside the Name and Description for each of the Menus, there are two options in the drop down list for Choice Type to choose from:
Each in Sequence
Choose One
It is important to define these options to establish how many menu choices are on offer to your clients. For example, you may have 3 buffet options available for the evening catering, from which you want your customers to just Choose One. For the wedding breakfast option, it is more likely that you want your customers to choose their menus Each In Sequence, selecting their starter > main > dessert sequentially. You can change the sequence by clicking the green up and down arrows next to each one of the product lists in the menu.
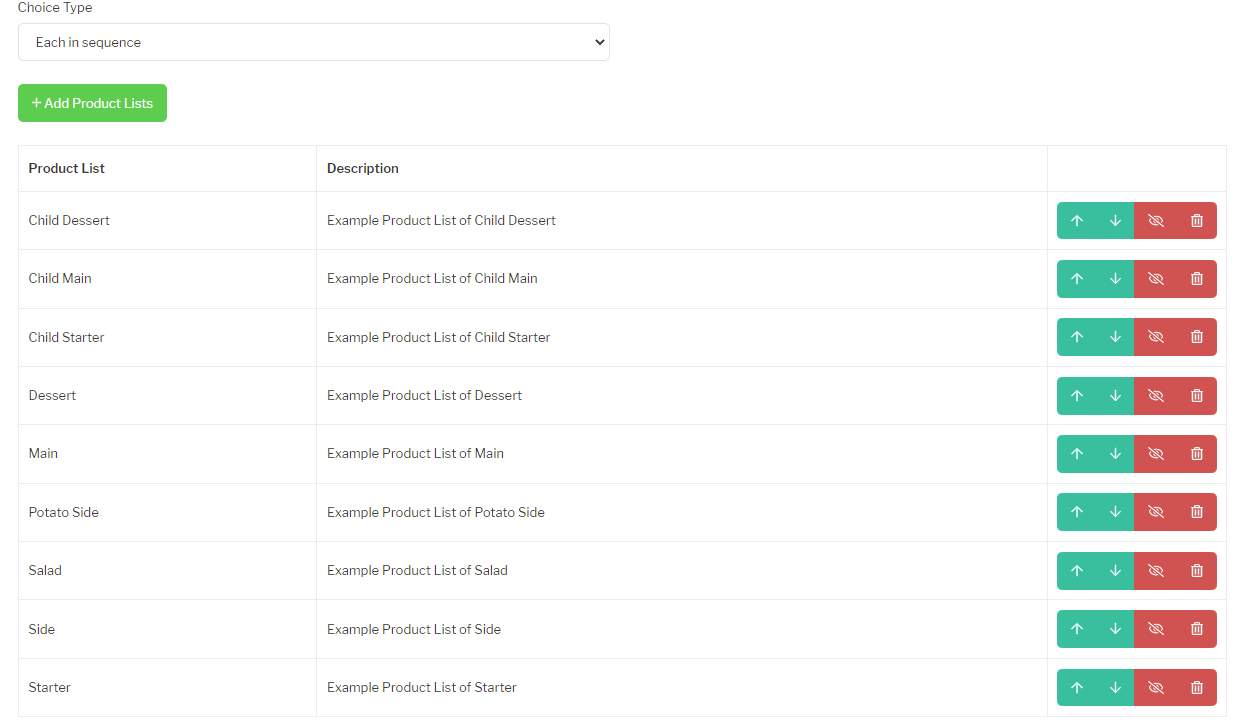
The final stage involves building your Product Lists. This involves adding in the individual menus that you have previously inputted in the Products section of Sonas.
There are 11 product lists set within the default options but you can add in more as required by clicking on the + next to the list headings on the top right hand side of the table.
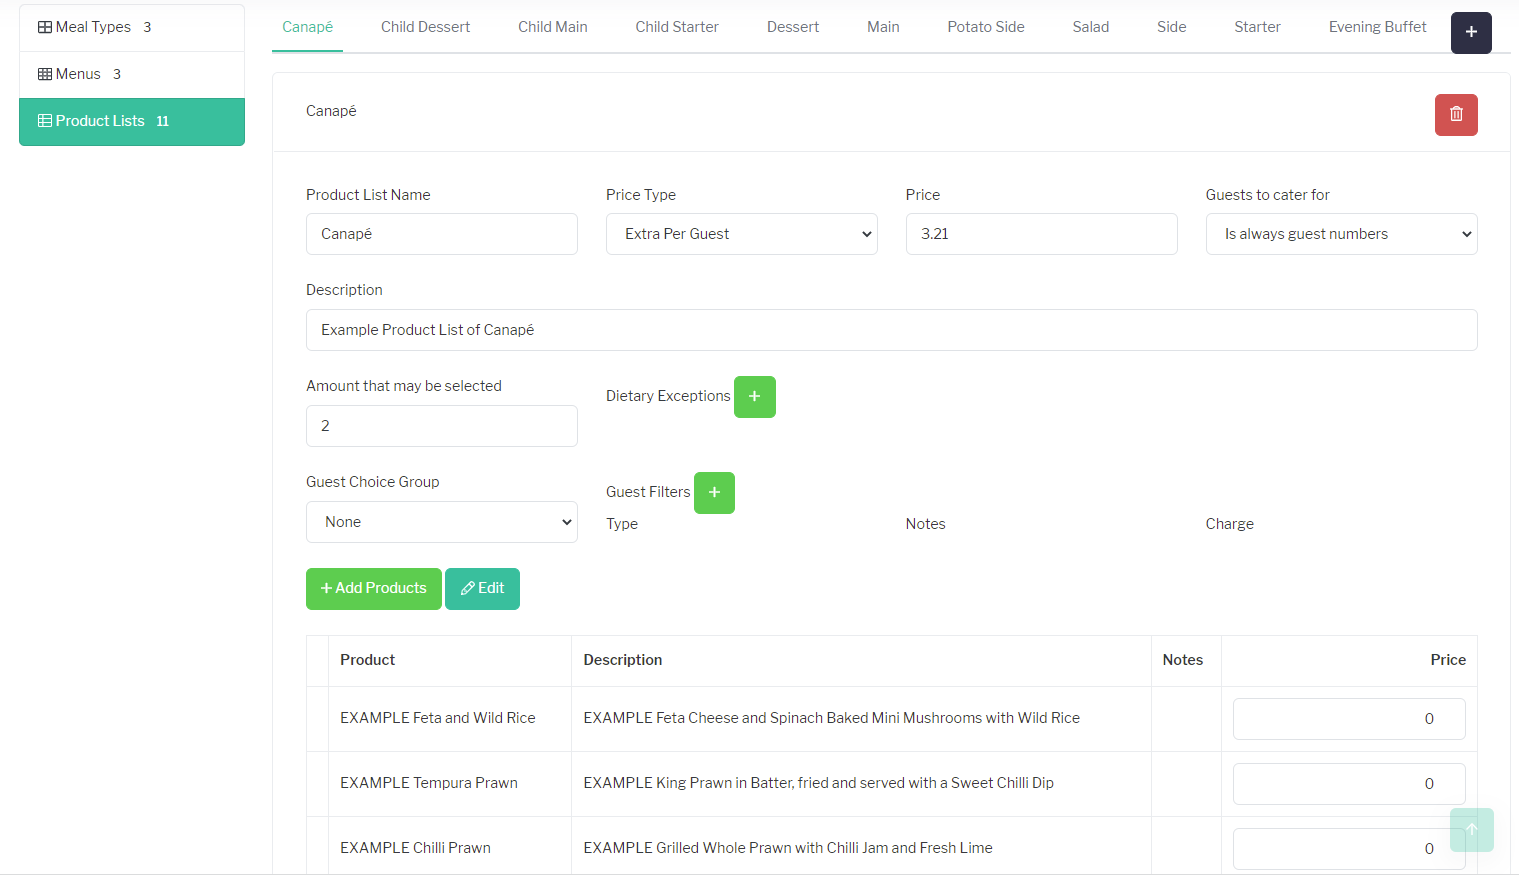
Within each of the product lists, you must now allocate your products and establish whether that particular category is included in the menu or charged as extras. As default, the canapes are listed with an extra charge per guest whereas the other menu options associated with the wedding breakfast and evening meals are included as part of the wedding package price. You can amend these options by clicking into each one in the product list.

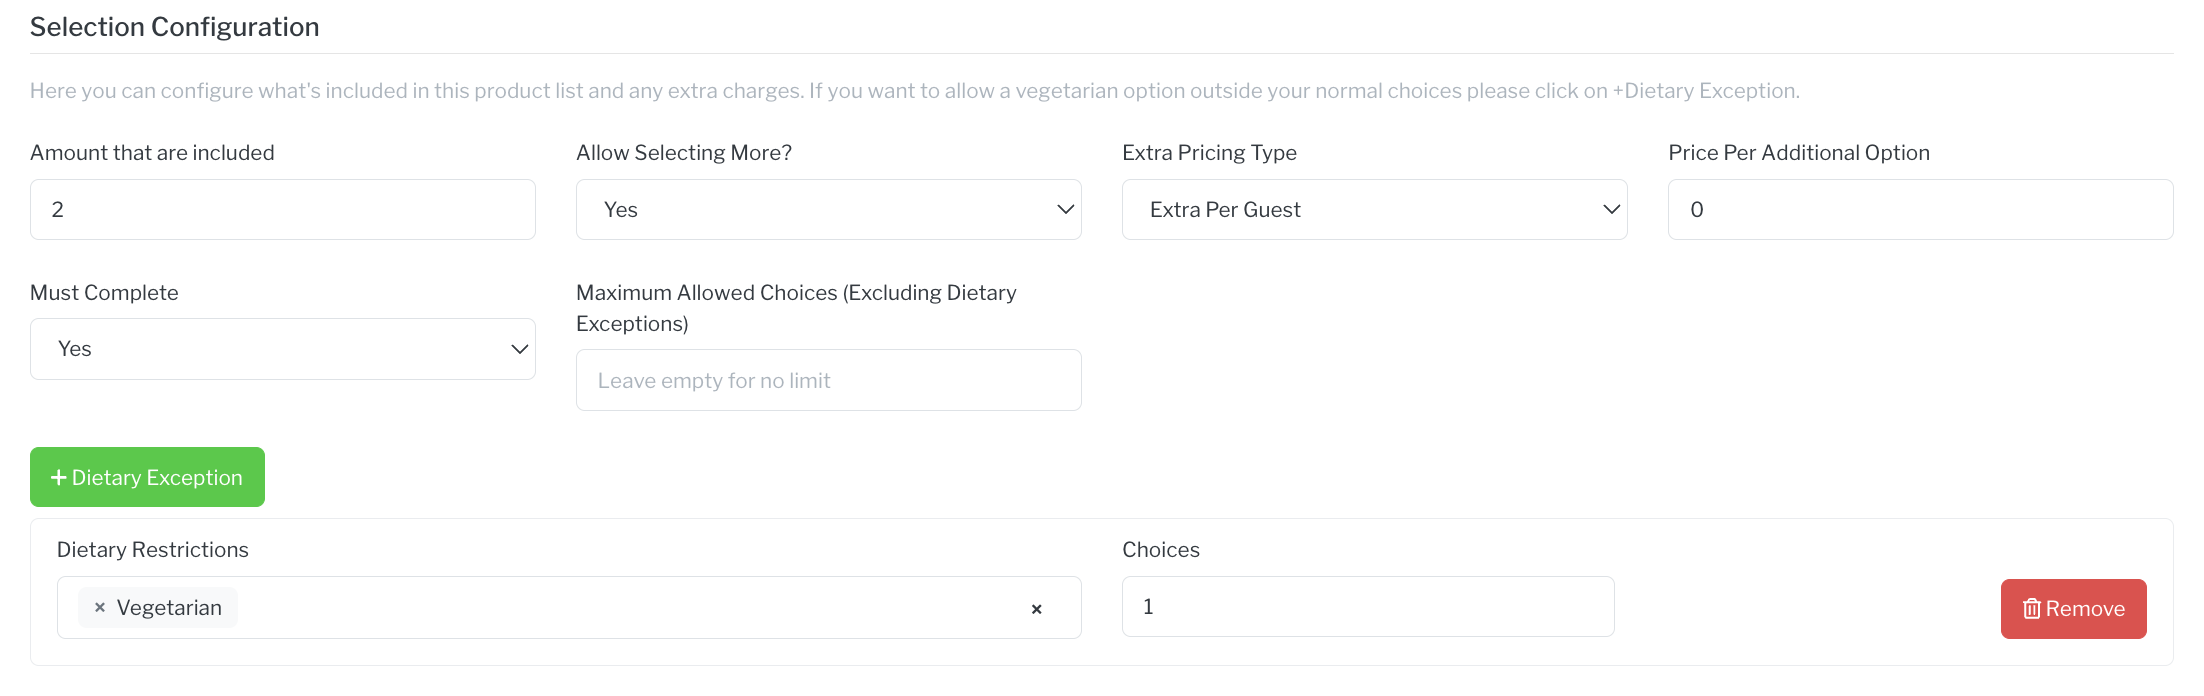
The next choice to be made is the Amount that may be selected for each one. The default is set to 2 options to choose from for each category on the menu (i.e. choose 2 mains from the selection of 6 options). This can be changed as required based on your venue's catering offerings for events. You can add in dietary exceptions here too - for vegans and/or vegetarians - to ensure your menu always provides an extra option for these guests too. If you add in a dietary option here, it will provide an additional option on top of the default amount selected (i.e. 3 instead of 2 menu choices). You can also make a selection from this produce list mandatory and set the maximum number of choices allowed.
Next, you must select the guest choice group for each of the categories to be allocated to. As per the Guest Choice Grouping selected at stage 6. the default options are starter, main and dessert from which guests are able to make their menu choices. The other smaller categories on the menu such as salad or side are normally decided by the couple to cover all of their guests. In this instance the Guest Choice Group is set to None.
The final option in this category is to add in Guest Filters here. This feature is in place for 2 main reasons:
To give your guests the option of giving Child or Infant guests the same menu that is offered to all adult guests - adding a note with the children’s option to indicate “half size/reduced portion”.
To provide a meal option for a supplier at the wedding and the ability to add in an extra charge for this service - for example catering for the photographer who is not a registered guest but may require a meal at the event.

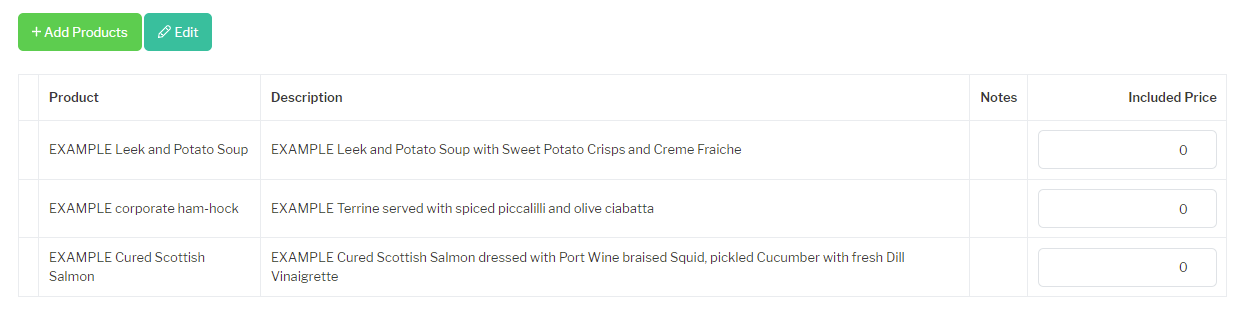
Add in the products (your menus) to each of the categories by clicking on + Add Products above the product list.
As discussed earlier, it is advisable that you then work your way back up the menu in reverse to ensure your product lists are added to your menus, and your menus are correctly allocated to your meal types. Click save in the top right hand corner of the screen to update your overall Product Menu choices. Note: Save regularly throughout the process as the menu does not autosave whilst you are building it.
For more specific detail on creating your menus, check out the help article personalising your menus with additional choices, supplements and charges.
Additional Video Tutorials- DEEP DIVES