

Sonas supports the sending of bulk emails with a Sparkpost integration, or exporting targeted emails lists to an external tool. This article reviews what bulk emails are and why using a bulk email tool is important, followed by links to show you how to export an email list and how to send in Sonas with the Sparkpost integration.
What are bulk emails?
Bulk emails are messages sent to a multiple recipients at once, usually for marketing, announcements, newsletters, or promotions. Instead of sending individual emails, bulk emails allow businesses or organizations to reach many people in a single send.
In Sonas, these messages can be event related, such as emailing all events scheduled during a defined period of time to let them know of say, construction. Or they can be marketing related, emailing all idled enquiries about a promotion or emailing all completed events about your upcoming Christmas Party, for example.
Before you send your bulk email, consider if your email is event related or marketing, and take the related permissions into consideration. See Marketing Permissions and Event Related Emails.
In Sonas, you must use the bulk email functionality when sending to multiple, non related, contacts.
Why use a bulk email tool?
Using a bulk email tool offers several benefits:
- Saves Time: You can send emails to many people at once instead of doing it individually.
- Personalization: You can customize emails with each recipient's name or details, even when sending in bulk.
- Track Performance: These tools show you who opened your email, clicked links, or unsubscribed, helping you improve future campaigns.
- Better Delivery: They help ensure your emails land in the inbox, not the spam folder.
- Targeted Contacts: Easily manage and segment your contact lists for targeted emails.
- Test for Best Results: You can experiment with different email formats or timings to see what works best.
- Follow Email Laws: They help you stay compliant with regulations like including unsubscribe options.
- Easily Scalable: Whether you need to email tens or a few hundred, the tool grows with you.
In short, a bulk email tool makes larger-scale email communication faster, more effective, and easier to manage.
What tools are available in Sonas?
There are two ways to send bulk email with the assistance of Sonas.
- Sparkpost: This is a cloud-based email delivery service used for sending large volumes of emails, often for transactional or marketing purposes. It provides tools for businesses to send, track, and optimize email campaigns.
- Export Mail Lists: In Sonas you can create a targeted email list and export this list to use in the bulk email tool of your choice. Although MailChimp may be the most name recognised tool, others include SendGrid, ActiveCampaign, and Sendinblue. There are numerous options to pick what best meets your organisational needs.
How to send bulk emails with Sparkpost
- Create the email you want to send. Navigate to your template section (Venue > Templates) and create a new Marketing Campaign template. Name it clearly so you can easily locate it later in step 5. See Email Templates. Be sure to use the tokens to pull in customer specifics for a personal touch and apply the correct footer. You must use the template type, Marketing Campaign as these are the only ones available when sending a bulk email.
- Navigate to the Marketing Section from your main tool bar.
- Complete the filters to create your targeted email list.

- Actions > Create New Marketing Campaign
- Click Custom Template to select your Marketing Campaign template created in step 1.
Fill in the fields- Campaign name: for easy reference (the customer will not see this)
- Send date: choose when and at what time you want the email sent.
- Subject: this will be populated from your applied template, edit if need be. This will be seen by the recipient.
- Body: Make any additional edits, if needed.
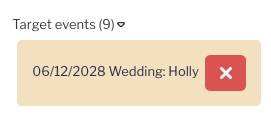
- Open up Target events and remove any recipients that met your filter but you don't want to include by clicking the Red X box.
- Click Show Preview to see what the email will look like.
- When ready, click Send.
How to track your Sparkpost campaign
As Sparkpost is the sender of your email campaign, all tracking will be done directly in Sparkpost. Log in to your account to see open rates, bounce-backs, and more. Please see Sparkpost Support on more ways to monitor your campaign using their platform.
How to send bulk emails with an external tool (MailChimp, etc.)
1. Export your email list
- Navigate to the Marketing Section from your main tool bar.
- Complete the filters to create your targeted email list.
- Actions > Export Emails
- Find your list in your download file Profile > Downloads
- Upload or copy and past your emails into your external bulk email tool.
2. Use your list in Mailchimp
The following steps are provided by the Mailchimp help guide on importing files, which can be found in their entirety here: Mailchimp, Import your file
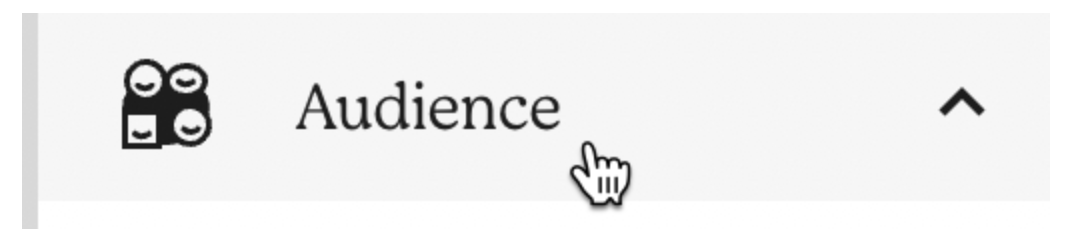
When creating your email campaign, click Audience.
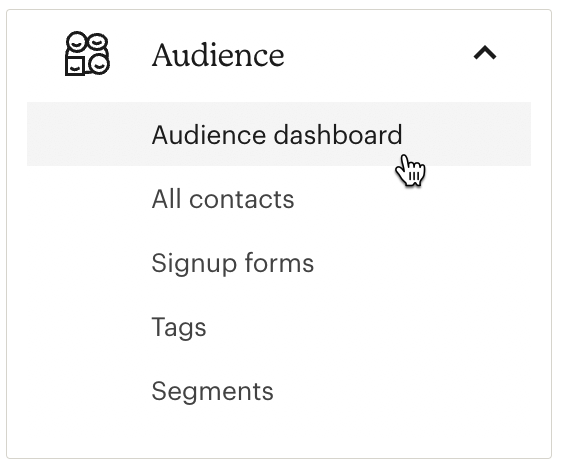
Click Audience dashboard.
If you have more than one audience, click the Current audience drop-down and choose the one you want to work with.
Click the Manage Audience drop-down and choose Import contacts.
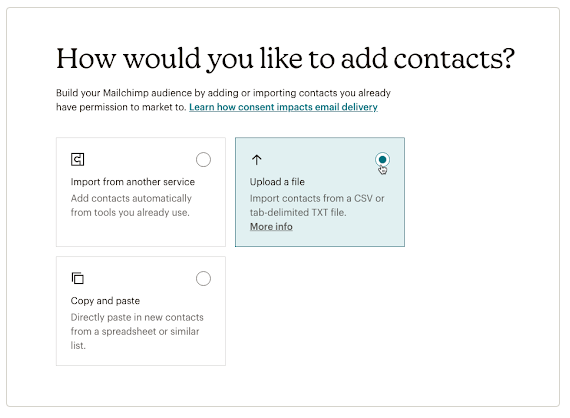
Choose Upload a file.
Click Continue to Upload.
Click Browse and choose the CVS file from your computer (the one you just created through Sonas in the steps above).
Click Continue to Organize.
Use the Select an audience drop-down to confirm the audience you want to import to.

Use the Select a status drop-down to choose the status of the contacts you’re about to import.

The available statuses for contacts are: Subscribed (if importing subscribed contacts, be sure you have permission to send them marketing, see the Mailchimp helpguide linked above for more information), Unsubscribed, Non-subscribed, Cleaned.
When you’re ready, click Continue to Match.
Match the columns in your import file to the fields in your Mailchimp audience. Mailchimp will automatically match some columns for you. For example, the column that contains email addresses will match the required Email Address field.
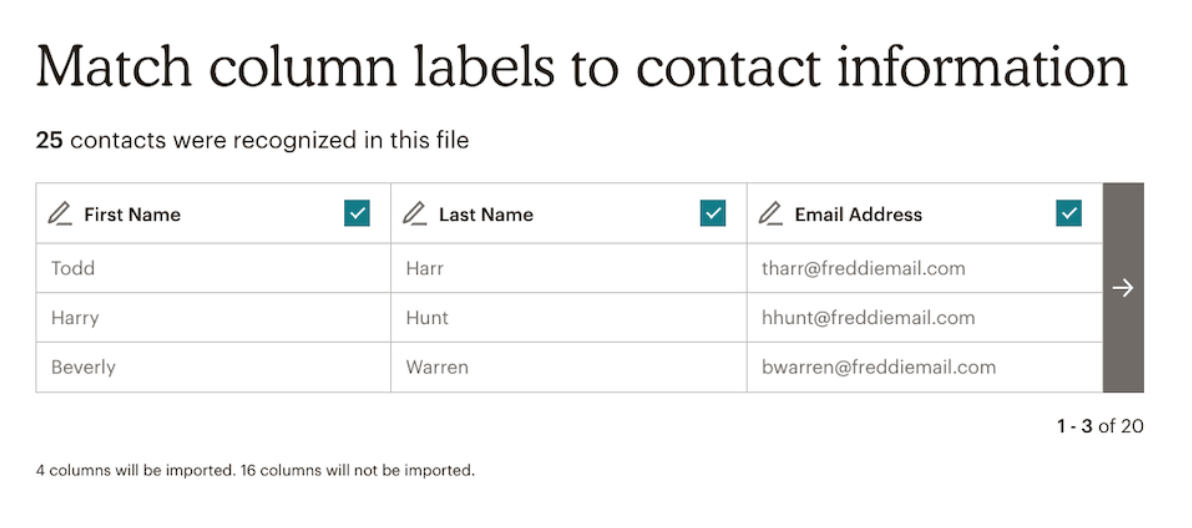
Click the column header to choose a different field type for the column or to create a new field. Repeat for all unmatched columns that you want to import. Any unmatched columns will not be imported.

Click Finalize Import to review your import settings.
If everything looks good, click Complete Import.
That's it! After the import is finished, Mailchimp will send a notification to the email address associated with your username.