

Creating a new venue is one of the first steps to set up your Sonas account. Additionally, you can always add new venues using the same process.
Step-by-step guide:
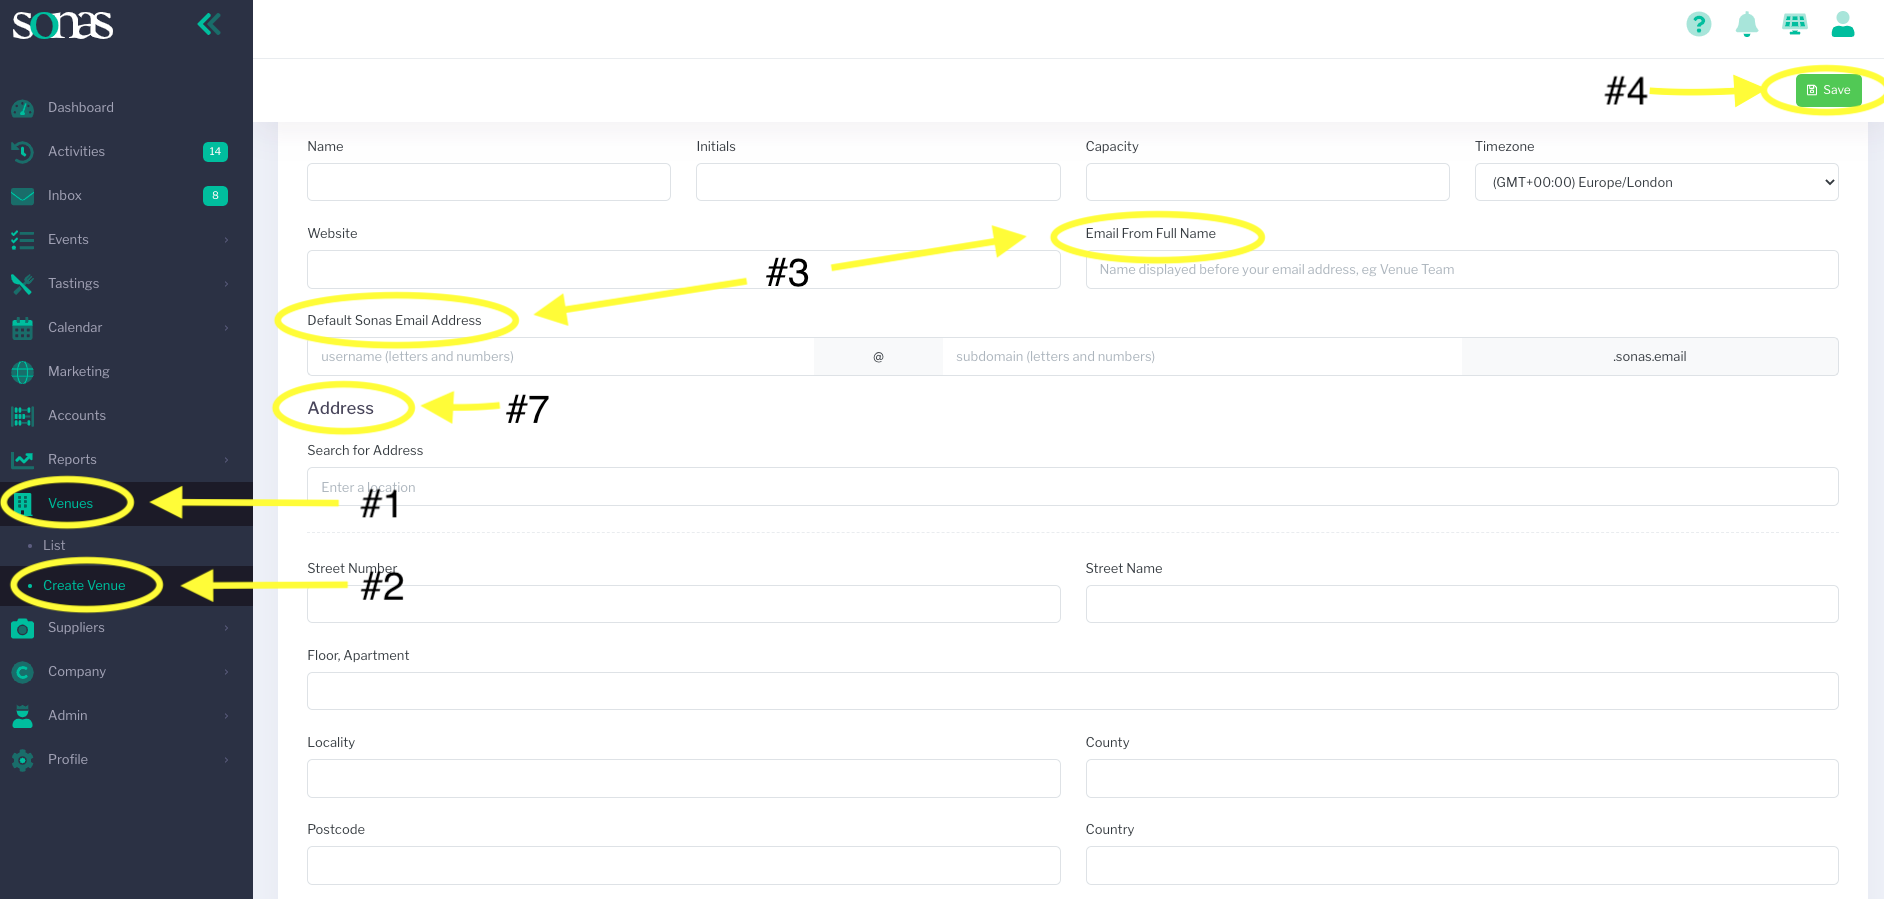
- Select Venues on the side menu.
- Actions > Create Venue or Click Create Venue on the side menu
- Input all details to create your new venue.
- Email From Full Name- this is the name that will be associated with the outgoing emails from your venue to your customers. Use a name that will easily identify your venue or the particular team associated with the venue. (ie My Venue Events)
- Default Sonas Email Address- This is the address from which outgoing emails are sent to your clients. Info@ or Team@ are examples of a preferable address, instead of a personal name for the username. For the subdomain, use your venue name. (ie Events@MyVenue.sonas.email)
- Click Save.
- A warning message will pop up to make sure you are happy with your newly created domain email, this cannot be changed later.
- Confirm. Your new venue and email address are now able to receive enquiries. You can now use your Sonas email address on your website's contact us form to receive any new enquiries directly into the Sonas inbox.
- Enter the complete address of the venue.
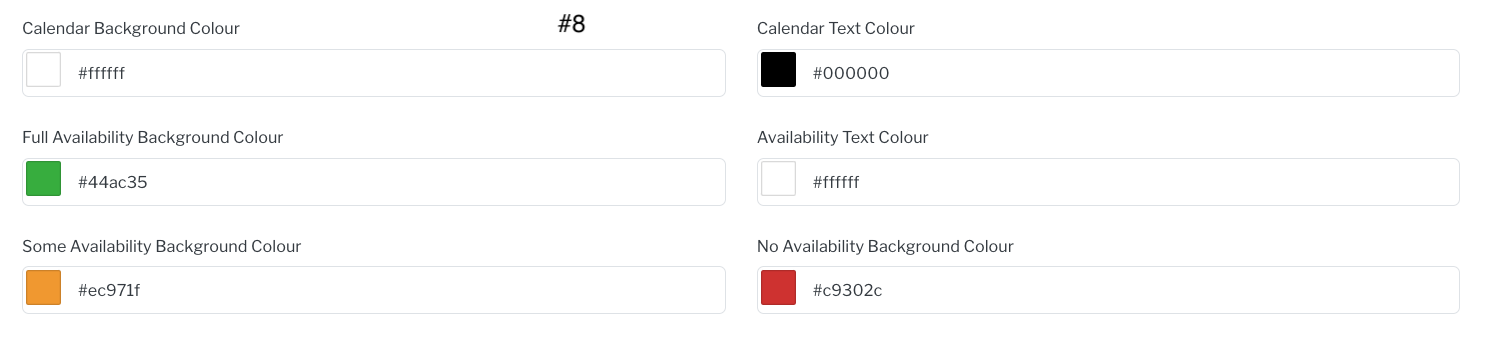
- Optional: Choose the colours associated with the venue for the calendar and all venue labels on events throughout Sonas. This is particularly helpful when you have multiple venues, you can quickly associate calendar entries and events to each venue by colour. These can be left at the default colours. You can also customise the colours for showing calendar availability, there are four colours that you can customise- Full Availability background colour, Availability Text colour, Some Availability background colour, and No Availability background colour.
- Click Save.
The next step is to Configure Venue to add in more details.
Please note: you CAN use your existing domain in emails, instead of the Sonas email as created above. In order to do this, you must first follow the steps above and then access your DNS dashboard to forward emails with your domain to Sonas, as well as set up permissions to use your domain when sending emails from Sonas, see Using your own Domain in Sonas Email.
Step-by-step video tutorial: