

Sonas can be branded with your logo and images/photos in the Customer Portal and in the staff user side.
Scroll down to the bottom to add the company logo for branding on the staff user side.
Step-by-Step guide to customising the Customer Portal at the Venue level
Branding is done on the Venue level. Venue > Branding
1. Start by uploading your Venue logo, click Upload and select your logo from your desktop. Your logo will appear to the right of the upload box. The recommended size is 200x50 pixels. Supported file types: JPEG, PNG, and GIF.
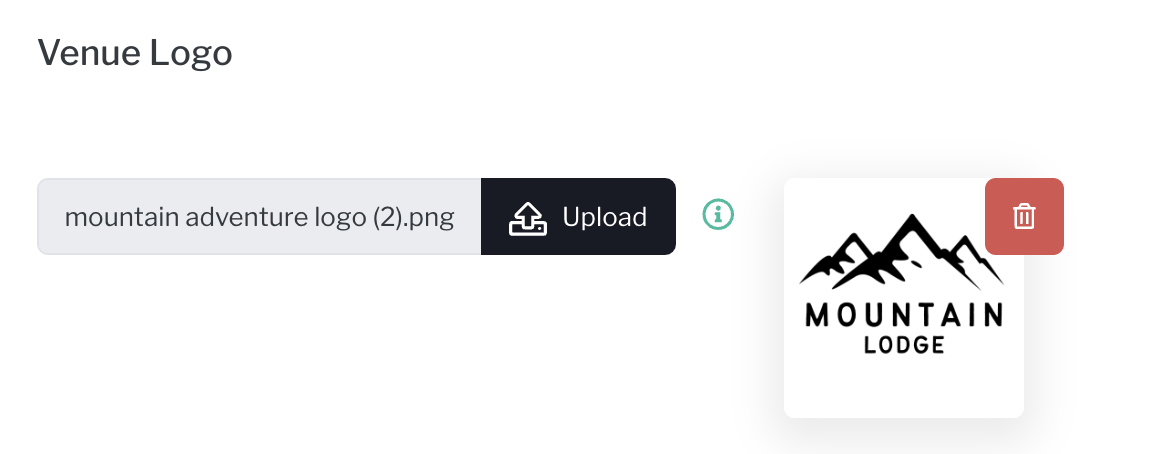
You can delete your logo by clicking the red delete icon.
2. Select where you want to show the logo. There are three areas where the logo can appear.
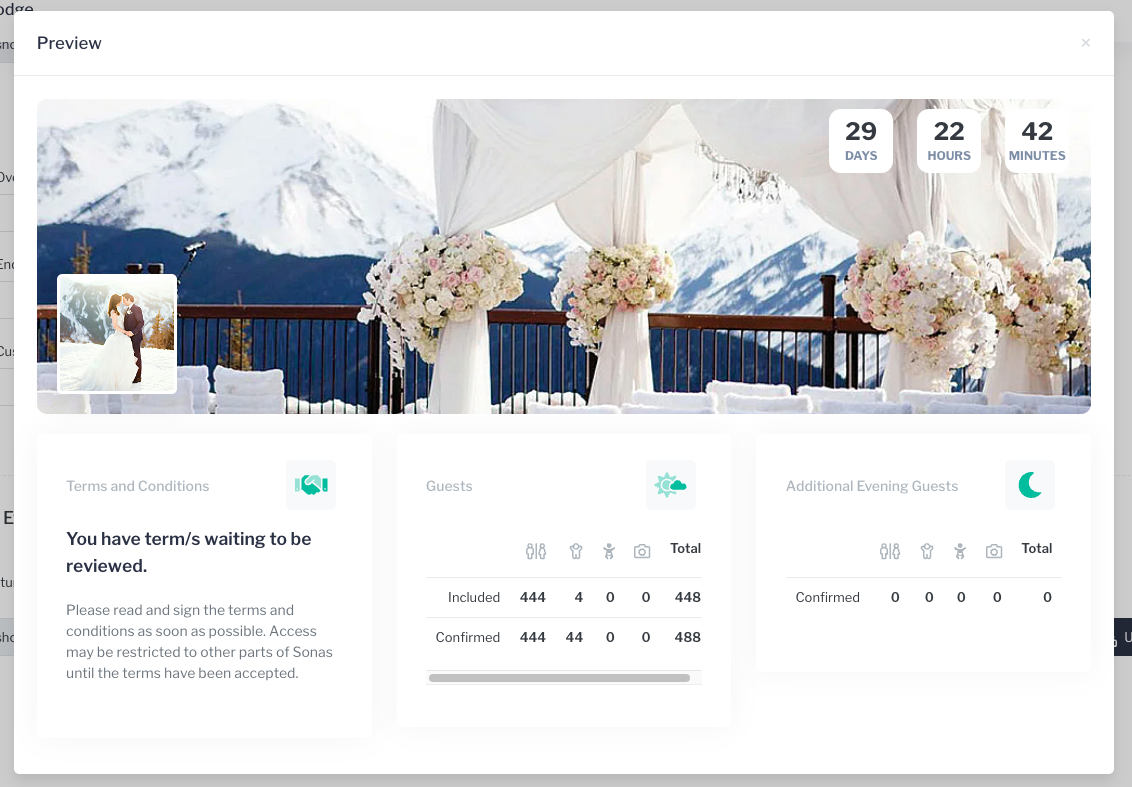
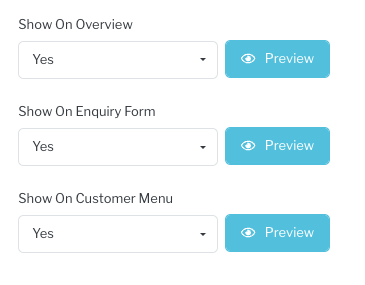 3. Click on the blue Preview button to see how each one looks via a preview pop-up. Click Save.
  4. Upload Default Event Pictures to use as your Profile Picture and Cover Picture in the Customer Portal. Click Upload for each picture type and select from your desktop. These can be pictures or images. We recommend a square image (120x120 pixels) for the Profile Picture and a wide rectangle (851x315 pixels, think Facebook cover picture) for your Cover Picture.

Again, you can delete by clicking the red icon.
5. Click the blue Preview button to see how the selected images will look in the Customer Portal.
 6. Click Save.
Step-by-Step guide to customising the staff user side with the company logo
Add your company logo to the staff user side of Sonas is done under the Company's General section. Company > General
1. Go to the Company's General section, Company > General.
2. Below the address, click on upload, under Logo, to select your logo from your desktop. The recommended image size is 200 x 50 pixels.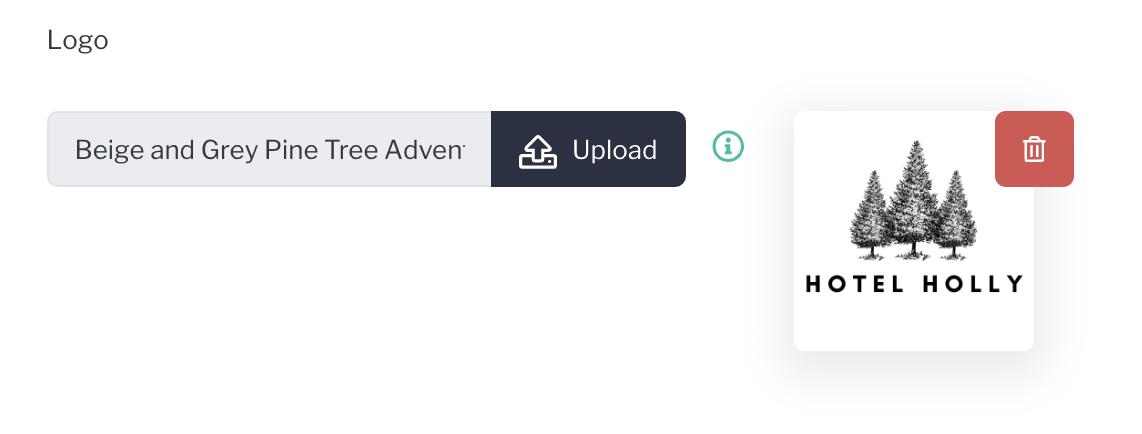 3. Click save, in the upper right hand corner.
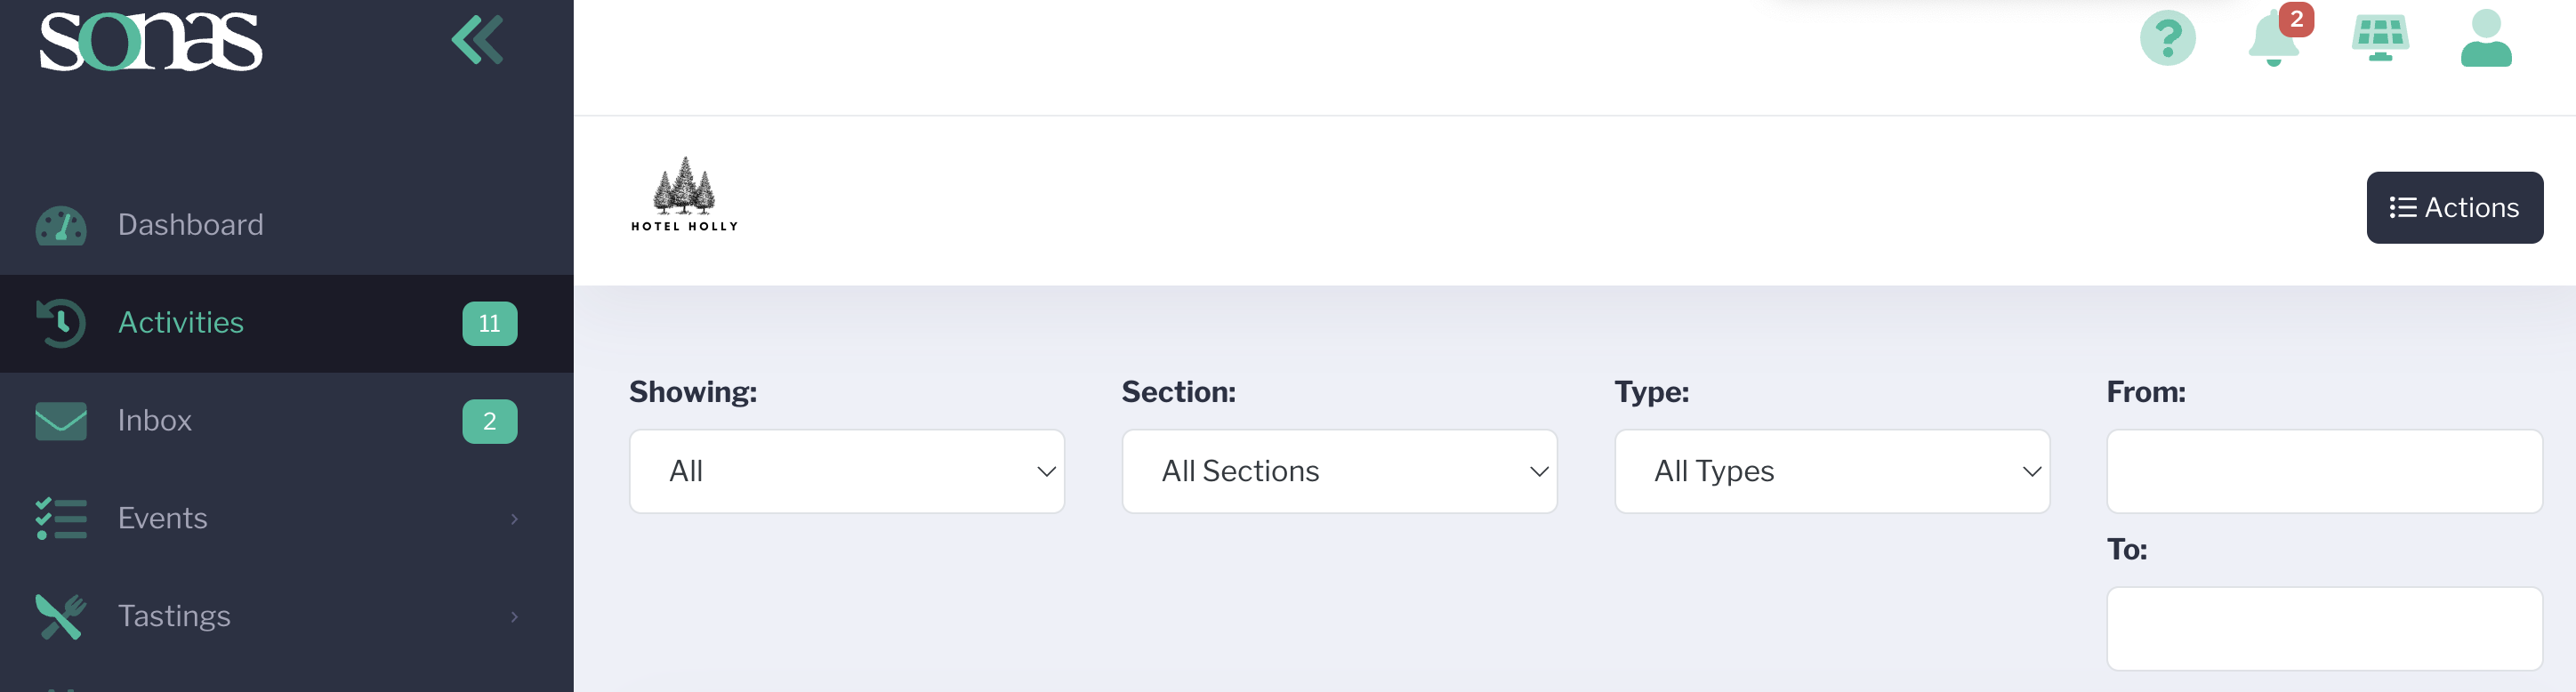
The logo will now appear for all company staff users on the header.
Related Article
How to see the customer's portal pictures