

When setting up Sonas, it's recommended to create default timelines for the various kinds of events held at your venue.
The timelines are intended to offer your team and clients a framework for how the event should be timed, providing them with a solid foundation for the event's running order that can be personalised to suit each specific event and preference.
In this article, you'll learn how to create a new default timeline and how to duplicate it. Steps are provided for both single day events and multiday events.
To learn more about using timelines within a specific event see Timelines.
If you cannot see this section or get permission denied messages with any of the actions, please contact your Company Admin in order to get the required permissions.
Timeline Basics
Before starting on your default timeline, it is important to understand some basics:
- The timeline will start on the day of the event (day one if multiday), you will need at least one fixed entry on day one, which will serve as your one required fixed entry.
- Fixed entries default to day one of the event.
- The ceremony time will populate from the ceremony section, do NOT add to the timeline.
Types of Timeline Entries
Here are the three types of entries and the additional information fields you will fill out for each:
| Type | Definition | Information Needed |
| Fixed | This is a set time, such as 14:00. You need at least one fixed entry per timeline. The time is on the first day of the timeline. | Time: what fixed time the entry begins at. |
| Relative | This is relative to another entry on the timeline, meaning it’s timing is defined as a set amount of minutes before or after the start of another entry. (Be sure to put in the relevant entry first.) | Relative to: select the entry from the dropdown that this new entry is relative to. If you have not added it yet, please do that first, before creating the relative entry. Minutes Before/After: select the number of minutes before or after the start of the selected entry that you want this entry to begin, negative minutes meaning before. (i.e. -60 means starting 60 minutes before, while 60 means starting 60 minutes after the start of the selected entry) |
| Relative to Ceremony | This uses the ceremony time as defined in the Ceremony section of the event as the relative entry (see Ceremony Section). When this is used, the new entry is based off of the date and start time of the event’s ceremony date and time. | Minutes Before/After: select the number of minutes before or after the start of the Ceremony that you want this entry to begin. |
All entry types also have the following information fields:
Name: How you want the entry titled on the timeline.
Section: optionally assign a coordinating icon to the entry for visual appeal. Not limited to: a heart for ceremony (Bride arrival), a camera for suppliers (band arrival), a martini glass for drink order (cocktail hour), etc.
Notes: for generic notes related to the entry, there is an opportunity to add event specific notes later on in the event specific timeline, this is optional. You can also ask questions here for the client to provide answers on. i.e. What is the entry song?
Duration: optional input of the length of the entry in minutes.
Staff Only: Choose if you want the entry seen by staff users only (yes) or by staff and customers (no). See below for more information on staff only vs customer visibility, including printing options.
Read Only: If you have an entry as read only yes, customers cannot edit the entry. It is locked to customers, only staff users will be able to edit, update, etc. Read only entries are noted as such with a padlock icon.
How to set up a Single Day Default Timeline
- Navigate to Default Timelines, Company > Timelines
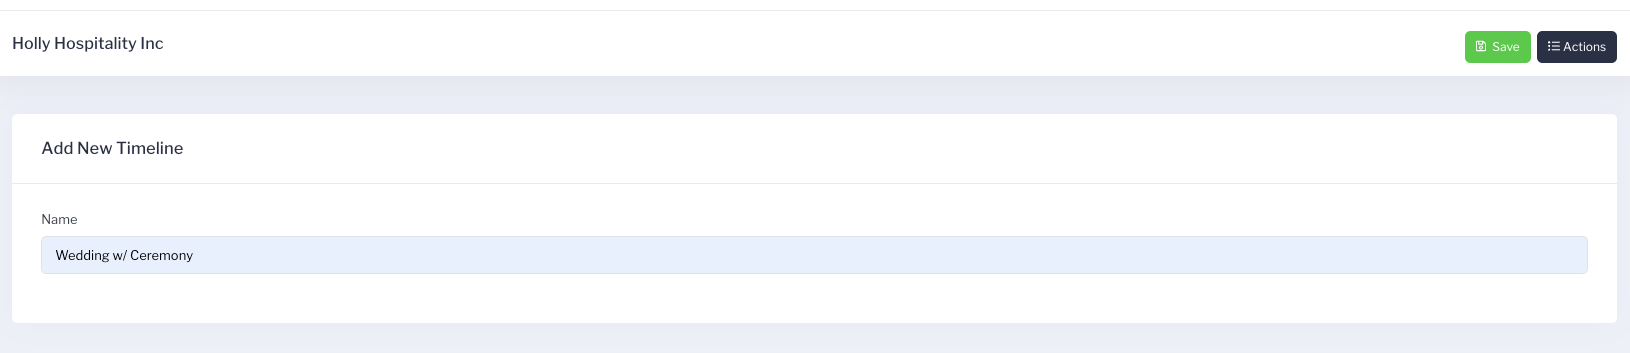
- Click Actions and select + Add New Timeline.
- Create a name for your timeline, e.g. Wedding with Ceremony, and then click Save.
- Click +Add New Entry to add your first entry. Your first entry should be a fixed time, that is unchanging, such as Venue Opens or Venue Closes. You will be able to base other entries off of this one.

- Complete the entry information, see table above.
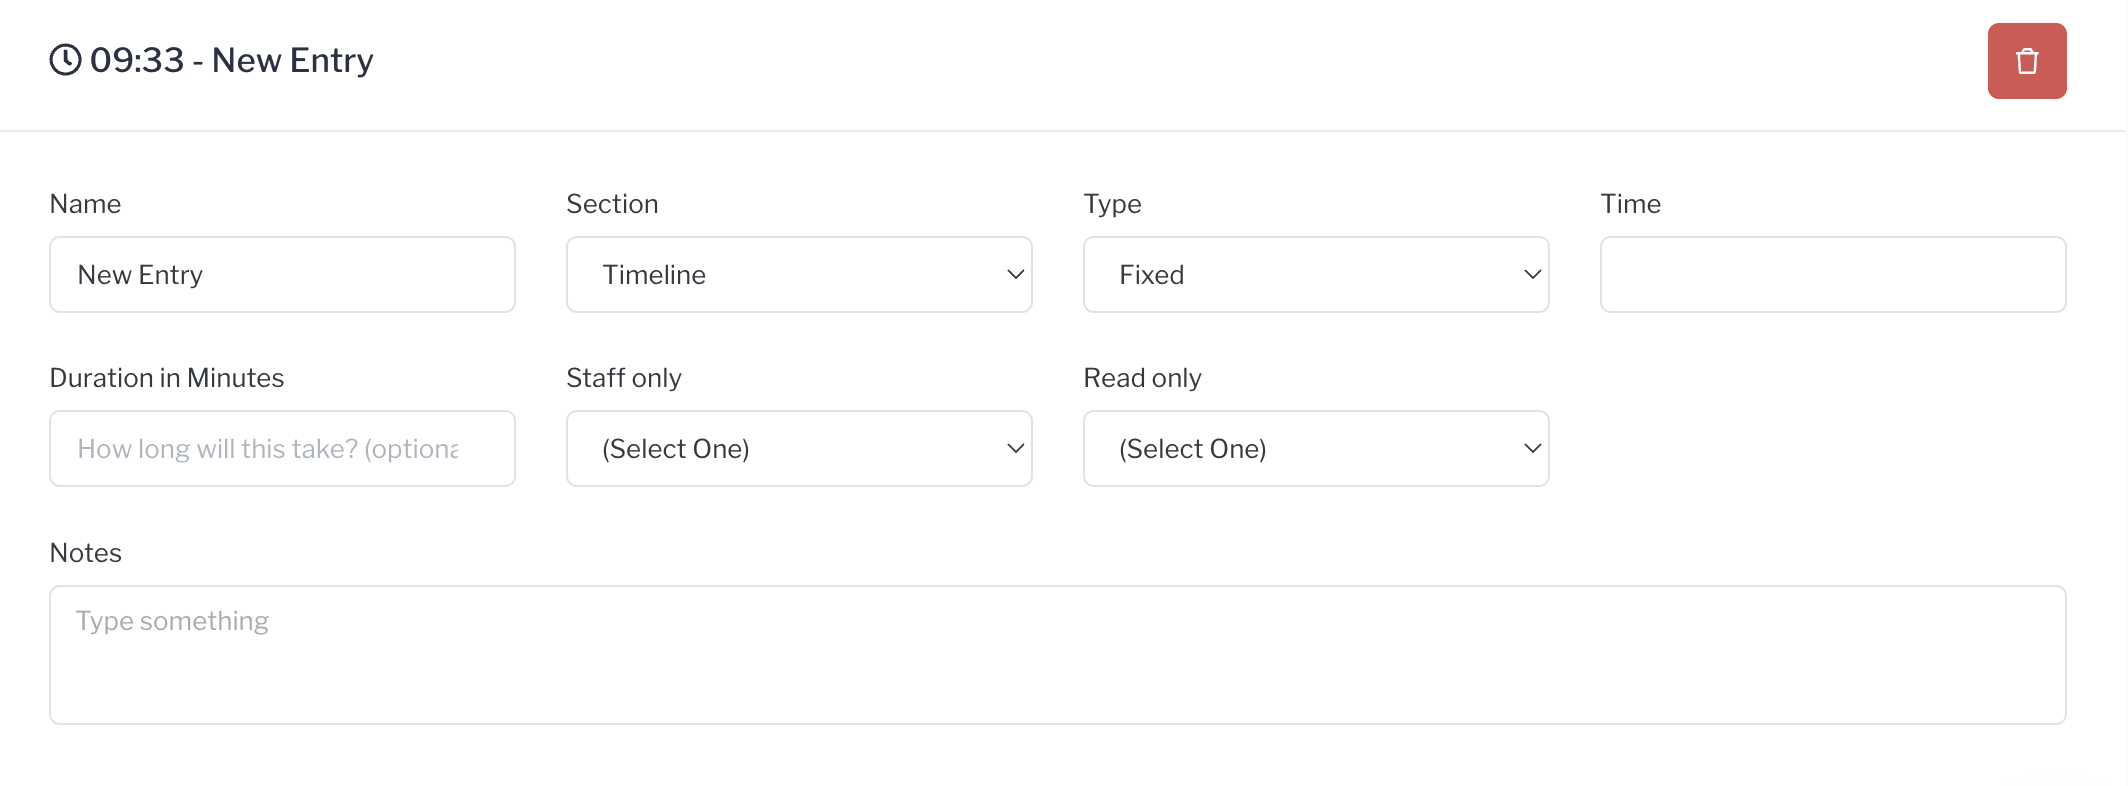
- Click Save after each entry addition.
- Click +Add New Entry to add any other entries, either fixed or relative. As you create more entries you can start making entires relative to other entries, i.e. Supplier Deliveries, 30 minutes after the fixed Venue Opens, or Reception 30 minutes after Ceremony.
- Click Save when done.
How to set up a Multiday Default Timeline
- Navigate to Default Timelines, Company > Timelines
- Click Actions and select + Add New Timeline.
- Create a name for your timeline, e.g. 2 day Wedding with Day 2 Ceremony, and then click Save.
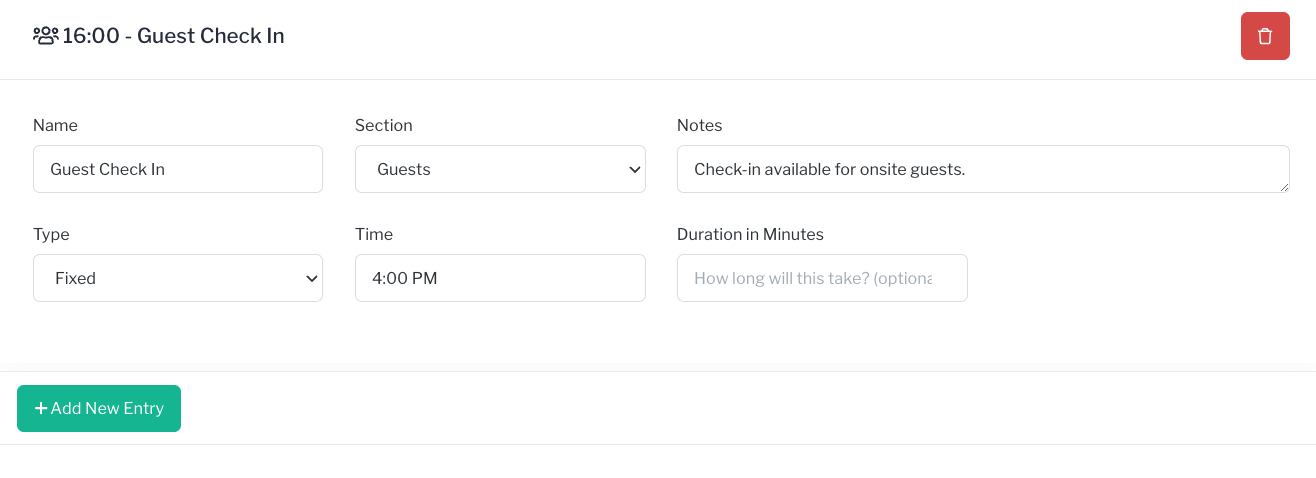
- Click +Add New Entry to add your first entry. Your first entry should be a fixed time for day one of the multiday event. Such as Check-in Time or Welcome Dinner. You will base other entries off this one.
- Click +Add New Entry to add any other entires for day one, either fixed or relative to the first fixed entry.
- Assuming day two is the wedding day, you can start adding entries that are relative to the ceremony time. The ceremony day and time will populate automatically from the Ceremony section.
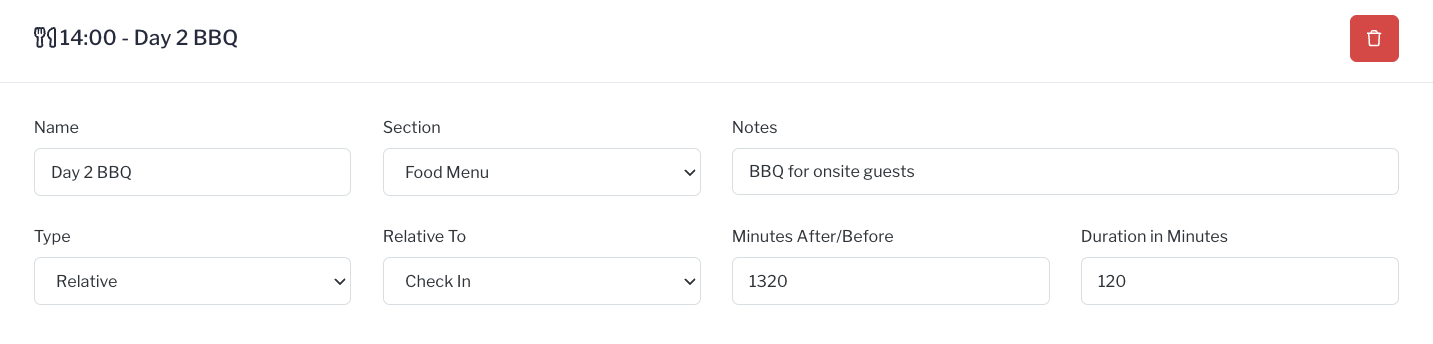
- If not, add your day two events relative to the day one fixed entry. Here is an entry for day 2 at 2:00pm, which is 22 hours after the Check in time (22hrs x 60min = 1320 minutes):
- Continue to add entries. To start on day three, make your first day three entry relative to the fixed day one entry. Then build off of that entry using relative times.
- Save your timeline after each entry.
How to clone an existing Timeline
If you need to create multiple templates, you can save time by duplicating an existing template that already has many of the entries in place. By doing this, you can remove any irrelevant timeline entries for the new timeline and quickly add any additional entries that are necessary.
- Within the Timelines menu, click on the timeline you want to replicate. Company > Timelines
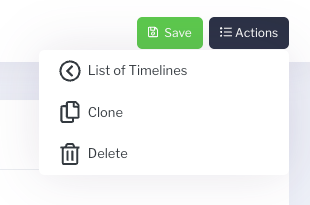
- Click the Actions menu in the top right hand corner and then Clone.
- You will receive a pop up to confirm that you want to create an identical timeline, click OK.

- Select your cloned timeline and edit the name to the new name. Click Save.
- Proceed to edit and or delete existing entries, while adding needed new entries.
- Click Save after each edit, deletion, or addition.
Timeline Visibility: Staff Only vs Customer View
Each timeline entry can be marked as Staff Only or not. When made Staff Only, the entry will be visible to staff users only. The customer will NOT be able to see the entry on their timeline via the planning portal. As a staff user, you can easily see which entries are Staff Only, as they will be highlighted in light grey.

When printing the timeline from the overview, you have the option of Timeline and Customer Timeline. The Timeline will show all entries, including Staff Only, while the Customer timeline will not, mimicking the view from the portal.
Best Practices
- Test your timeline after every few entry additions. Do this by applying the timeline to a test event. Change your ceremony day and time to see how it effects your timeline. Return to the default timeline to make any additional edits and/or additions.
- On multiday timelines, have an "anchor" entry for each day based off of the day one fixed entry. This can be at the beginning or end of each day. This should be a non changeable time, like venue closes, venue opens, etc.
- Click Save after each entry you add or edit.
- If you host different multiday event configurations, create a default timeline for each, i.e. "3 day, wedding day 2" "2 day, wedding day 2", etc.
- Remember to use minutes when setting relative times.
- Do not add in Ceremony to your default timeline. This will auto-populate the timeline in each event using the ceremony time provided in the ceremony section. (Event > Ceremony) Assuming the event type is wedding, twilight wedding or dry hire wedding.