

The Timeline section, also known as the Event Timeline section in the customer's Sonas portal, is likely to be partially pre-planned following various discussions between you and your clients before confirming the wedding. You may have already selected one of your template timelines as part of event confirmation. While using a template is recommended to streamline the planning process, you or your clients can also create a new timeline from scratch if preferred.
An event’s timeline is located under Timeline in the Event’s submenu.
If a default timeline has not yet been selected you can choose one by clicking Import Timeline Template.

You can edit or delete any entries from your default timeline, except for two- the Ceremony, which is defined in the Ceremony section of the event and is not able to be edited or deleted from the timeline (see Ceremony Section). And any supplier timeline entries added from the supplier section (see Supplier Services Section). To edit, click the Green edit icon, click the Red icon to delete.
You can also add new entries to supplement the template, or to create a timeline from scratch.
Step-by-step guide to create a new timeline entry:
Action > +Add Entry to Timeline
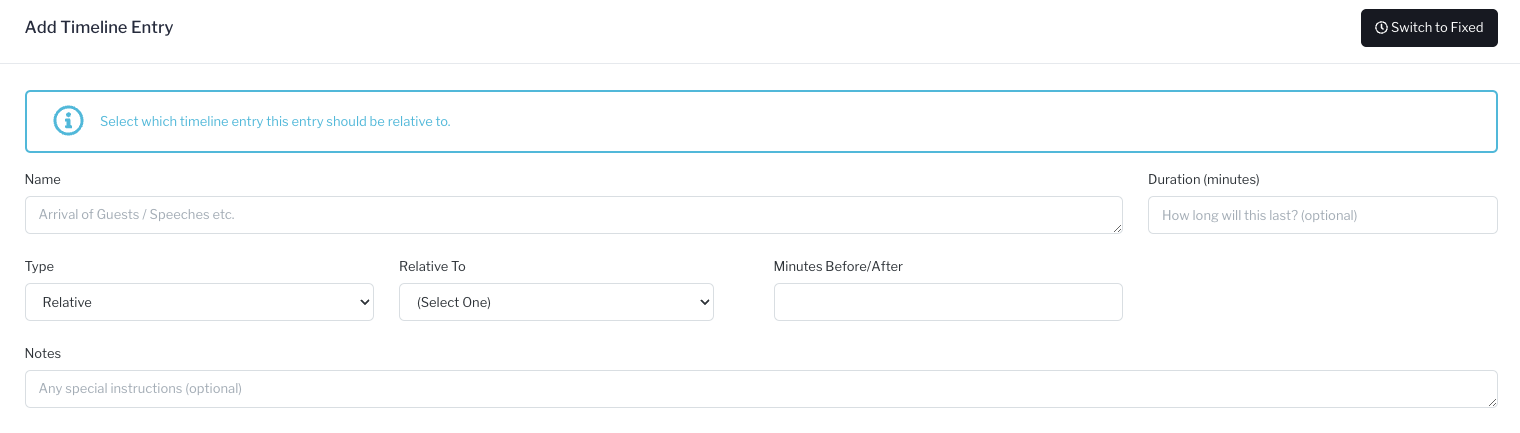
The new entry is defaulted as a Fixed time entry, if you want a Relative time entry, click Relative Time. Here is the difference:
Fixed- this is a set time, such as 14:00.
Relative- this is a time that is relative to another event on the timeline, meaning it’s timing is defined as a set amount of minutes before or after the start of another event. (Be sure to put in the relevant event first). You can also select Relative to Ceremony here, this uses the ceremony time as defined in the Ceremony section of the event as the relevant event (see Ceremony Section). When this is used, the new entry is based off of the start time of the event’s ceremony.
For a Fixed entry, fill out:
- Name
- Time
- Duration (in minutes)
- Notes (these are notes specific to the event).

For a Relative entry, fill out:
- Name
- Duration (in minutes)
- Select Relative or Relative to the ceremony specifically.
- If relative to another entry, select the entry, it will have to already be on the timeline.
- Minutes Before/After- select the number of minutes before or after the start of the relative entry that you want this entry to begin, negative minutes meaning before. (ie -60 means starting 60 minutes before, while 60 means starting 60 minutes after the start of the relative entry)
- Notes (these are notes specific to the event).
Click Save in the top right hand corner after each new entry, edit or deletion.
Using the Actions button, the customer can send this section for revision and/or the venue can lock it as finalised.