

Sonas offers a quick and efficient way to export your financial records (Invoices and Credit Notes) in a format compatible with Sage 50. This guide will walk you through how to connect and configure the Sage export feature.
Permission required: If you can't access the Sage integration section or see a "Permission Denied" message, please contact your Company Admin to request the appropriate access.
Video Tutorial
Step 1: Connect the Sage 50 Export
Go to Venue > Integrations in the Sonas dashboard.
Find the Sage tile and click the blue
+(plus) icon.
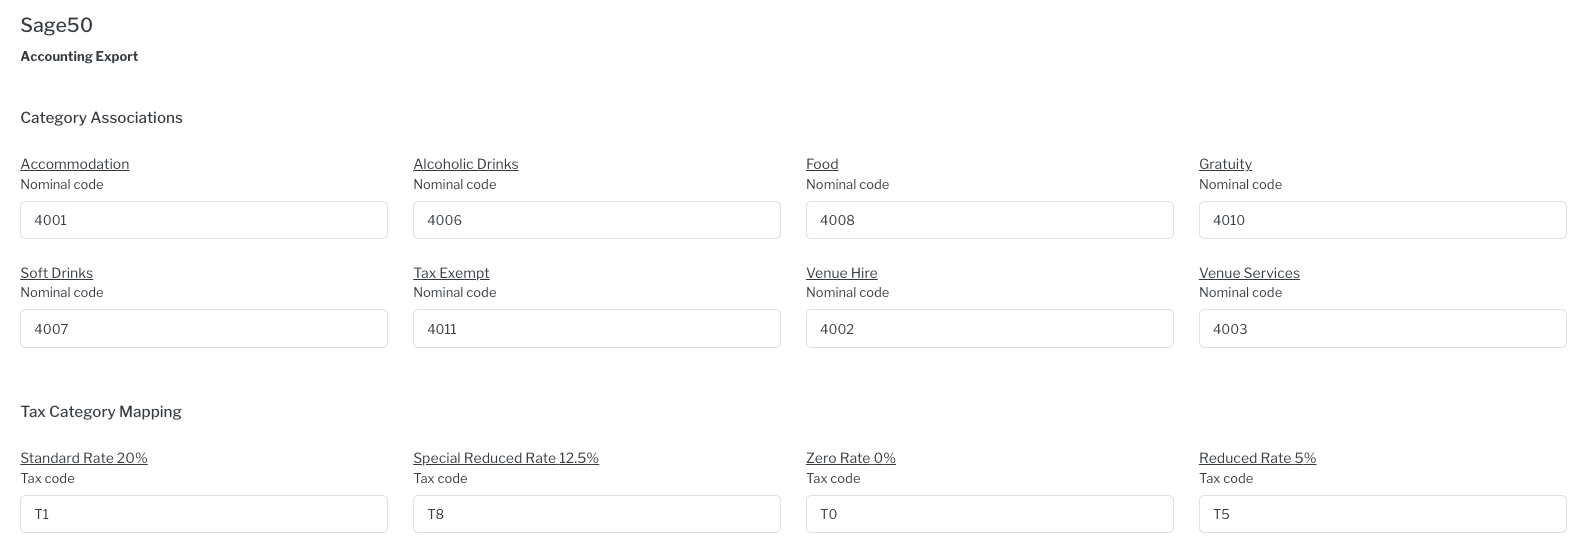
Step 2: Map Your Sage Settings
Once connected, you’ll need to match Sonas transaction types and tax rates with your Sage configuration:
Nominal Codes: Map your Sage nominal codes to the corresponding Sonas transaction categories (e.g., venue hire, food, services).
Tax Codes: Match your Sage tax codes with the VAT/tax rates set in Sonas. This ensures smooth import and accurate reporting.
Step 3: Save and Confirm Connection
After mapping your codes:
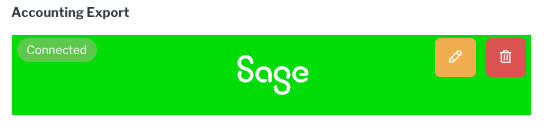
Click Save
The integration will now show as Connected
You're now ready to export financial data to Sage in a compatible format from the export section of the platform.
If you need help generating or importing the Sage export file, check out our full guide: Using the Sage Financial Export File