

You are able to configure up to 5 guest types. This article will show you how to configure, enable and understand each guest type. You do not have to activate all 5 guests, you decide what works best for your business. Although guest configuration is done at the Company level, you can configure guest types for specific event types and events at the Venue level.
Please scroll to the bottom for a tutorial video.
If you cannot see this section or get permission denied messages with any of the actions, please contact your Company Admin in order to get the required permissions.
Video
How to configure guest types
- Navigate to Guest Config, Company > Guest Config
- You will see the 5 supported guest types, with their default settings.
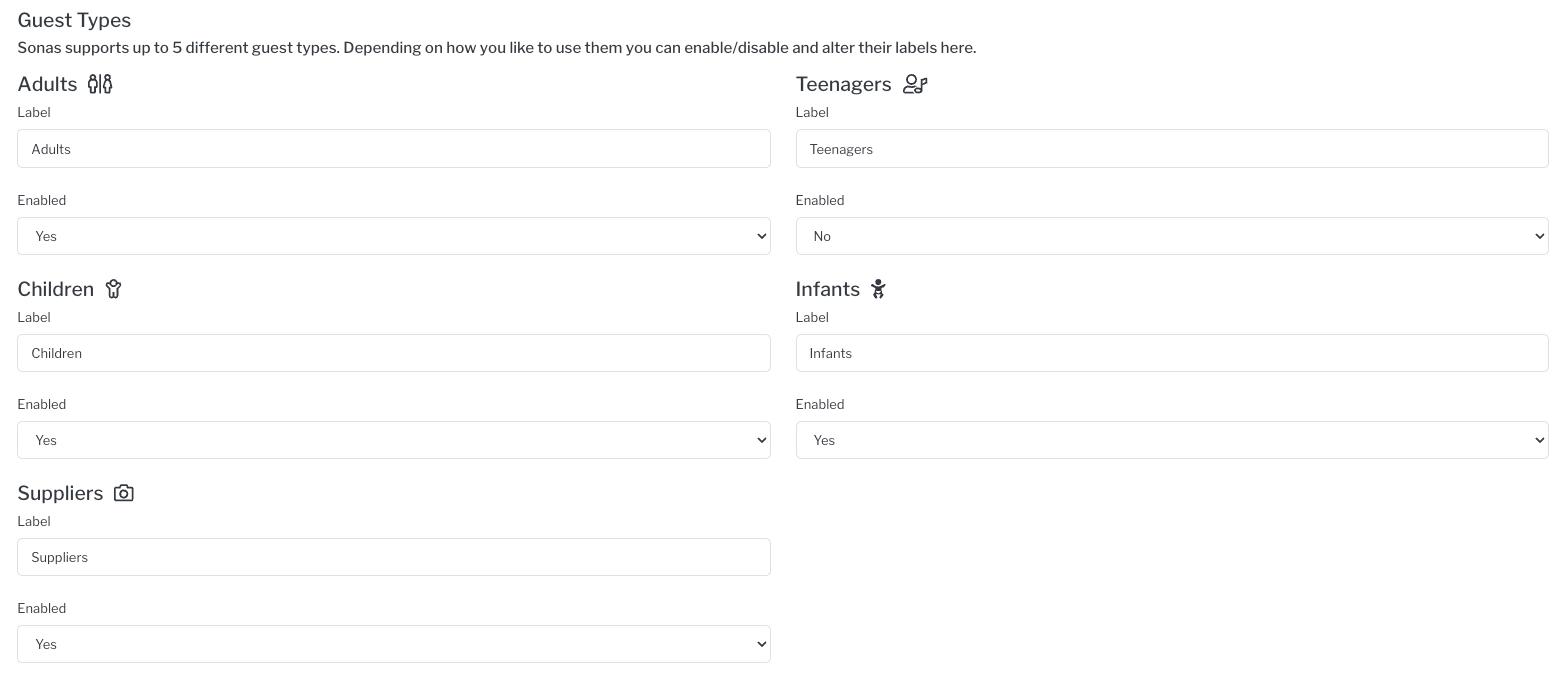
- There are basic assumptions for each of these types to understand. These assumptions DO NOT change if the Label is changed.
- Adults- This guest type is included in numbers for alcoholic beverages in the drink menus. Their number counts toward the final guest count.
- Teenagers- This guest type is NOT included in numbers for alcoholic beverages, they are included for soft drinks and kid's reception drinks. Their number counts toward the final guest count.
- Children- This guest type is NOT included in numbers for alcoholic beverages, they are included for soft drinks and kid's reception drinks. Their number counts toward the final guest count.
- Infant- This guest type is NOT included in numbers for alcoholic beverages, they are included for soft drinks and kid's reception drinks. Their number counts toward the final guest count.
- Suppliers- This guest type is NOT included in numbers for any part of the drinks menu. Their number does NOT count toward the final guest count.
- Change the labels as it suits your business and make sure what you want to use is enabled. Guest labels will apply across all venues using them.
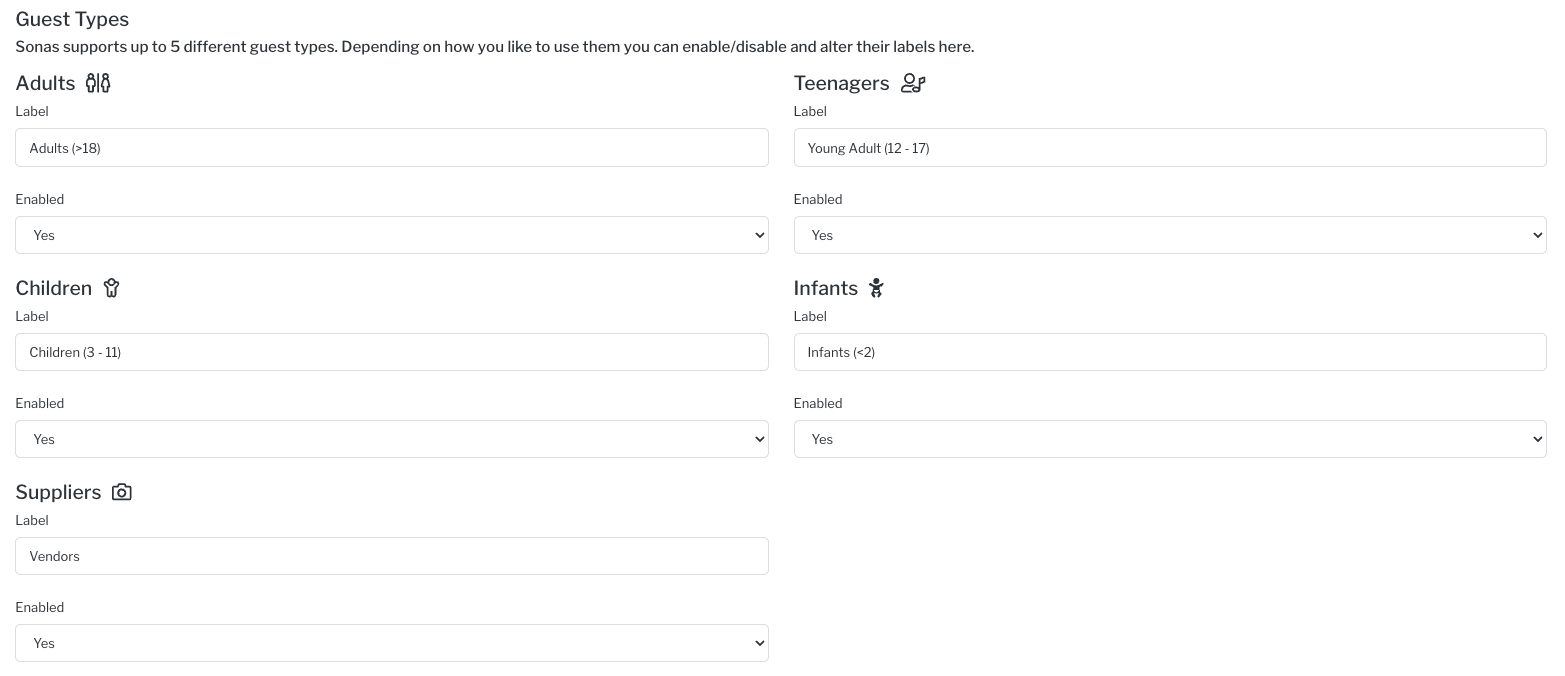
- Click Save.
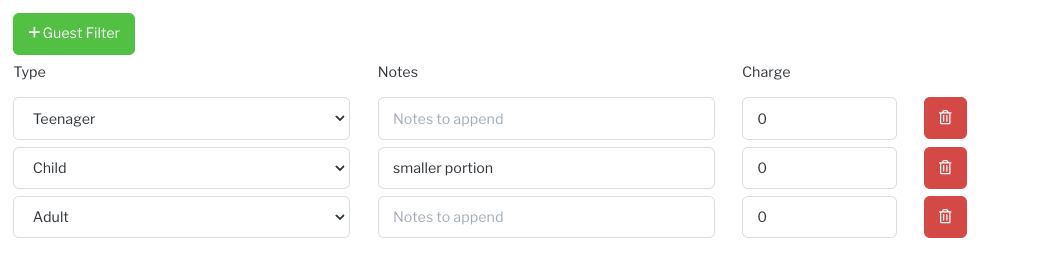
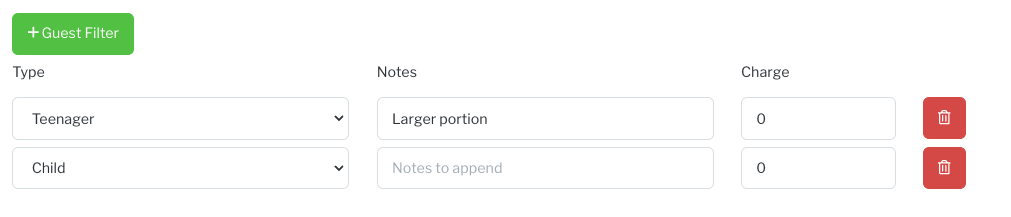
How to apply guest types per Event Type
- Navigate to Event Types. Venue > Event Types
- Event Types default to the original 4 guest types, you can remove and or add guest types per event. You will be able to change this for one off events if needed.

- Events must have at least one guest type.
- Click Save.
How to apply guest types per Event
- Navigate to the Event's General Section. Event > General
- Scroll to the bottom, Config
- Here you can change the guest type's for a the specific event settings.

- Click Save.
- If you already have a guest type assigned in the event's guest list, you will not be able to remove that guest type.
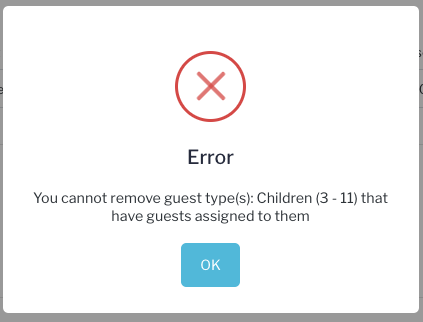
- In this case, you will need to reassign the guest on the the guest list and then return to the event config.
- When you add a new guest type, it will automatically add the price per guest as from another guest type. Be sure to visit the package section to update the pricing of the newly added guest types.
How to apply guest types per Event at time of Pre-Confirmation
- When you Pre-confirm a Date on Hold Enquiry, you will go through a 4 step process. On Step one you can configure the guest types for that specific event if needed.
- Step 1: General has Allowed Guest Types, change as needed before proceeding to the next section.
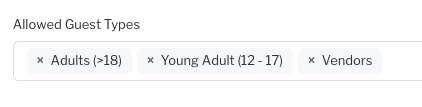
- Proceed with the pre-confirmation process.
Best Practices
If you are updating your guest types, be sure to update your menus to!
For example on a Main product list:
 OR
OR
For a Child's Main product list:
Use your Terms and Conditions to clearly define your Guest types- age, price, etc.
Video Tutorial
Related Articles