

Sonas supports you in creating, editing and booking Tasting Events. Whether a large tasting event with numerous couples, or a small private tasting, each can be successfully managed with Sonas.
By managing Tasting Events (food and/or wine) in Sonas, you can allow customers to book the events from their customer portal and track what food items and wines they tried when making their final event selections.
Step-by-step guide to creating a tasting:
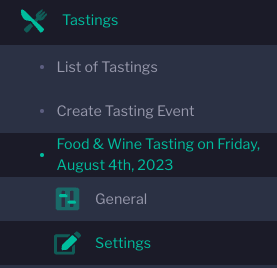
Click on Tastings in the main Sonas menu.
In the sub-menu click on Create Tasting Event or click Actions and + Create Tasting 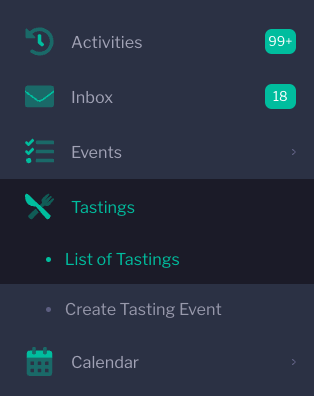 Input all of the details required to set up your tasting event.
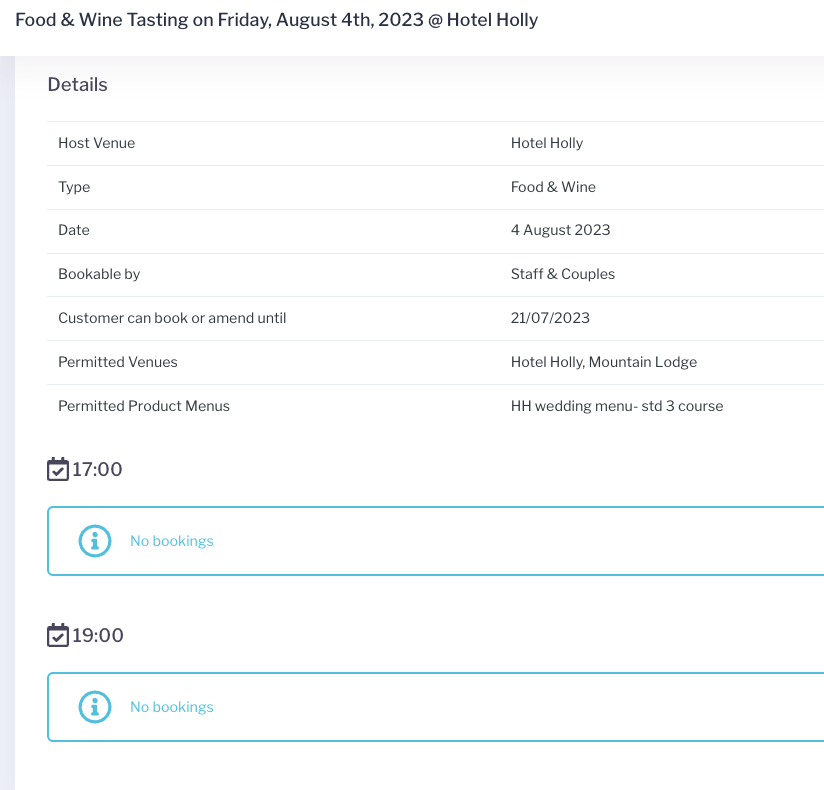
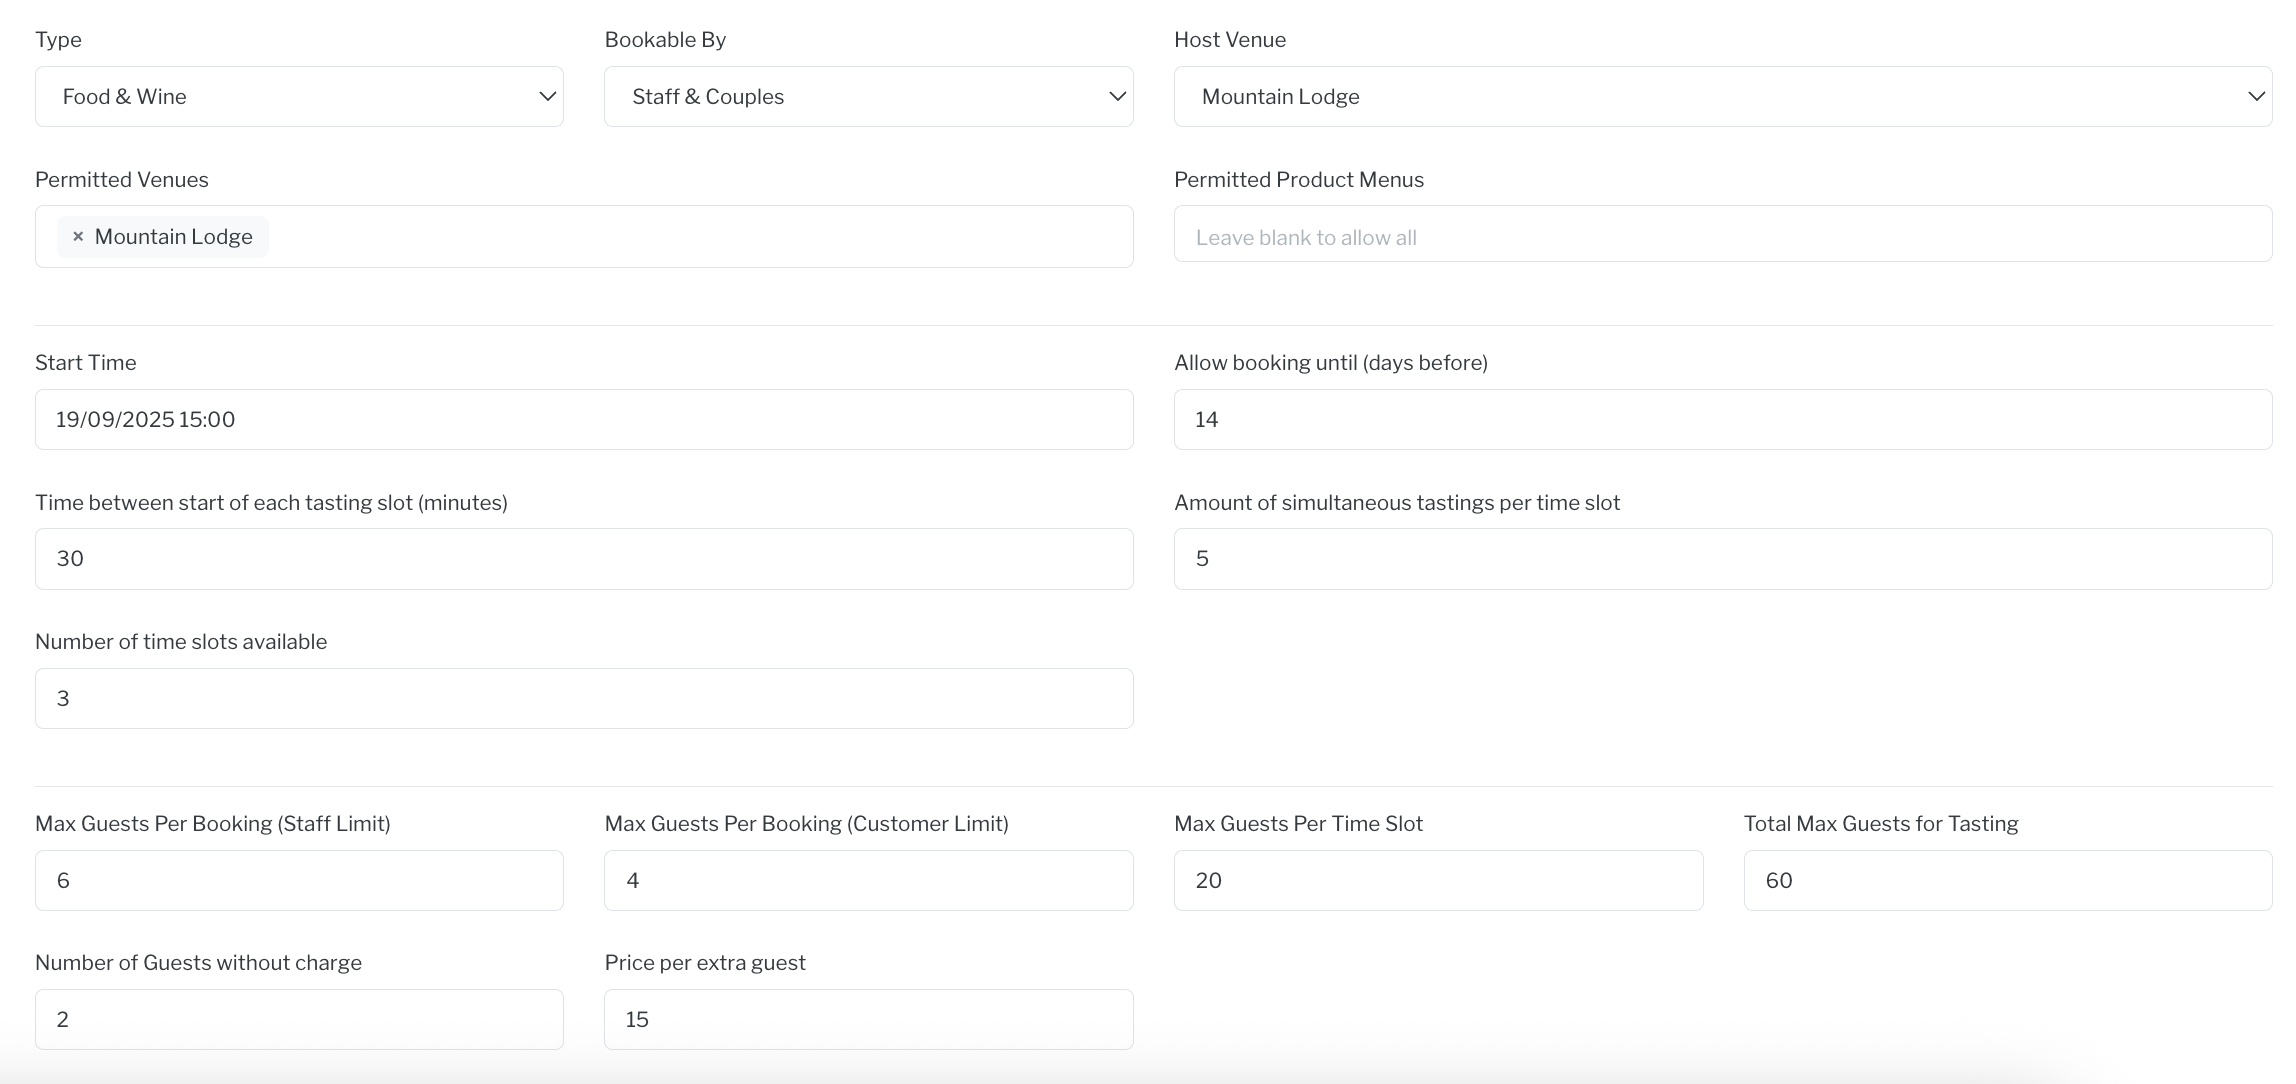
These include:
- Type- either food & wine or just wine
- Bookable By- staff & couples or just staff
- Host Venue- venue where the tasting is taking place
- Permitted Venues- if the tasting allows your customer to have a tasting at the host venue from other venues in your company
- Permitted Product Menus- which menus are available to taste, leave blank if all are permitted
- Start Time (and date)
- Allow Booking Until (days before) - Up until how long before a tasting event's date is it possible for customers to book themselves in. Staff can bypass this restriction.
- Time Between Each Tasting- allows you to stagger tasting start times by having slots with a set amount of time between each slot's start time. If you are not spacing out start times, you cannot leave this blank, put 0. (Slots are the start time each seating is assigned, one slot can have multiple attendees)
- Amount of Simultaneous Tastings Per Time Slot- how many event tastings you can host at that particular time (ie. 3 couples)
- Number of Time Slots Available- How many separate times will be available to book for the tasting, this coordinates with the time between each tasting. If all tastings for that day start at the same time, select 1.
- Max Guests Per Booking (staff limit)- This is the maximum amount that may be booked in by a staff member, the maximum total attendance of the tasting.
- Max Guests Per Booking (customer limit)- This is the maximum amount that may be booked in by a customer.
- Max Guests Per Time Slot- your capacity per slot of attendees
- Total Max Guest for Tasting- your capacity for the entire event. If you have one slot, the max per slot and the max per tasting will be the same.
- Number of Guests Without Charge- This defaults at 2 for the couple, meaning any additional attendees incur a charge. This can be changed. The Customer will still have to follow the Max Guests per booking.
- Price Per Extra Guest- The price that will be charged to the event for any additional guests who attend the tasting, above and beyond the number defined as included without charge.
Example Set ups
- Your tasting event on August 22nd. You have three separate start times, 5pm, 7pm, and 9pm. 3 couples are allowed at each time slot. In total, there can be 9 couples over the 3 start times.
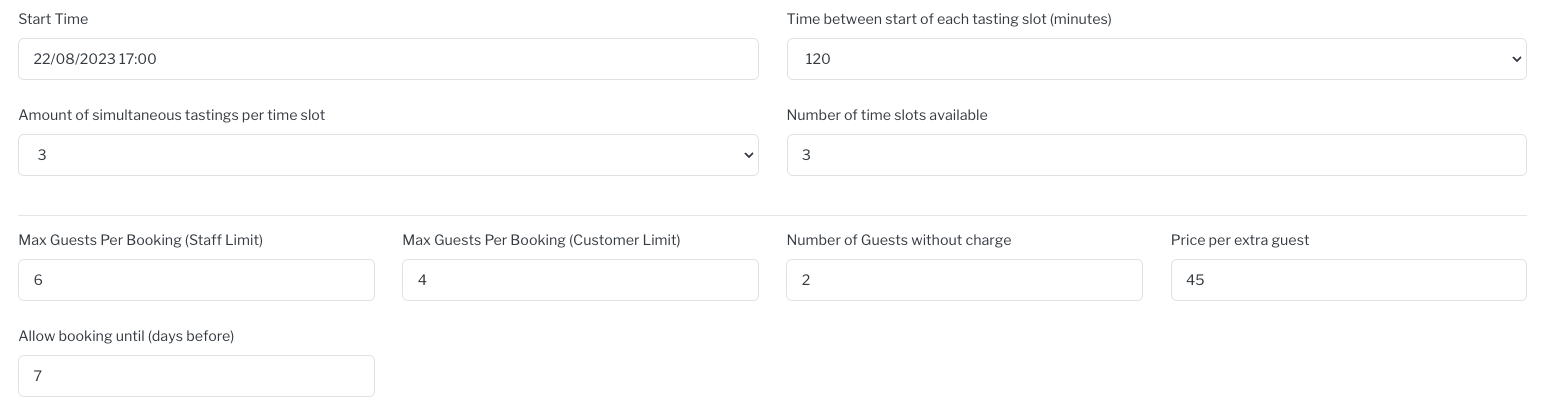
- If you would like to stagger the arrival of guests to alleviate the load on your kitchen, you can set a start time of 7pm, number of slots to 12 and time between slots to 10 mins. This would mean there are bookings available at 7, 7:10, 7:20 etc. with the final one being at 8:50. If you set simultaneous tastings to 1 then you would just have one booking arriving every 10 minutes.
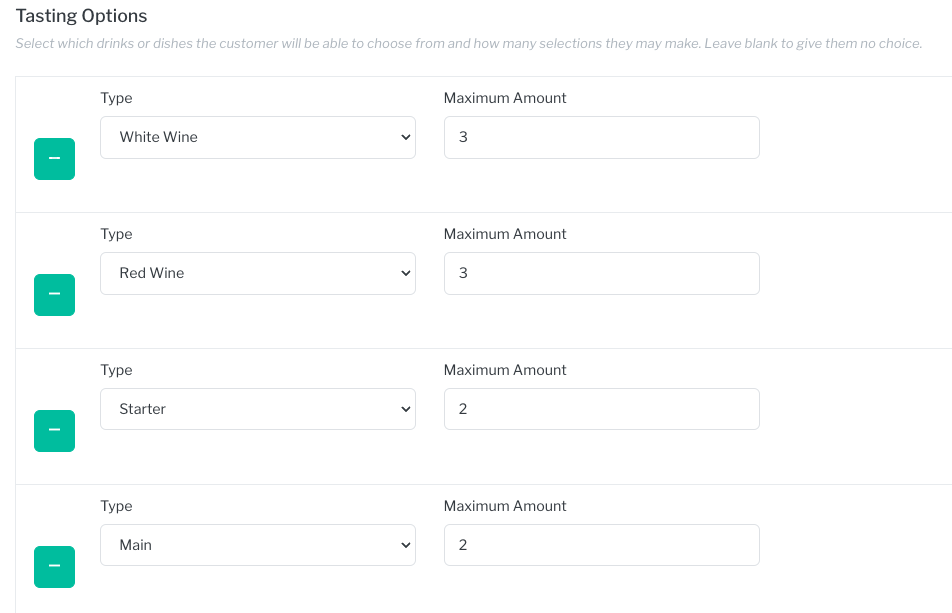
Choosing Tasting Options
Once all of the tasting information has been populated you can indicate which drinks or dishes the customer will be able to choose from and how many selections from that particular section of the menu they can make. You can also add additional choices per additional guest, allowing a couple bringing guests to try more options. Note: all types will be available to choose from the drop down list (ie. starter, main, dessert, etc) but only the choices available in the permitted product menus chosen earlier will populate the tasting choices for the couple. This section can be left blank for a chef's tasting without a defined offering ahead of time, simply hit the '-' icon to remove each item.
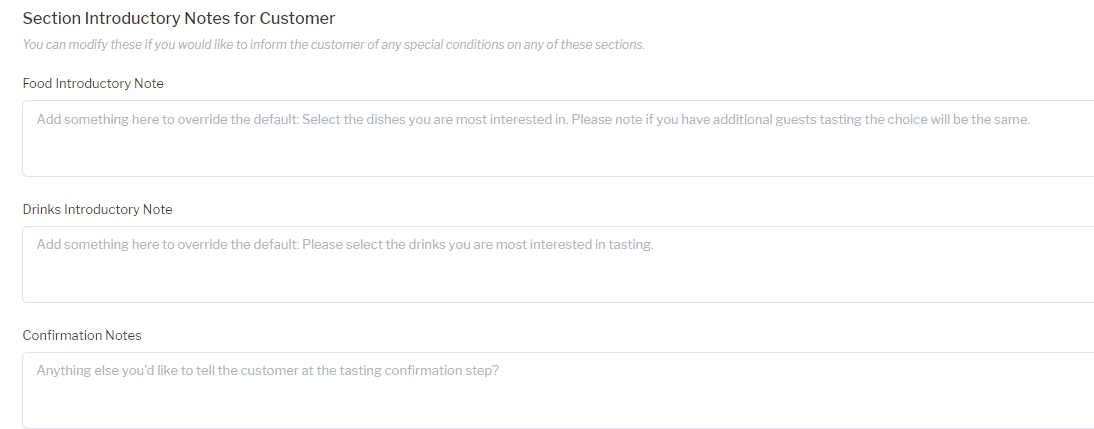
Finally, you can add in extra information in the “Section Introductory Notes for Customer” text boxes. There are default notes to your customers introducing each section but you can personalise these if you would prefer different wording. These include:
- Food Introductory Note: You can override the default message here if you'd like.
- Drinks Introductory Note: You can override the default message here if you'd like.
- Confirmation Notes: You can add a note to be shown to the customer when confirming their tasting. This can be used to warn them of any extra charges or conditions.
Click Save in the top right hand corner of the screen to add the tasting to the calendar.
Before the event begins, you can go to Actions and select Print to print out your attendance list and event details.
How to edit a scheduled tasting
From the list of scheduled tastings, click on the one you want to edit. It will open up to General on the tasting's submenu. Select Settings to edit.
Make your necessary changes and click Save in the upper right-hand corner.
Tasting events can be seen on your calendar. The colour of tasting events and associated availability are selected under venue configurations, see Venue Configuration.
To book customers for a specific tasting event, see: How to book a tasting.