There are a number of places where Sonas captures information related to an event with a drop down menu. These category menus allow for personalisation to enable you to capture things that matter to you. Personalising the options allows you to use the information in different areas such as reports. There are different Categories and the item options within each category are called Tags. Although the uses are different, they are edited in the same place. Here is a guide to understanding Categories, followed by a step-by-step guide to editing Categories.
Understanding Categories
Video
Company > Categories
In the upper right hand corner there is a drop down of all available Categories to customise, Category. Click here to see your options.
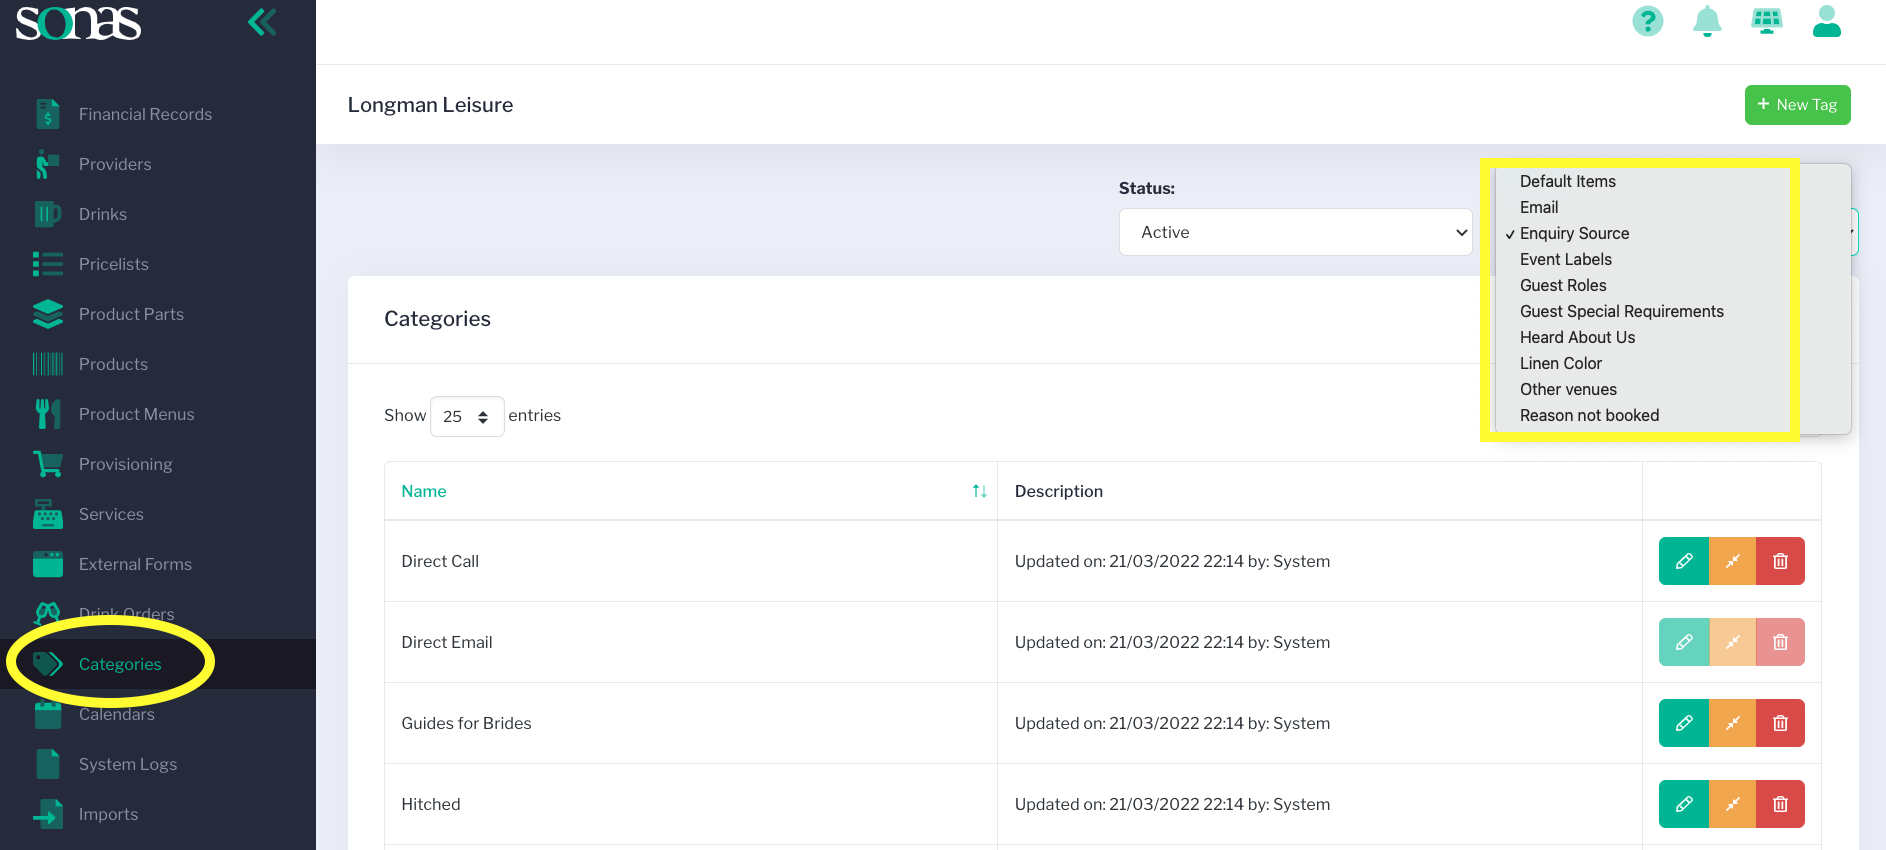
The different Categories available are:
The categories in which charges are broken up into/assigned to, each can have their own tax rate, defined in Venue > Invoicing. The default categories, that cannot be edited or deleted, are: Alcoholic Drinks, Food, Gratuity, Soft Drinks, Tax Exempt, Venue Hire, and Venue Services. Suggested additions include- Accommodations, DJ, or Ceremony Fee. |
Next to Category, on the left, is Status. This shows the three subtypes of Category Tags- Active, Suggested and Hidden.
Step-by-Step Guide:
Adding and Editing Tags
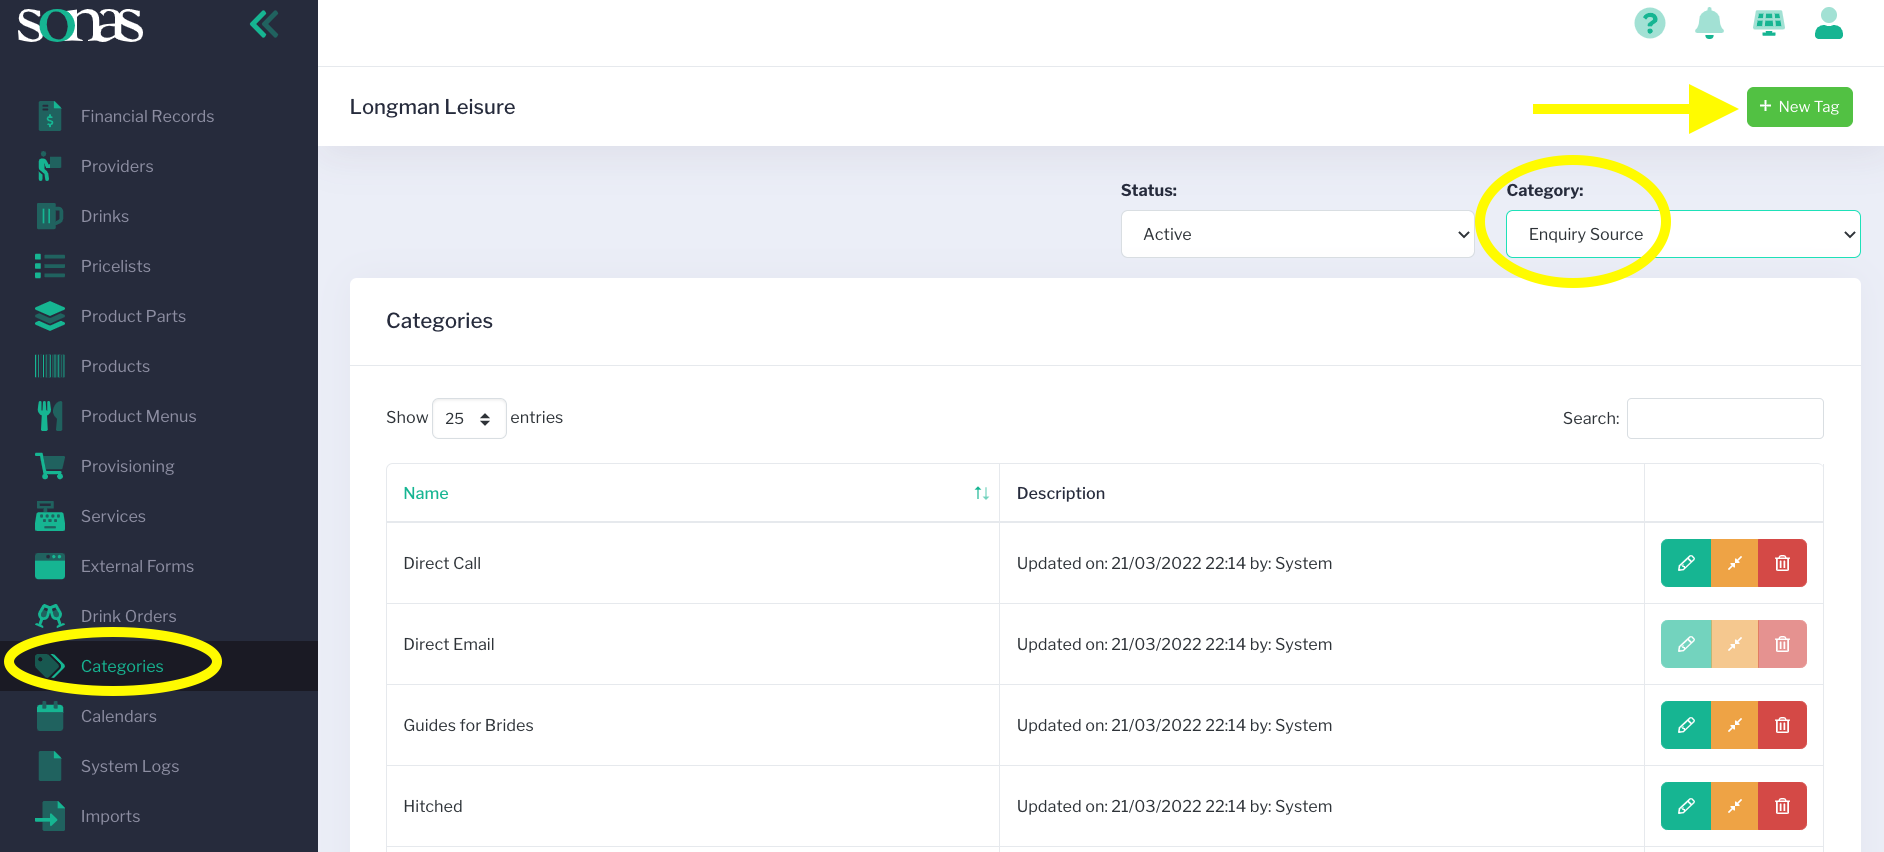
1. Choose the Category you would like to add a new tag (item) to. In this example, Enquiry Source is selected.
2. Make sure the Status is Active and click +New Tag.
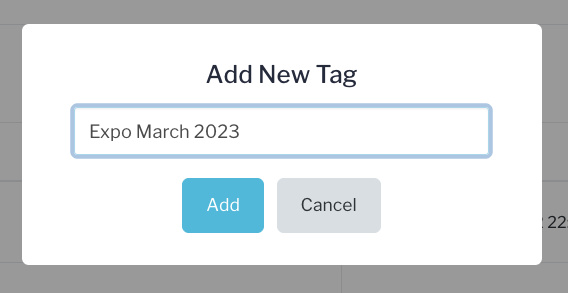
3. A pop-up box will appear, type in your new Tag name and click Add.
4. Repeat these steps for all category and tag additions.
5. To edit a tag name, click the green Edit box. Please note, some Sonas default tags are greyed out and cannot be edited or deleted.

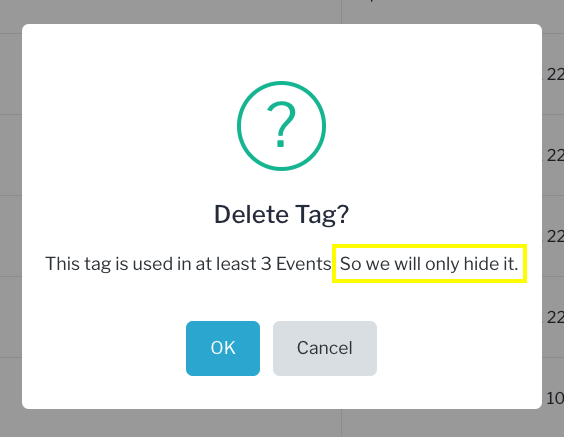
6. To delete or hide a tag, click the red Delete box. If the tag is NOT being used in any enquiry or event, it will permanently delete. If it IS being used, it will become Hidden and accessible by changing the Status from Active to Hidden.

7. To restore hidden tags you can do so by selecting Hidden on the status and then clicking on the Restore button. This will make it available to choose again under the status of Active.

To Merge Tags:
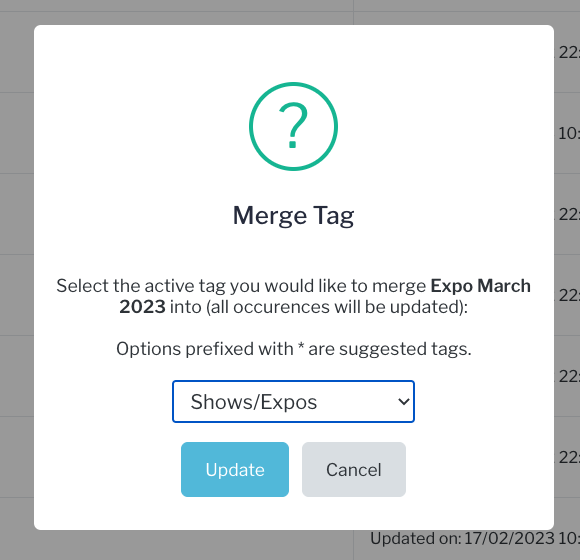
Merging can be useful if you have spelling mistakes in user input or broader categories to which you'd like to add them. In this example the new Tag of “Expo March 2023” will be merged with “Shows/Expos” as the need to gather the individual expo data is unnecessary and the broader option is sufficient.
1. Click the orange Merge box.

2. Select the tag to which you want to merge your tag. Click Update.
Another example of where Merging would be useful- you have Bride Book and Bridebook as separate tags due to spelling mistake by a customer. You can merge them together so they are under the correctly spelled name. This helps you tidy up your data and ensure your reports are as accurate as possible.


