

The food menu section (or menu selection section in the customer’s Sonas portal) is one of the first sections that should be completed by the customer in the initial stages of wedding planning. If your customers have already attended a tasting at your venue they will have probably already made their menu choices by the time the wedding is confirmed on Sonas. Once the food menu section is completed, they can send out the invites informing their guests of the menu options available to them on the day (and ask for any dietary requirements that they may have). Once the guests accept the wedding invitation, the couple can then input their names and menu choices into the Guests section. The menus available to the customers are predetermined by the food package chosen and quoted for in the initial planning stage of the wedding. You can view the food and drinks packages chosen when the event was pre-confirmed by clicking in the general section of the wedding sub-menu.
Step-by-step guide:
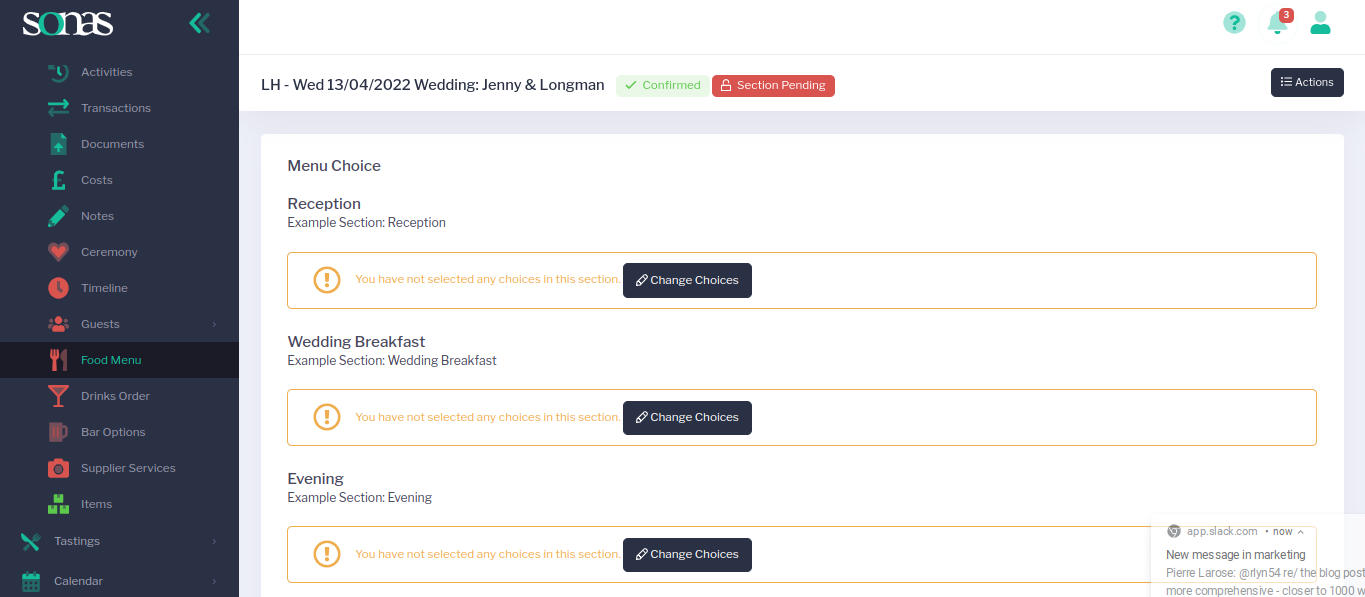
Click on the Food Menu page in the sub-menu for the wedding.
This will bring you to the menu choice page. Depending on the templates set up for Product Menus in your company sub-menu and the package chosen, the menus that require attention will show on this page.
The most readily used packages will include food choices for the Reception, Wedding Breakfast and Evening menus.
To amend the selections for each one, click on Change Choices underneath the menu heading (for this example we will make the choices for the wedding breakfast).
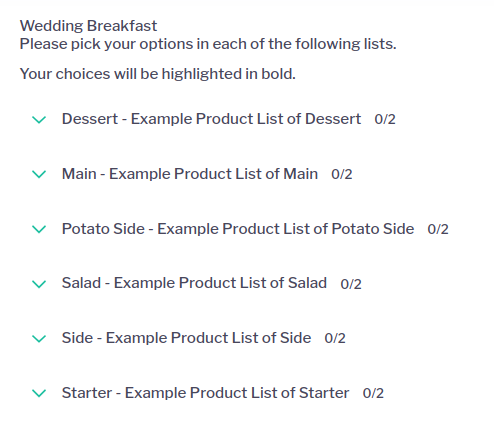
Work your way down the list of different courses, (e.g. dessert, main, salad) choosing the number of products required to build the menu one step at a time. This number will be indicated next to each course e.g. 0/2 means you have not made any choices for this course but are required to make 2 selections.
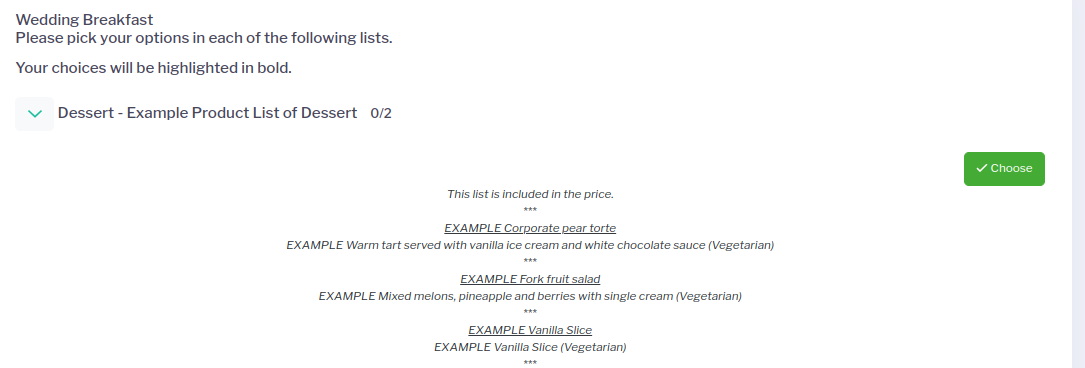
To make your choices, click on the V (arrow) next to the course to bring up the options available to the customer and click Choose on the right hand side of the page.
The menu choices will appear with tick boxes next to them and the sub heading will inform you of the maximum number of choices available to the customer. Other notes can be added at the bottom of each page if required.
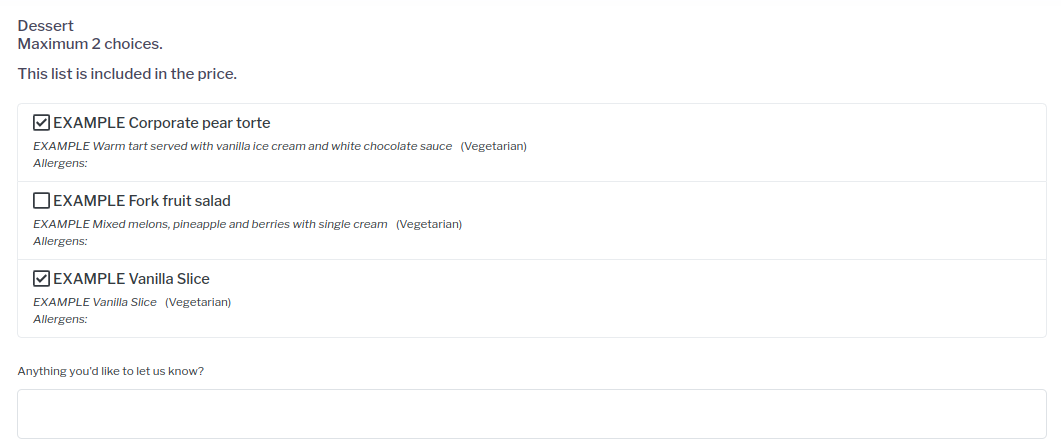
Make the required number of choices for this part of the menu and click save in the top right hand corner of the screen to save the changes.
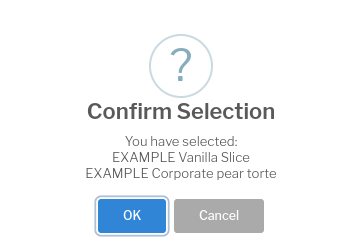
- You will receive one final warning message asking if you want to confirm selection? Click okay to confirm and work your way through each section of the menu to confirm all of the selections for the wedding menus.
- Once all menus are completed, using the Actions button the customer can send the Guest section for revision or the venue can lock it down as finalised.

- The timeframe in which the customer must decide their food menu choices can be determined in the general section of your venue’s sub-menu.