

One of the most important steps in the initial setup of Sonas is to list the users of the software and determine what access they have to the system. Different levels of access can be assigned to each user, either at a company-wide or individual venue level. Every role has differing permission levels to give or deny them access to make changes within Sonas. These roles can either be created from scratch creating bespoke levels of permission for each user or you can simply duplicate existing roles in the system. We would suggest that you create roles based on job title/access levels, duplicating and amending the settings for future users of a similar level.
Step-by-step guide:
Near the bottom of the main Sonas menu, click on Company to bring up a sub menu.
In the sub menu, click on Roles. You will see a menu with 3 default roles already in place: Company Admin, Generic Company Admin (default) and Generic Venue Admin (default). Each of these can be cloned to start up a new role for your venue. Note: you must clone the Venue Admin to create this role in the user management step.
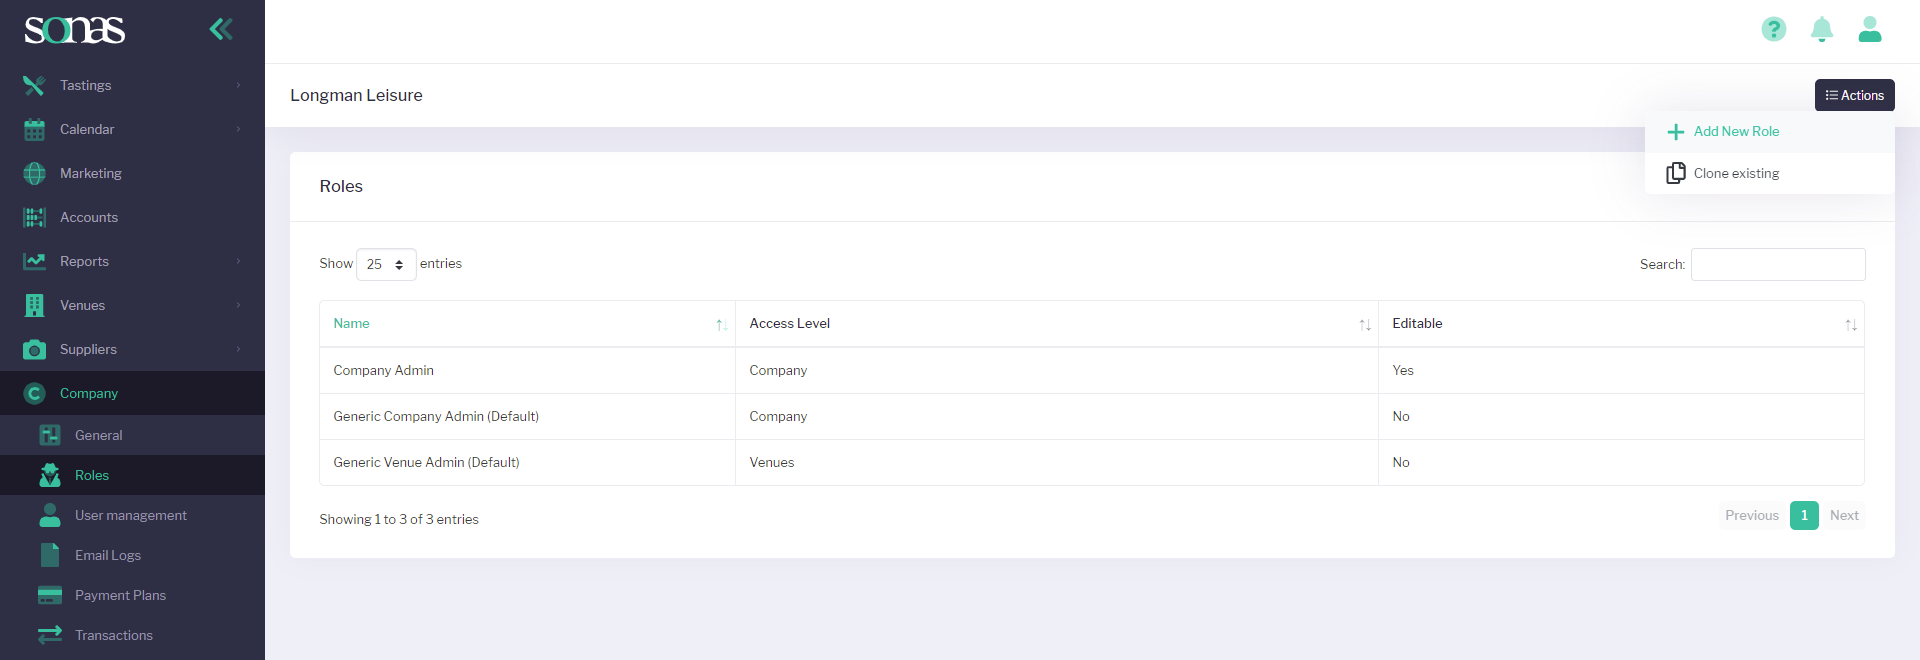
To create a new role using an existing role as a clone, click the Actions menu in the top right hand corner and then Clone existing.
A menu will appear asking you to Select the role to clone Choose the role to clone in the drop down menu and click clone.

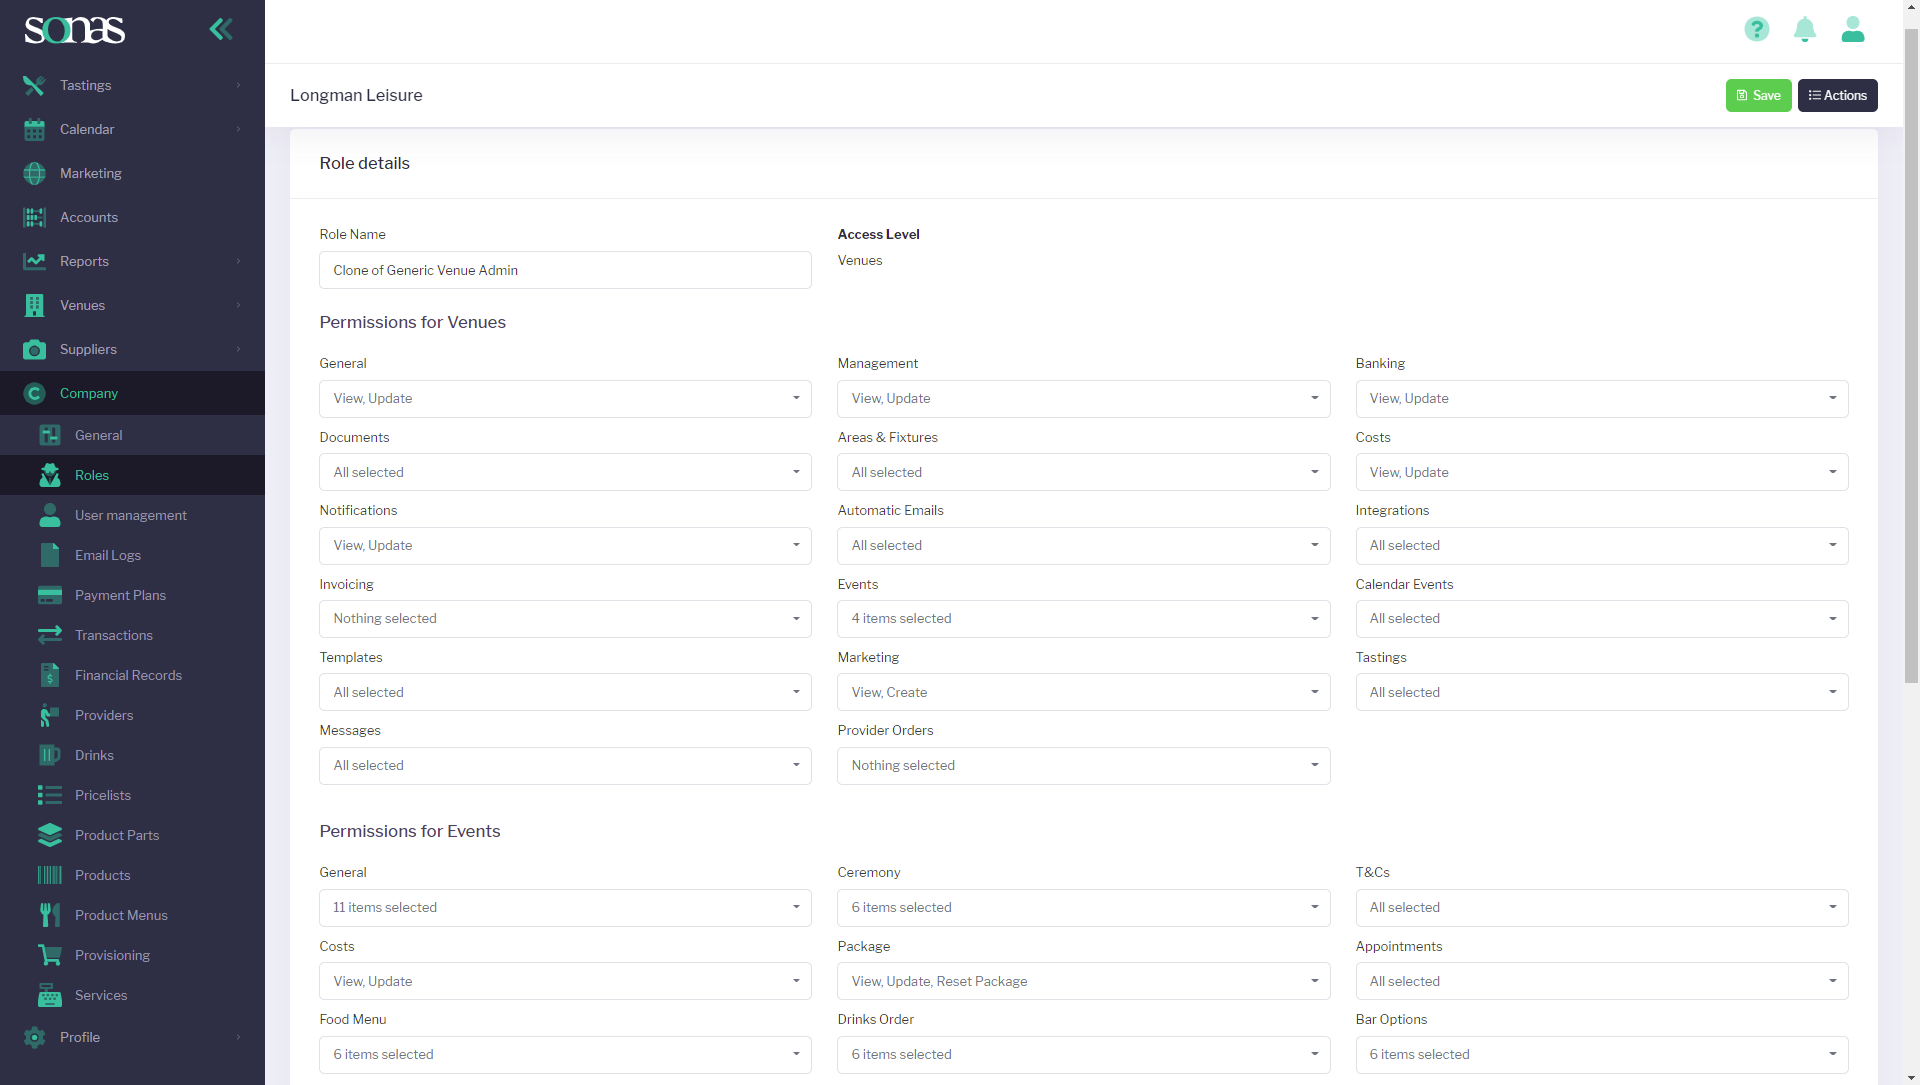
The role details page will appear with all of the prepopulated settings for that new role.
Change the Role Name to identify the user by job title or name as required. Review and amend any of the pre-existing permission settings for the Venue, Events and Tasting Events as necessary for that role.
Click save in the top right hand corner of the screen to update the role settings.
To create a new role from scratch click the Actions menu in the top right hand corner and then + Add New Role.
Fill out the Role Name and Access Level (either company or venue specific)
As above, amend all of the permission settings for the user using the drop down boxes in each category as necessary for that role.
Click save in the top right hand corner of the screen to update the role settings.