

You can create Footers/Signatures templates to apply to all emails sent from your Sonas inbox. These footers are customisable and can include icons and pictures with embedded links to represent the branding of your venue. Using footers allows you to create a branded footer without having to add one to every single template, saving you time, and keeping branding consistent. You can also create footers unique to each user to use in custom messages to use an individual name or department.
This guide will walk you through creating two kinds of footers, one with one (or no) embedded links (click anywhere to be directed to one webpage, such as your website) and secondly, footers with multiple embedded links (your logo clicks to your website, a Facebook logo to click to your Facebook page, an Instagram logo to click to your instagram page, etc.). Both of the footer types can be selected for automatic emails and for custom emails.
Scroll to the bottom of the article on instructions to use the created footer template.
Step-by-step guide for footers with one link:
Open up your templates, Venue > Templates
Actions > + Create Template
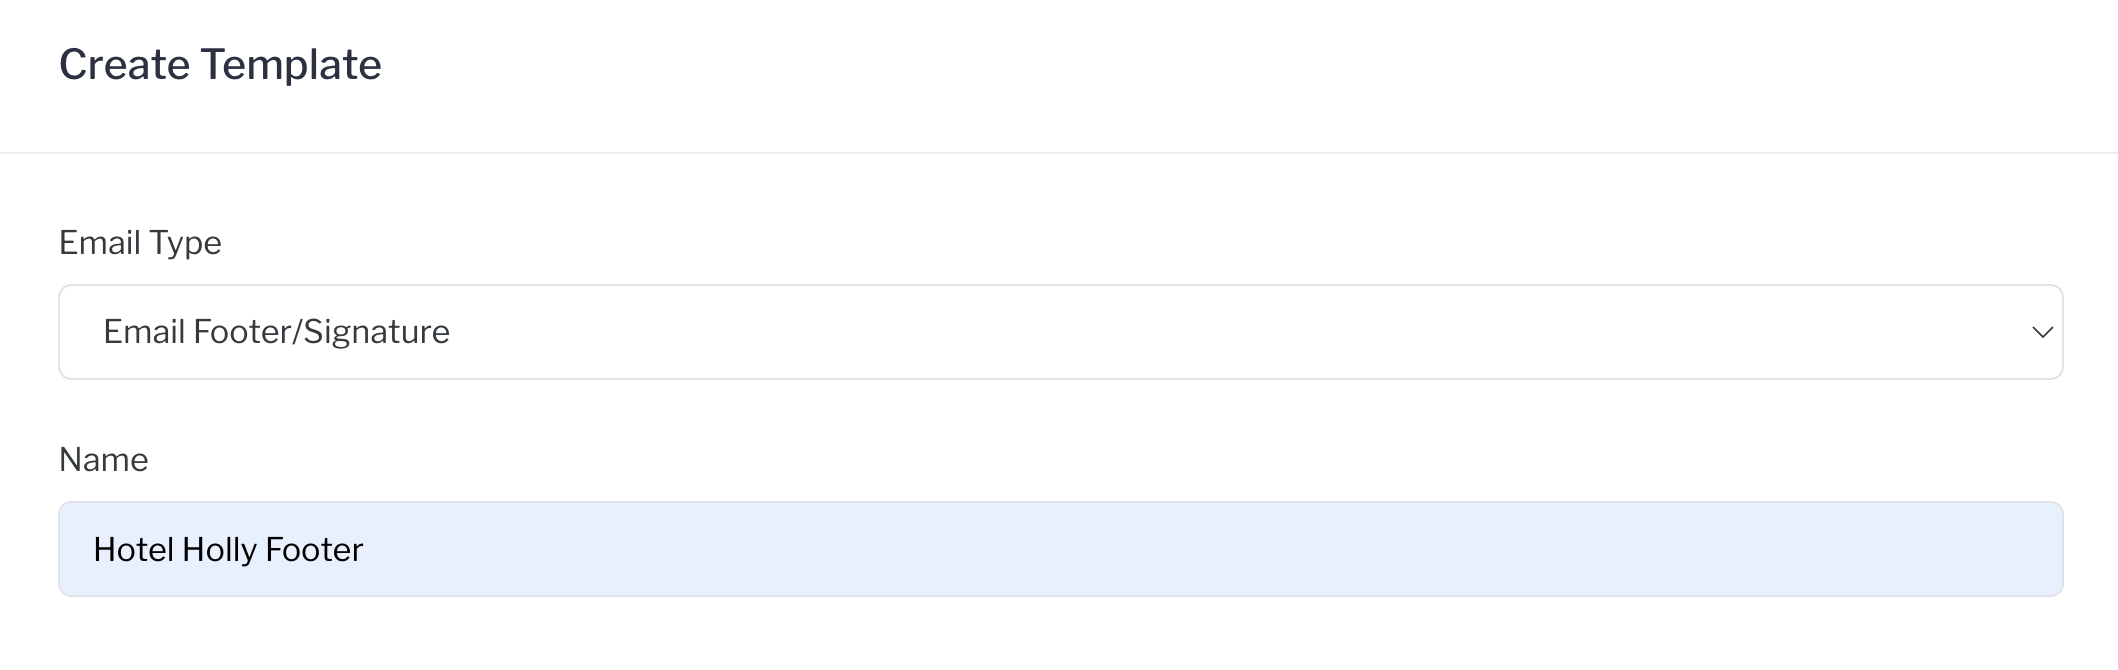
Fill in your Footer template information. Be sure to select Email Footer/Signature as the Email Type. Name it something that will help you to remember what it is. If creating department or individual user emails, be sure to include the name in the footer title.
Click Save.
Delete the default text in the text box. 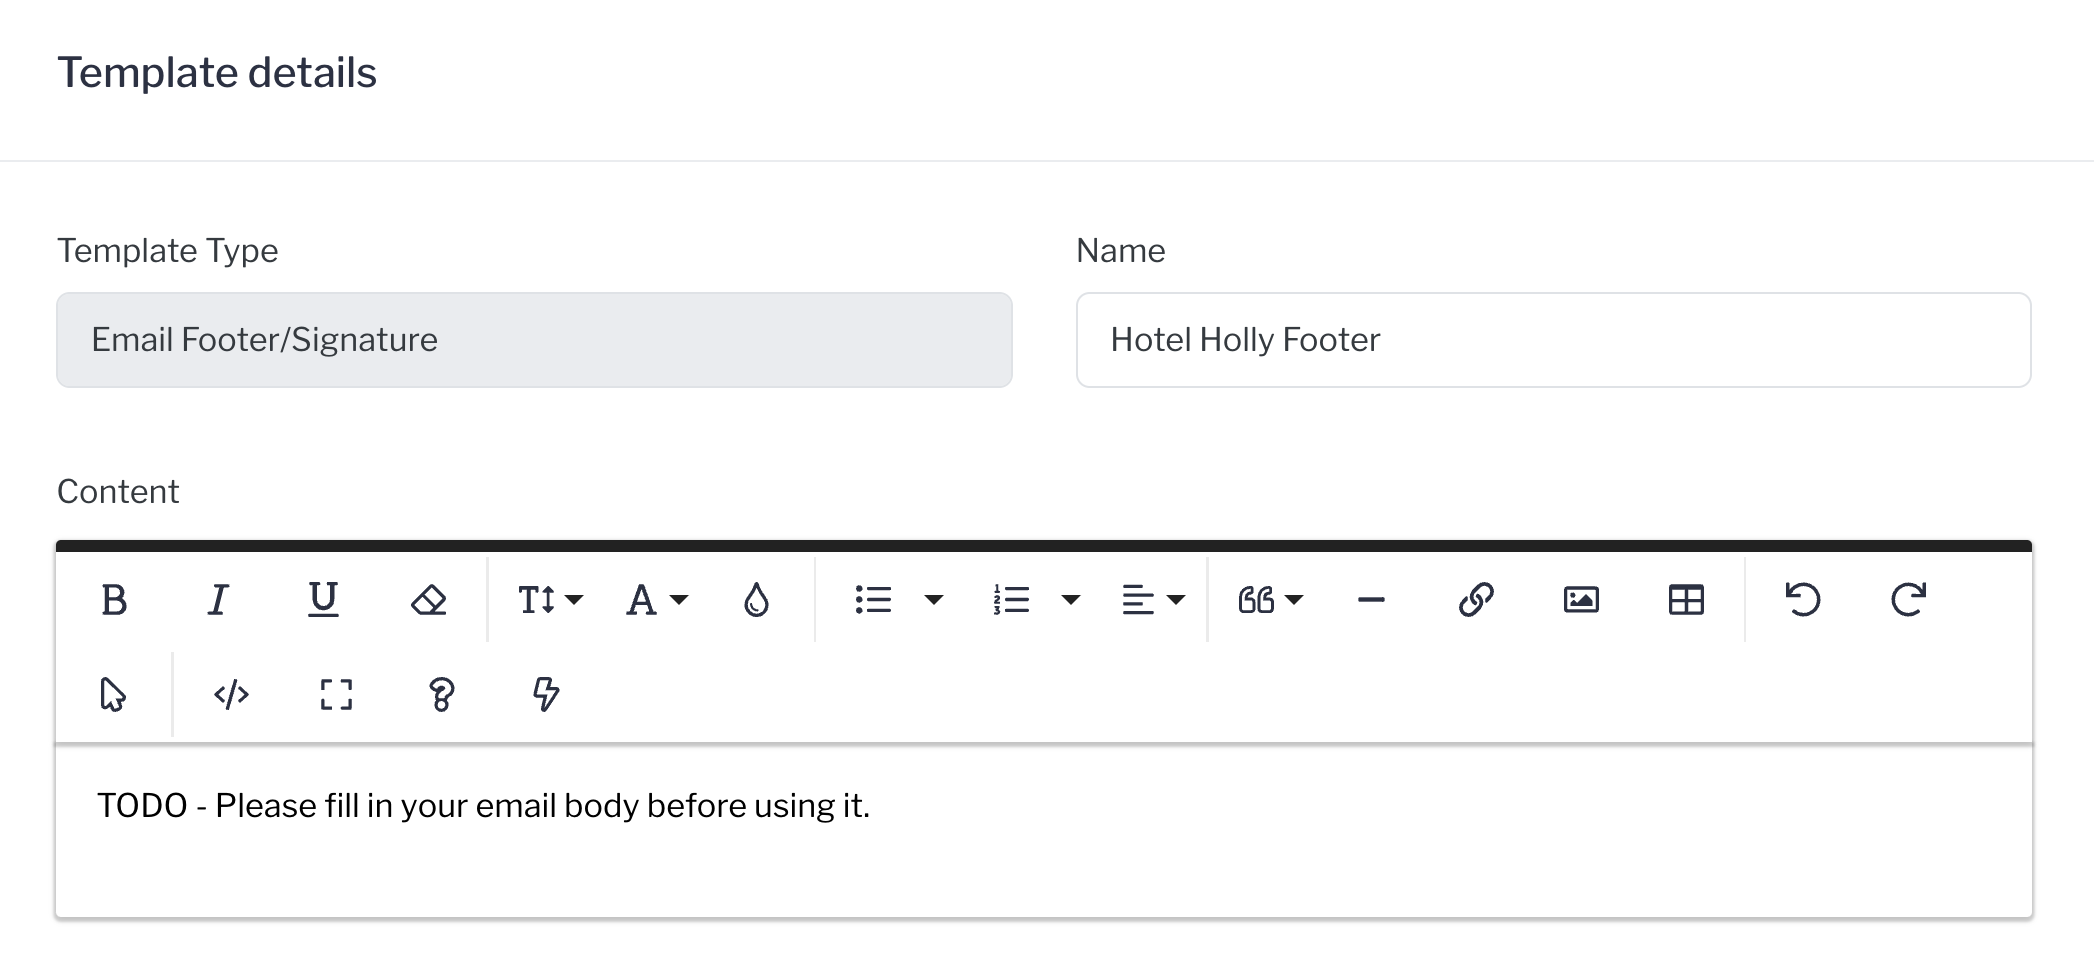 You can build your footer here or paste in a previously created image.
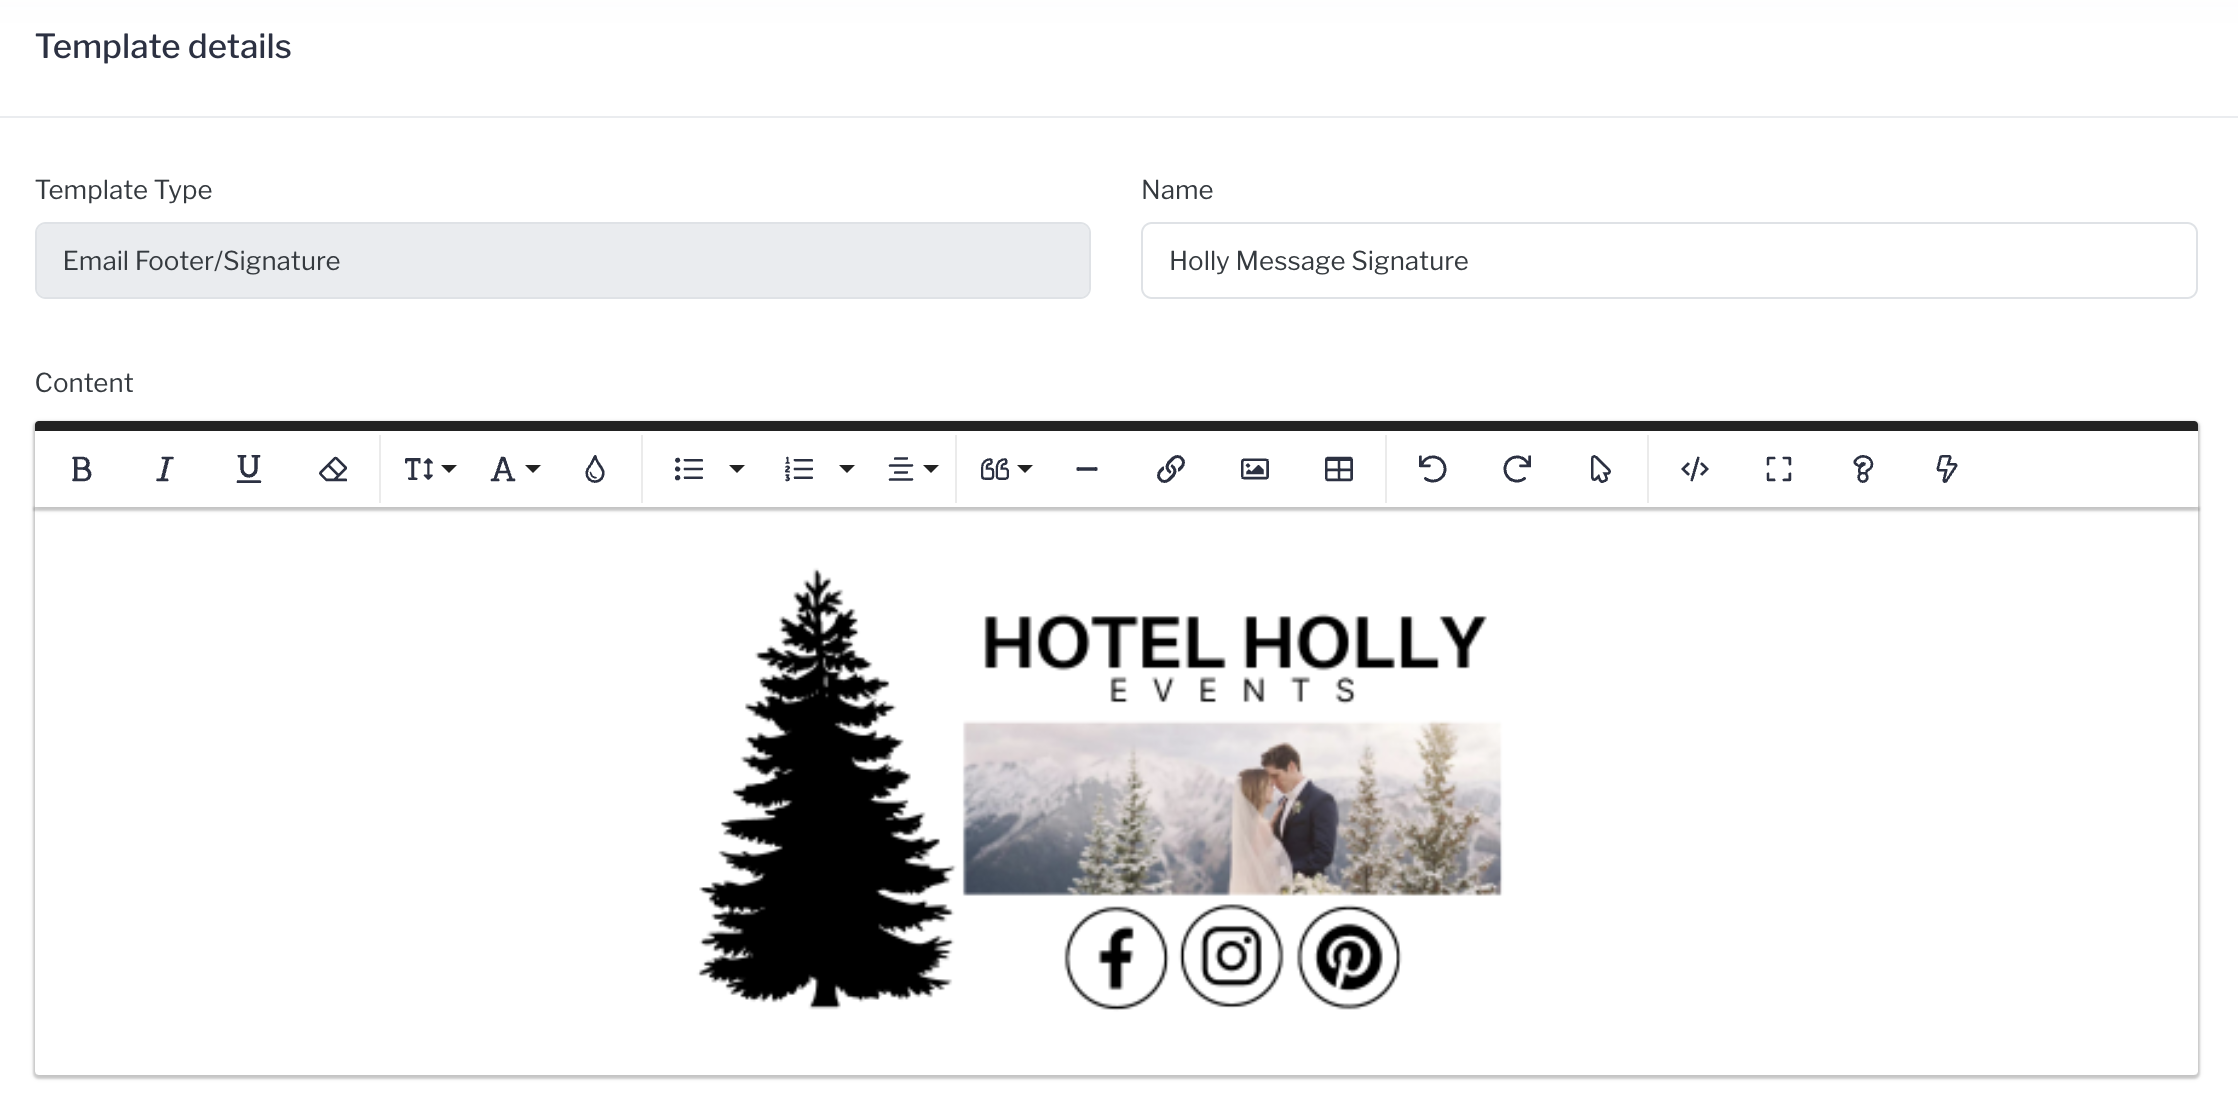
Here I have pasted in a previously created image. It is aligned center.
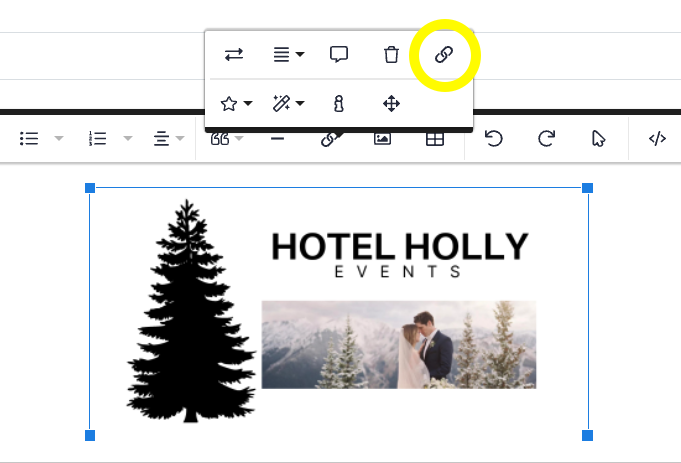
To embed an URL, click on the image to open the edit box. Click the link icon and enter the URL you want to embed, making the image clickable when received. Note: this is optional, you do not need to include a link.
 Be sure to test your template with a test email. Make any adjustments to sizing and or formatting.
Step-by-step guide for footers with multiple links:
Once you have the new template as described above, we will create a table. The table allows for the multiple elements to stay fixed. Click the insert table icon, selecting the number of cells you need. Keeping in mind that you will merge some cells to accommodate larger images. I am selecting 4x8 to start.

 I highlight and merge cells to accommodate the layout of images.
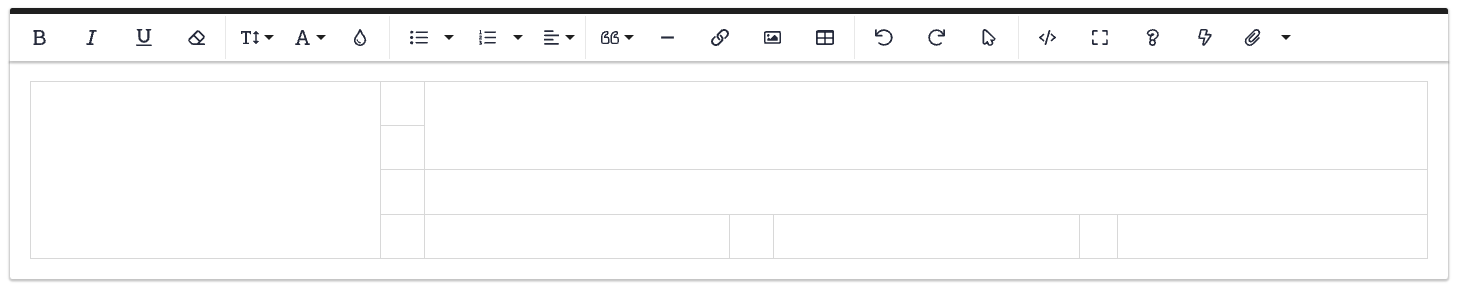
 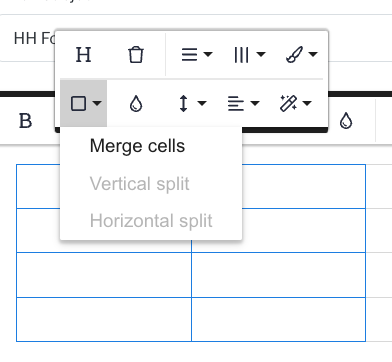 After the cells are merged and sized:
In each newly merged cell, I have inserted images. Adjusting sizing as needed. Use cell alignment to center each image.
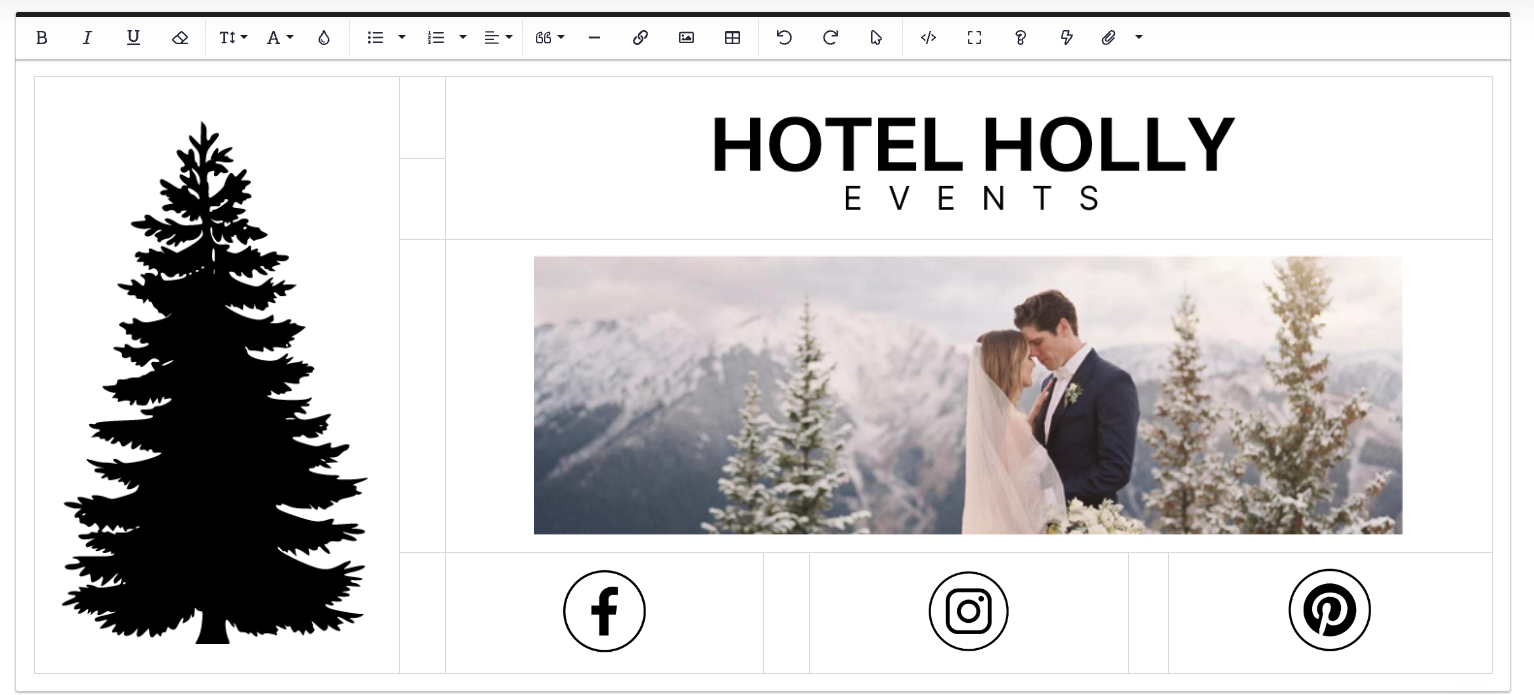
To embed an URL, click on the image to open the edit box. Click the link icon and enter the URL you want to embed, making the image clickable when received. Just like above with one link.
Repeat for each image you want an embedded link for. You can add a different link for each image or the same URL for multiple images.
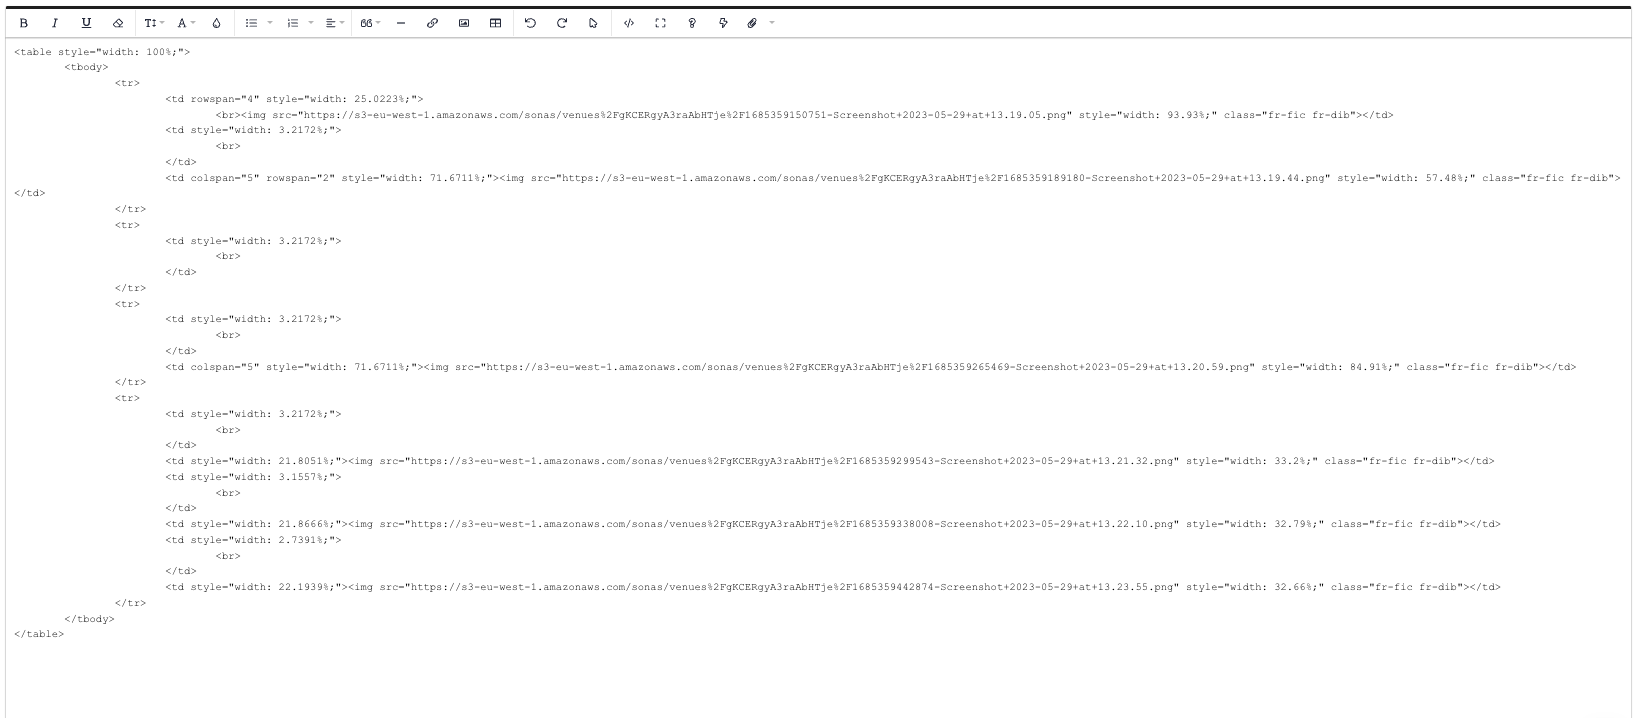
ADVANCED option:
Change to code view to make any changes ad the code level. You can edit the URL addresses for images and websites here as well.

Test your formatting with a test message, make any necessary adjustments in your template.
How to use footer templates in automatic emails:
Once you have created your footer template, you need to assign it to be used in templates that are used for Automatic Emails (the templates that are NOT the subtype "Custom Email".)
Venue > Templates
Select an automatic email template and open. Scroll to the bottom of the template and select the footer you want to always be applied to that template. Click save after you select the footer!
 How to use footer templates in custom emails:
Each Sonas user can create their own personal footer for use in custom messages. The footers are created as explained above under the Venue's templates. If the user working in multiple venues, they can have footers in each. Once the footers are created, they can be selected by the user. Each user will go to Profile in the main left hand tool bar.
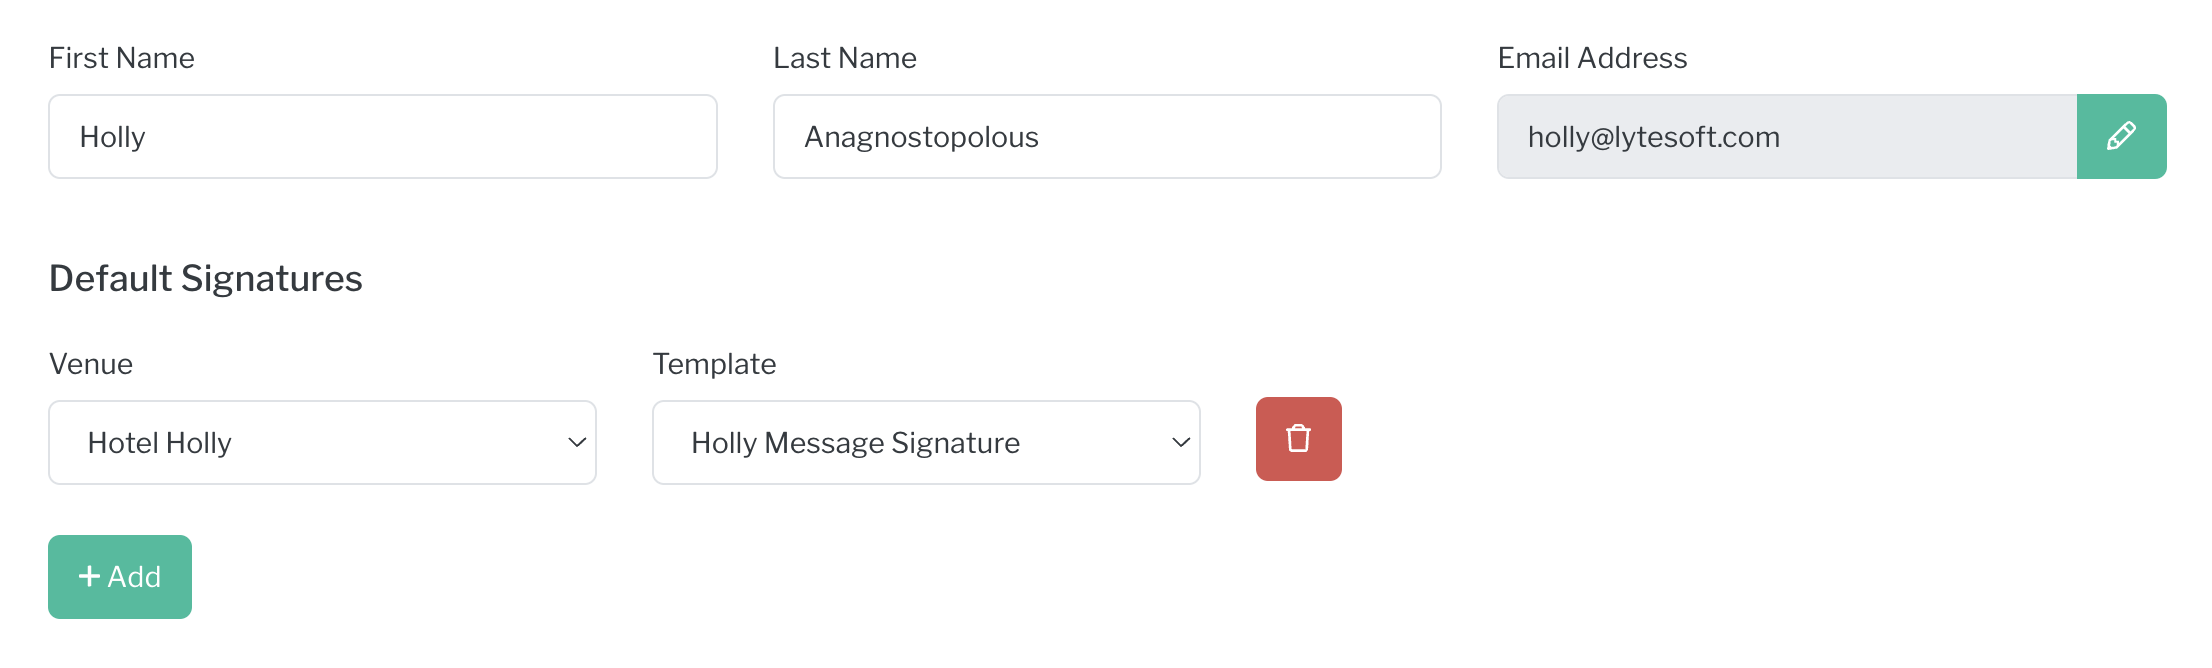
Profile > General
Select the venue and the footer template. Click Save. Click +Add to add additional Venues and the corresponding footer template (signature). You are allowed one footer per venue per user. Each user much make these selections for themselves, a system administrator cannot choose footers for users.
 When you write a custom message, with or without an Custom Email template, the footer will appear automatically. You can remove it if you need to.
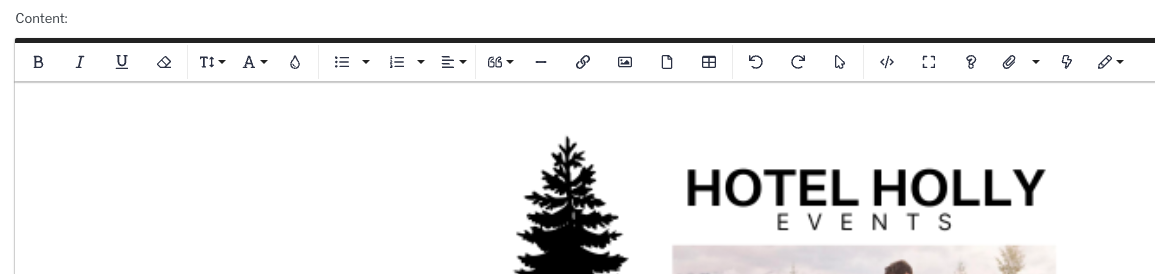
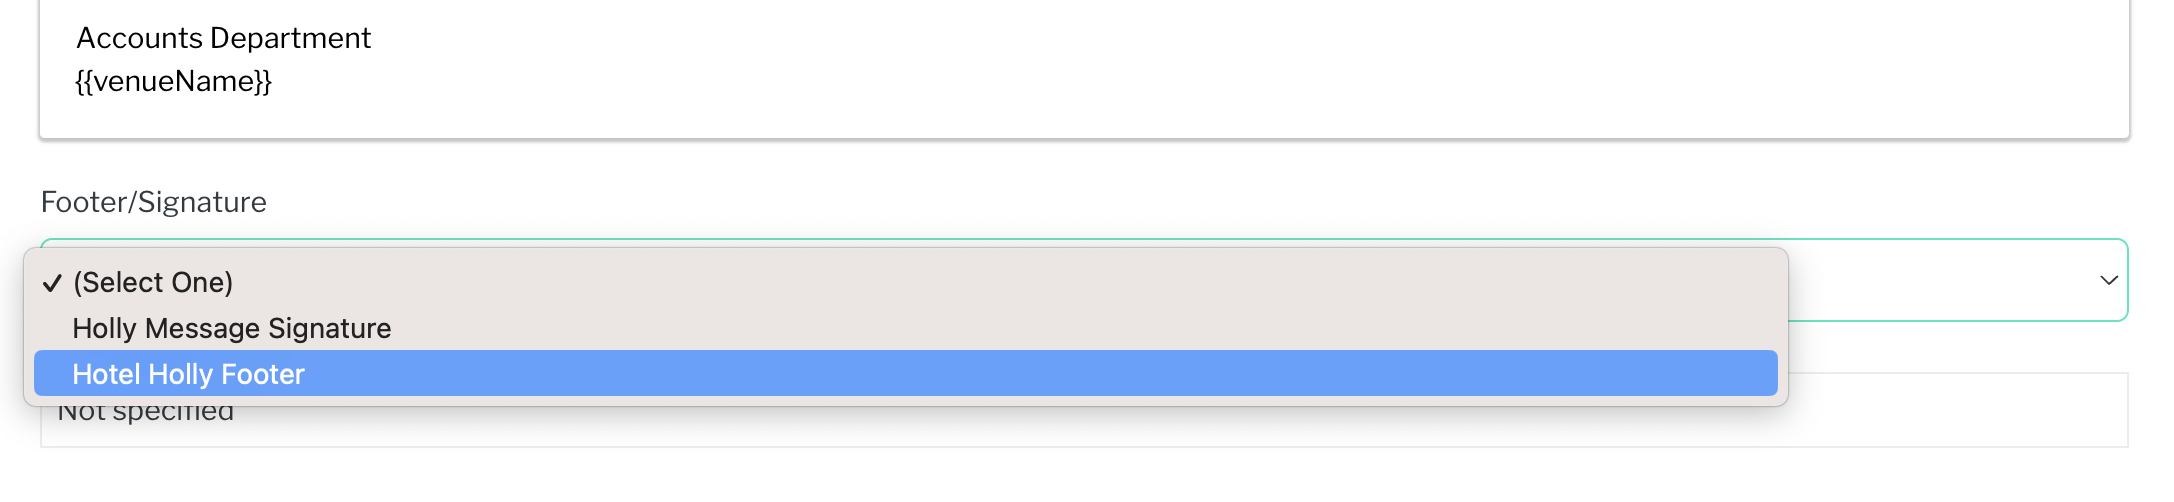
There is a pencil icon on the message tool bar. Clicking this allows you to choose different footers. This way if you are writing on behalf of a colleague or department, you can select their signature instead of using your user default one. 
You can update the footer as you need to as well. Adding in promotional ads (book your Holiday parties now or book our next open day) with a corresponding URL in each footer's template.