

Do you host an occasional Open Day to invite potential customers to view your venue and meet suppliers? If so, there is a workflow within Sonas to capture Open Day enquiries and Open Day attendee lists. Here is a step-by-step guide to schedule an Open Day, capture enquiries, and email all attendees with ease after the Open Day.
Step-by-Step Guide:
1. Schedule your Open Day in the Sonas calendar by creating a new calendar event. From your main menu, select Calendar. Create a New Calendar Event in the Calendar submenu or by selecting Actions in the upper right hand corner.
2. Select the Type as Open Day.
3. Fill in all scheduling information for the Open Day, including Venue, Title (to appear on Calendar), Start day/time, and End day/time. Click Save.
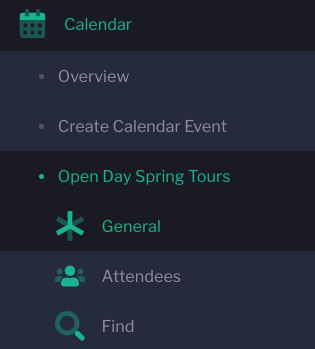
4. The Open Day now has its own submenu under Calendar. To access this submenu in the future, simply click on the Open Day in the calendar.
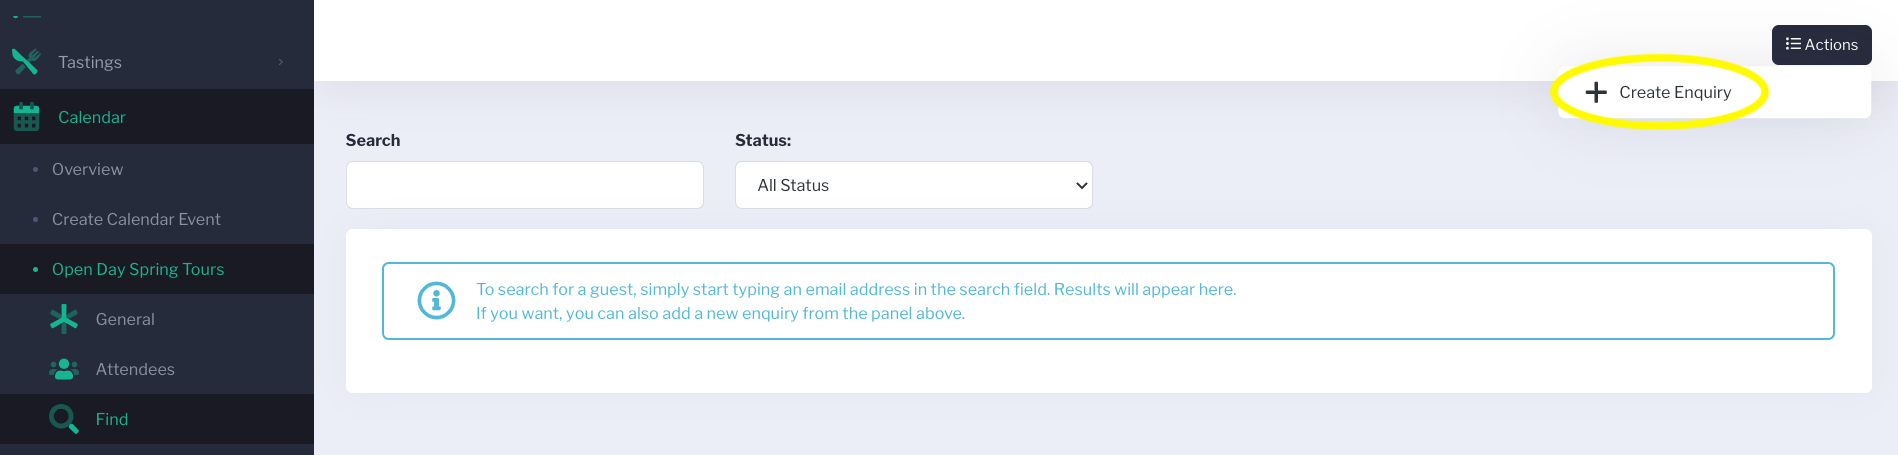
5. On the day of the Open Day, make sure that you don't already have a profile for your visitor, search in the Search field using their name or email address. If they are already in Sonas you can add them as an attendee. If they are not, select Actions in the upper right hand corner and select + Create Enquiry.
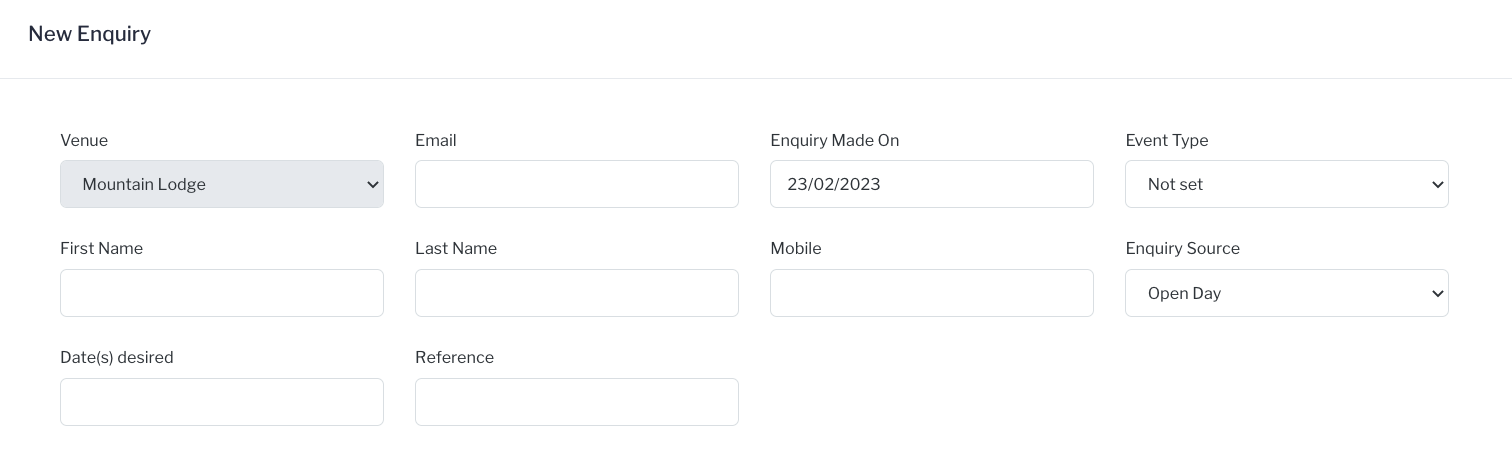
6. Capture all information from your new enquiry. The Enquiry Source has been pre-populated as Open Day since that is how the enquiry is being created. Reference is an optional field if you want to allocate a reference code, this will generate a label at the top of all enquiry and event associated pages. Once completed, click Save.
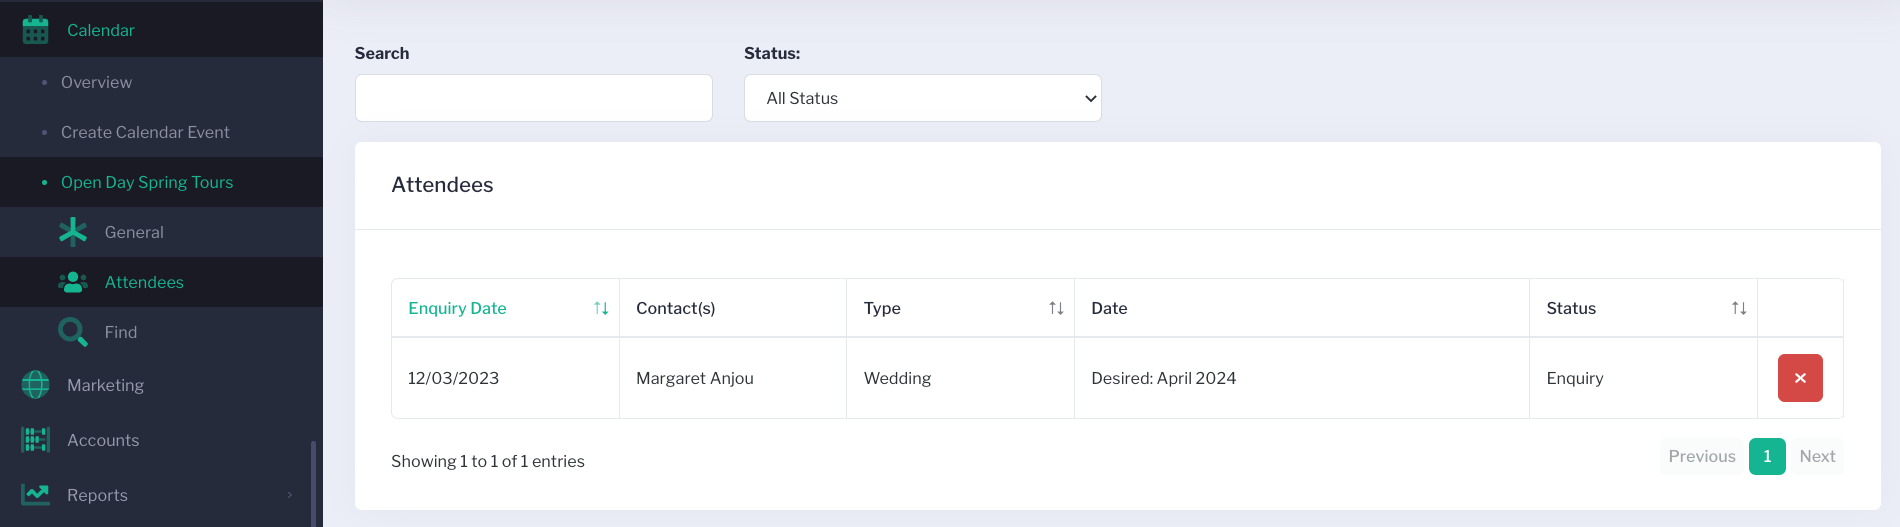
 7. All enquiries and existing contacts, entered with step 5, will appear on the Attendee list. (All of the new enquiries will also appear in your List of Enquiries, Events submenu). The red X is there if you need to remove an attendee (duplicate enquiry, added incorrectly, etc).
 8. This list can be used to generate a report/spreadsheet of who attended the Open Day or to produce a mass email to all attendees. Click Actions to see each option.
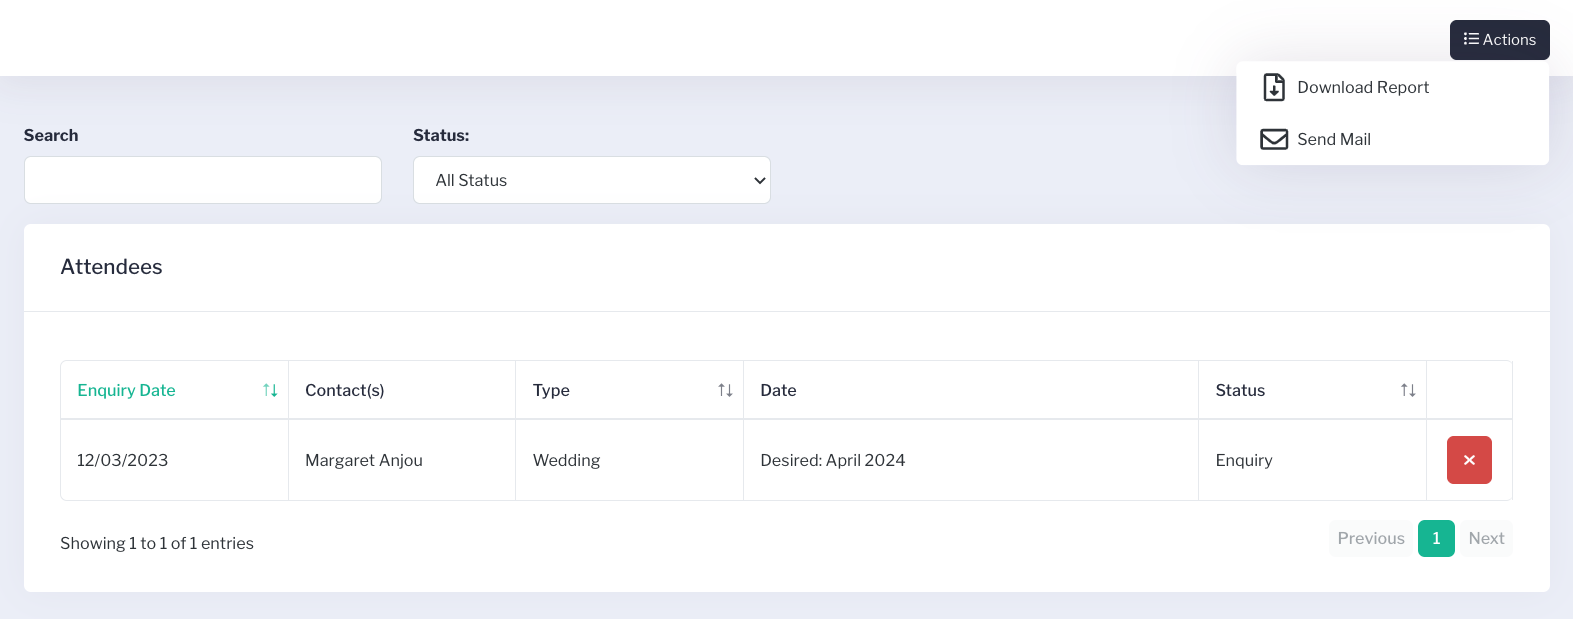
9. Download Report will generate and download a spreadsheet of all enquiry information, including email addresses.
10. Send Mail will enable you to utilise a custom template and your Sparkpost integration for an email campaign. From here you can also export email addresses from Action if you want to do a Mailchimp campaign, or similar. See: Exporting to Mailchimp