

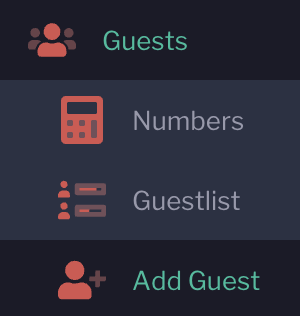
The Guests section is a central hub for managing all guest-related information for your event. It's divided into three key areas: Numbers, Guestlist, and Add Guest. You and your clients can amend the guest details as needed until the venue finalises the event.
While every event will have a Numbers section, the Guestlist and Add Guest sections are only available for events where the guest list feature is enabled. This article provides an overview of all three sections.
Numbers
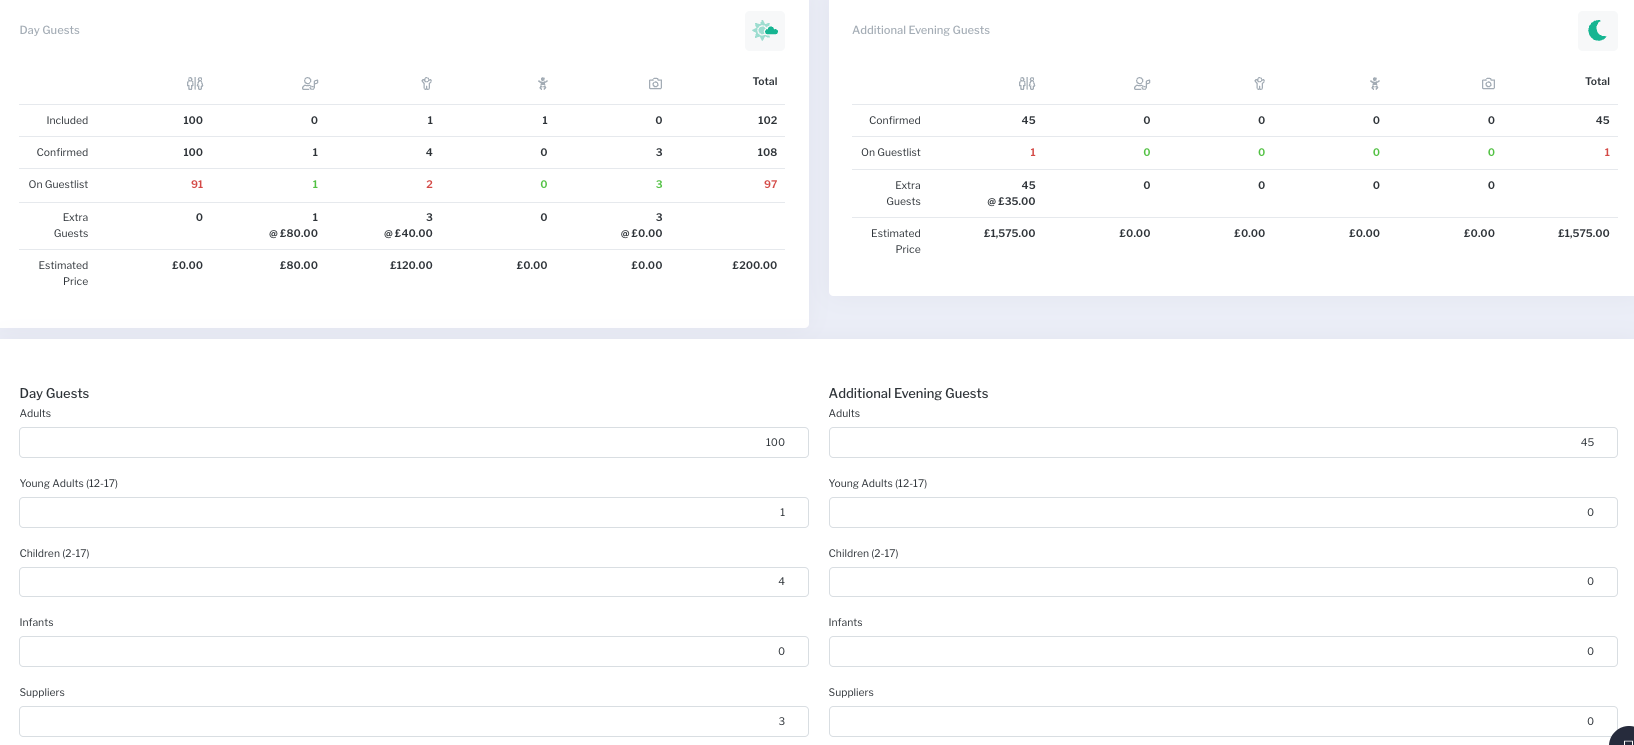
The Numbers section is available for all events, regardless of their status and if they have the guestlist turned on or not. During the sales process, you can use it to capture estimated guest numbers. Once the event is confirmed, this section will display the final number of guests included in the package and any associated charges for additional attendees.
The numbers you enter here will serve as the confirmed attendance for catering, drinks orders, and other guest-related charges, especially if the full guest list feature is not in use.
Remember: You must click Save every time you update the guest numbers.
Guestlist
The Guestlist page, found in the Guests sub-menu, provides a comprehensive list of all your guests and their key information at a glance.
Details for each guest include their Guest Category, Guest Type, Attendance status, Allergen icon, Dietary Requirement icon, Name, VIP status and Role, Special Requirements, Table number, and Menu Choices.
When you click on an individual guest, you'll be taken to their personal details page where you can amend these categories and add extra information. The top section covers basic guest details:
Icons
- Attendance Icon
Yes

No

Maybe

Guest Type (as configured in Guest Configuration and allowed for the event)
Adult

Teen

Child

Infant

Supplier

Guest Category
Daytime

Evening

Allergen Icon will appear if the guest has a listed allergy

Dietary Restriction Icon will appear if the guest has a listed dietary restriction
Vegetarian

Vegan

VIP Status Icon, a gold star if they are assigned a role

- Attendance Icon
Surname and Name
VIP (Role) (e.g., Best Man, Bridesmaid, or leave as None for a regular guest), triggering VIP status
Special Requirements, any of the special accommodations that a guest requires. You can select from a list of special requirements offered by your venue to indicate which ones are needed for this particular guest.
Table, which table the guest is seated at.
Menu Choices, which of the available choices the guest has selected (if there are choices to be made). Missing choices and items that conflict with the guest's allergens and dietary requirements are flagged with red text.
Use the filters at the top to narrow your list.
Guest Information
When adding a new guest, the most critical information to capture is their name, surname, category, type, and attending status. While all other details are optional, we highly recommend that you also record any dietary requirements and allergies, particularly for events with catering. Doing so will help you stay prepared and avoid any complications on the day of the event.
After making any changes, always remember to click the Save button in the top-right corner.
Here is a review of all the guest information you can enter by section:
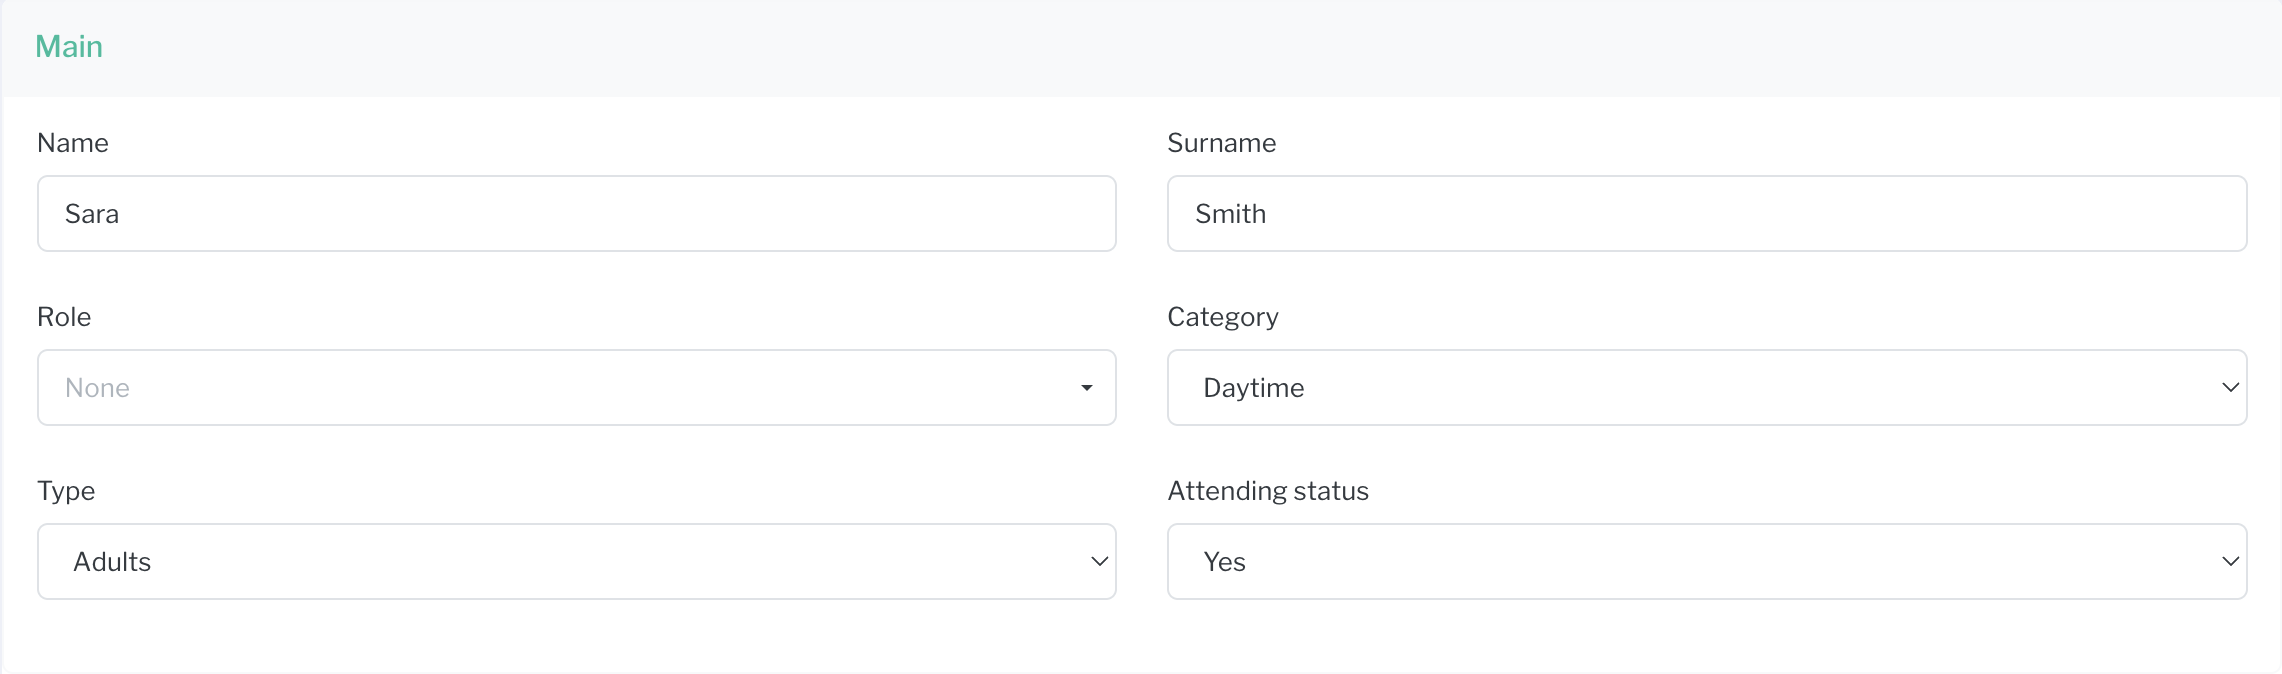
Main
The Main section holds the core details required to create a guest. All fields in this section are mandatory and must be completed before you can proceed.
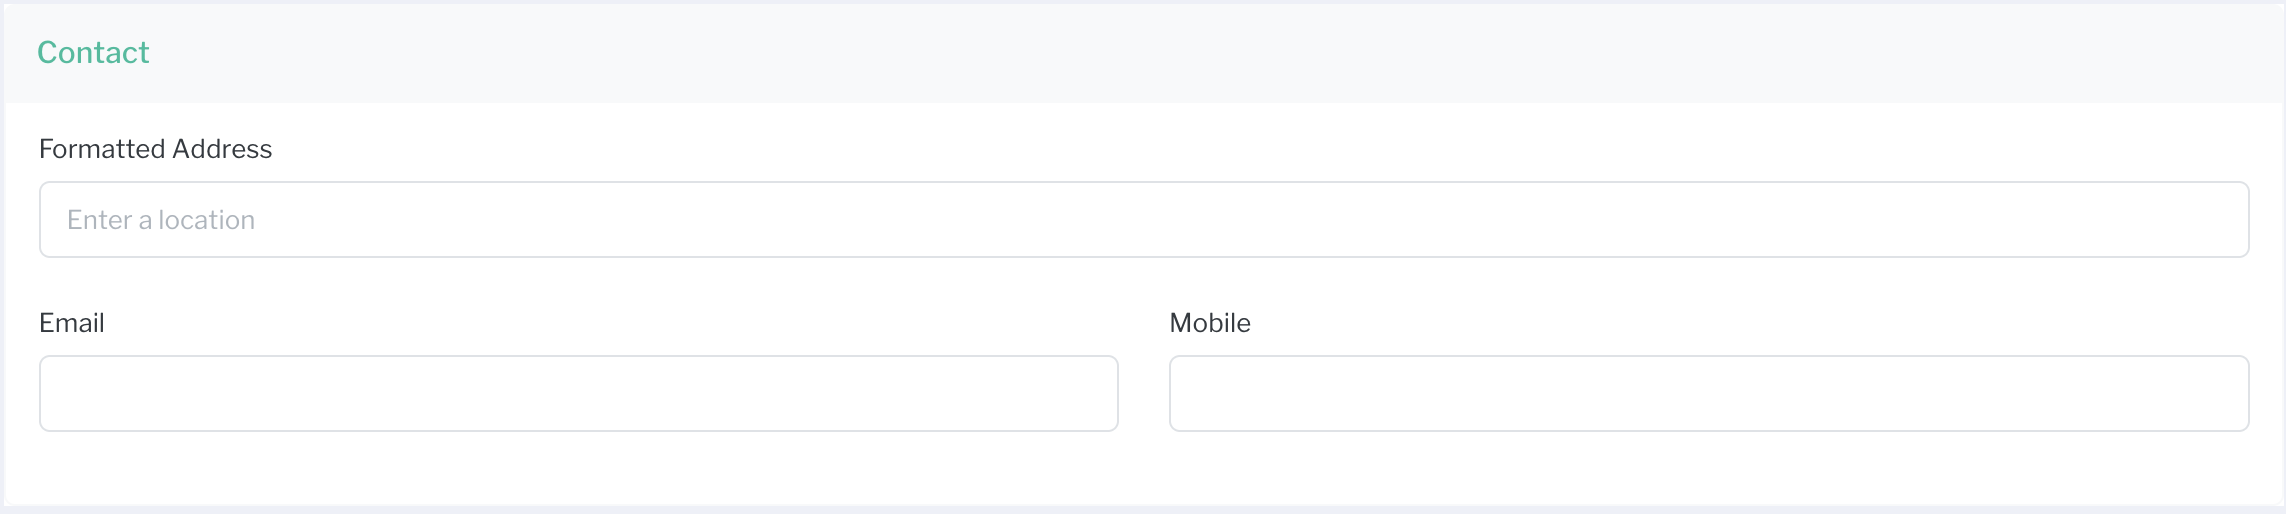
Contact
This section provides optional fields to record important contact information for a guest, including their address, email, and mobile phone number. While not mandatory, providing these details can be useful for future communication or record-keeping.
Independent
Use this setting to specify whether a guest will be managing their own details and choices, or if someone else will be responsible for them (e.g., for children or a plus-one).
Yes: Select Yes if the guest will be making their own selections.
No: Select No if another guest is responsible. A dropdown menu will then appear, allowing you to select the guest from your list.
Tip: You must add the responsible guest to your list first so they are available to select in the dropdown menu.

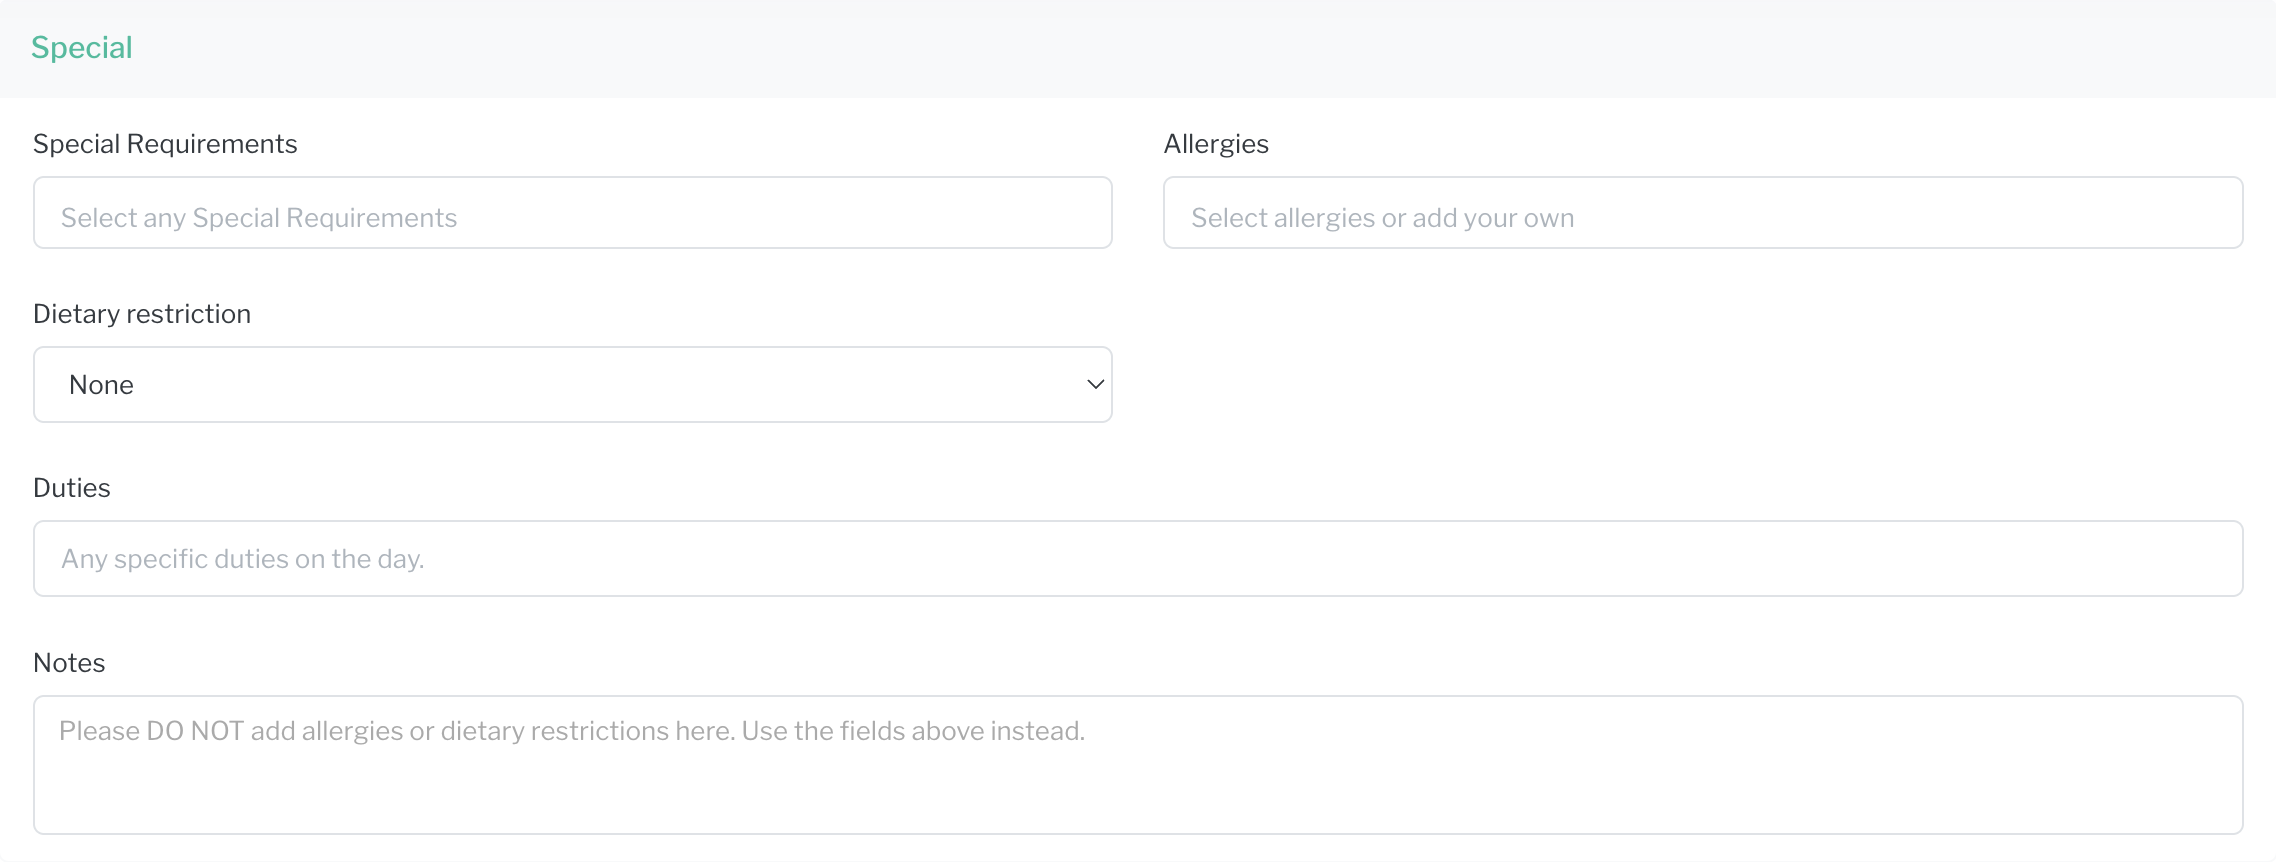
Special
Here are the fields you can use to add important guest information to an event.
Special Requirements: Select any required accommodations from your venue's pre-defined list of special requirements.
Allergies: Choose from a list of common allergies or type in a new one. If you select an allergy, you'll also need to specify if it is airborne or related to consumption.
Dietary Restrictions: Select from a list of dietary restrictions, such as Vegetarian or Vegan.
Duties: Use this field to record any specific duties the guest has at the event.
Notes: This space is for general notes about the guest. Do not use it for allergies or dietary requirements, as there are specific fields for those.
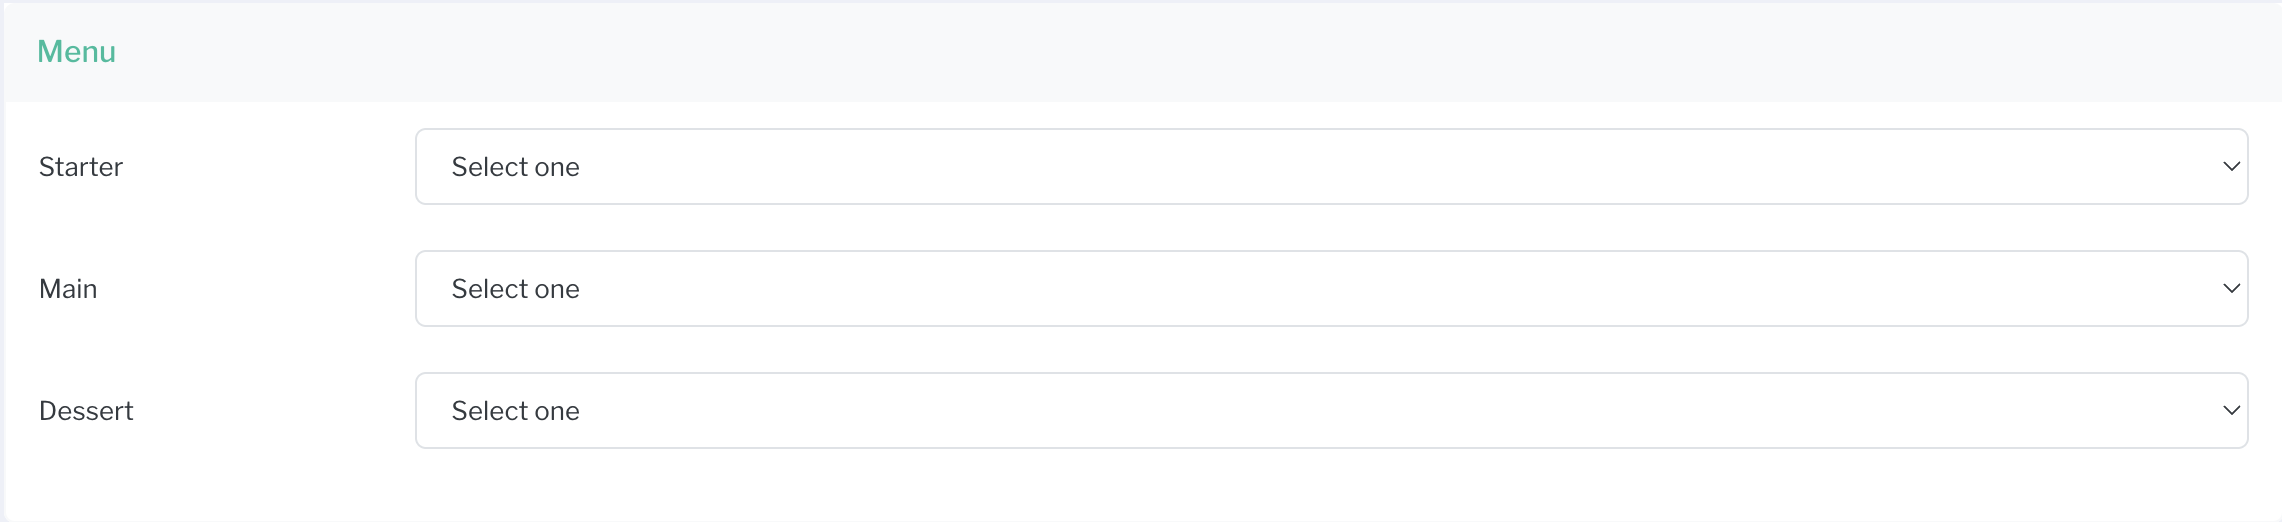
Menu
This section allows you to make menu selections for each guest, based on the menus that have been assigned to the event.
Important: Before you can make any guest selections, the event's menu section must be locked.
After making any changes, always remember to click the Save button in the top-right corner.
How to Add Guests
There are three different ways to add guests to your event.
Add a Single Guest
The simplest way to add a guest is from the main Guestlist page.
From the main Guestlist page, click Actions in the top-right corner, then select + Add New Guest.
Alternatively, you can click on the Add Guest tab directly under the Guestlist menu on the left.
Import Guests from a File
To add multiple guests at once, you can import them from a file.
On the main Guestlist page, click Actions, then select Import Guests from file. Follow the prompts to upload your guest file.
How to Export a Guestlist
You can easily export your guest list from Sonas for a variety of reasons. The file can be exported as a CSV, Excel, or ODS file.
Navigate to the Guestlist section.
From the Actions menu, select Export Guestlist.
In the pop-up window, select your desired file format (CSV, Excel, or ODS) and click OK.
You will receive a notification when the export is ready. The completed file will be available for download in your Profile under the Downloads section.