

Your venue’s preferred external suppliers can be included in this area. Each one can be listed here with their full contact details along with the cost and services they provide. Note: Although the external supplier’s services can be listed and added by your clients when planning their event, direct billing between the supplier and client is not currently available through Sonas.
Video Tutorial
Step-by-step guide
Near the bottom of the main Sonas menu, click on Suppliers
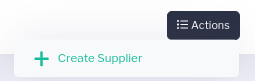
There are no default suppliers in place so this list must be created from scratch in conjunction with the list of regular external suppliers used by your company. To add a supplier, click the Actions menu in the top right hand corner and then + Create Supplier. This will open the New Supplier menu.
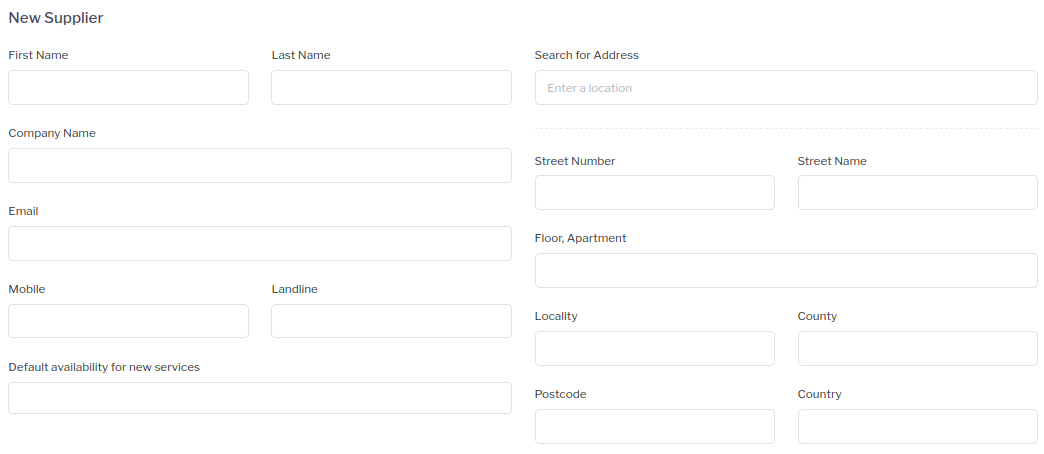
 Complete the information required in the boxes on this page to add your venue´s new supplier. These empty boxes include:
First Name
Last Name
Company Name
Email
Mobile
Landline
Default availability for new services (which venue/venues this supplier provides their services to)
Address details (you can search for address in the top right hand box or input it manually below that)
 Click save in the top right hand corner of the screen and a description box will open up at the bottom of the page. Here you can add a more detailed description of the service provided by the supplier and click save again to update your changes.
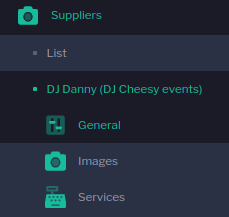
 Once the supplier is saved it will be automatically added into the Suppliers section at the bottom of the Sonas menu. Within each supplier, there are 3 sub categories from which you can include the finer details of the individual service provided:
General (the page that you have just completed with all the supplier’s contact details)
Images (upload photos/pics here to enhance the description of the supplier’s services in the next step). Note: The profile picture for the supplier is not visible on the initial search for services that the customer will make. If a customer finds a service they like and then clicks on the supplier to see more details about them, that is when they will see these images.
Services (here you will need to input more details regarding the services provided and cost implications associated with that service if known.)
 To add a new service to the supplier click the Actions menu in the top right hand corner and then + Add New Service.
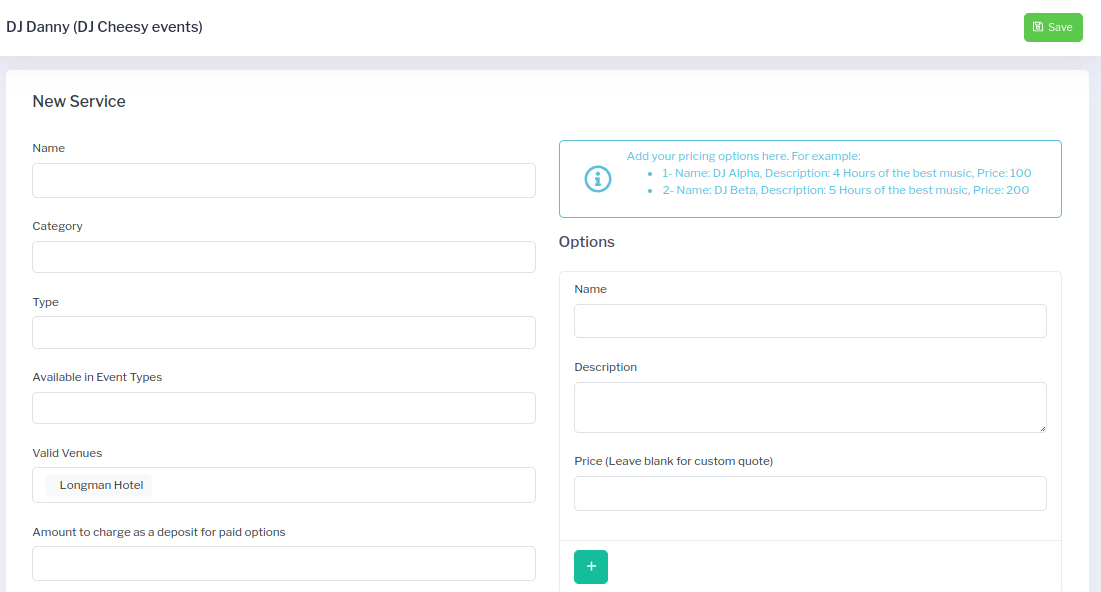
As per the addition of the (internal) Services added earlier for your venue, the service menu for external suppliers is very similar:
Name (service name)
Service Type (choose from list of 60 service types available including hotel rooms, florists and make up artist)
Available in Event Types (specify what type of event this service is available for e.g. wedding, bar hire, conference etc.)
Valid Venues (choose the venue at which the service is offered)
Amount to charge as a deposit for paid options (cost of deposit for this service)
On the right hand side of the page there is an Options menu with 3 different categories to fill out for each service. These include:
Name (of service offered e.g. DJ Alpha)
Description (of the service offered e.g. 4 Hours of the best music)
Price (input price of service offered e.g. 100) For custom quotes for the service, leave this menu blank. Note: With your preferred suppliers as you are setting up you will most likely just add a single option saying Bespoke Quote with a blank price.
 You can add more than one option for each service by clicking on the + below the options menu. For example you may want to add another option for the DJ service to run for more hours at a higher price. Note: you must add at least one option here.
To add in profile, wall and gallery pictures for the supplier, click on the newly added service listed on the main page. We recommend at least 380 x 230 for the search image and 851 x 315 for the wall picture.
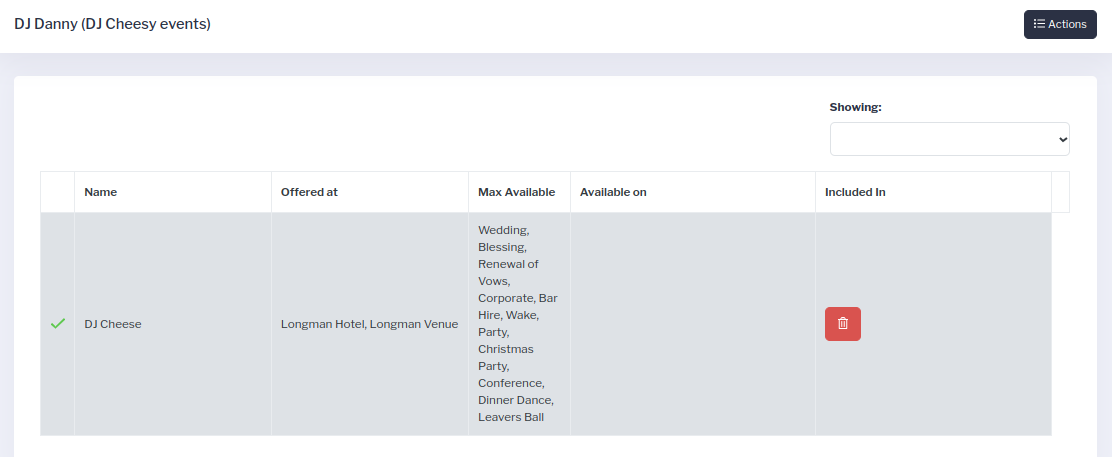 This will open up a Service sub menu for this supplier on the left hand side, including General, Images, Questions, Availability and Booking tabs.
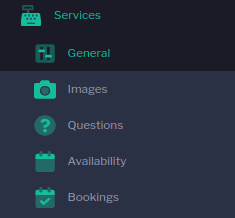 To add photos and pictures that will be visible to your customers when selecting the supplier, click on the images tab in the sub menu. Click the Actions menu in the top right hand corner and then Upload File. Upload the image you wish to add to the supplier’s service from your desktop. We recommend at least 380 x 230 for the search image and 851 x 315 for the wall picture.
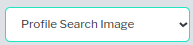
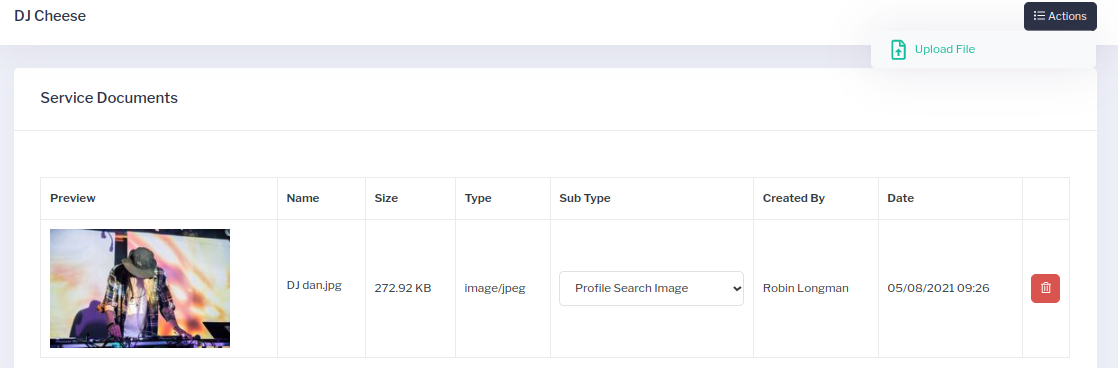 Once the picture has been uploaded, select where you want this to appear by clicking on the sub-type drop down menu. Options include: Profile Search Image (the primary picture displayed when customers are looking at external suppliers) Profile Wall Image (the long banner image behind the profile picture, similar to that of a Facebook profile) and Gallery Images which can be a selection of photos that your customers can browse through when looking at the service offered. Note: The Profile Wall picture should be a landscape not portrait style as it will be stretched to fit the entire area and may look odd if incorrectly sized.
 The other sub menus for supplier services include:
Questions: Use this to prompt the customer for any info you need regarding the delivery of the service. If the service is a DJ you might ask what track they would like for the first dance or any particular genres or artists the couple like. For accommodation you might ask who is staying in the room.
Availability: You can block dates where there is limited service availability. Maybe the DJ is on holiday for a period or you might be repairing some installation in your venue.
Bookings: Here you can see a full list of all bookings for the service.
Repeat the process adding in as many regular suppliers and their service details that you wish to include.